
Step-by-step
Step 1
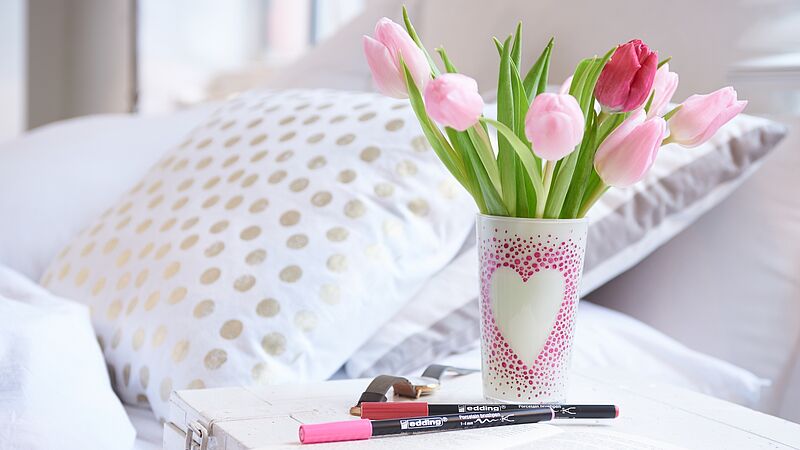
For best results, clean the vase with water first (ideally in the dishwasher) and wipe it over with methylated spirits. Thorough cleaning is essential for removing any protective film applied during manufacture. Start by creating your heart template on paper and cut it out. Use sticky tape or glue dots to attach the heart to the centre of the vase. Now draw tightly-packed dots all around the template with the porcelain brush pen in carmine red (colour code 019) and pink (009). The closer the dots are, the better the heart shape will stand out. As you move outwards, you can start to thin out the dots.
Step 2
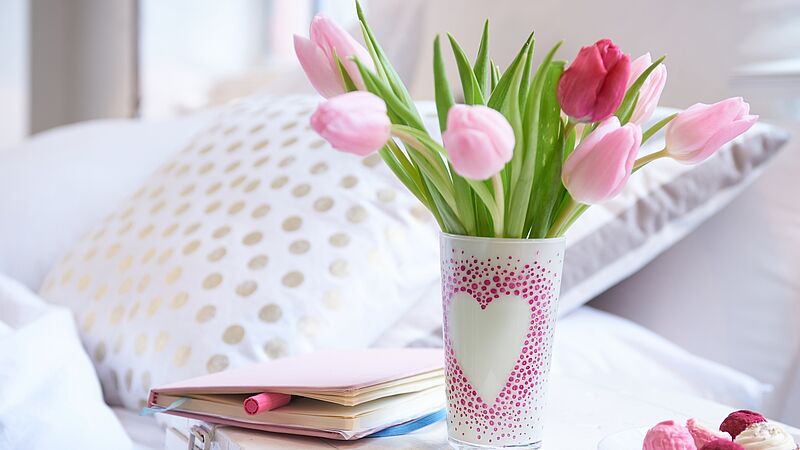
If you make a mistake, simply wipe it off with a damp cloth or cotton bud (you can continue to make corrections at any time prior to baking the motif in the oven). When you’ve finished decorating, remove the template and leave the ink to dry for 15 minutes. To heat-fix the design: preheat the oven to 160°C, place the vase on a cold oven rack, slide it into the oven and bake for 25 minutes. Leave the item in the oven to cool down afterwards.
Products and materials

Other materials
- Light-coloured vase made of porcelain or ovenproof glass
- Water and methylated spirits for initial cleaning
- A damp cloth or cotton buds to wipe off any mistakes
- Heart-shaped template
- Glue dots
- A conventional oven
Additional images
Related ideas

Creative flower card
Floral greetings for the world’s best mum
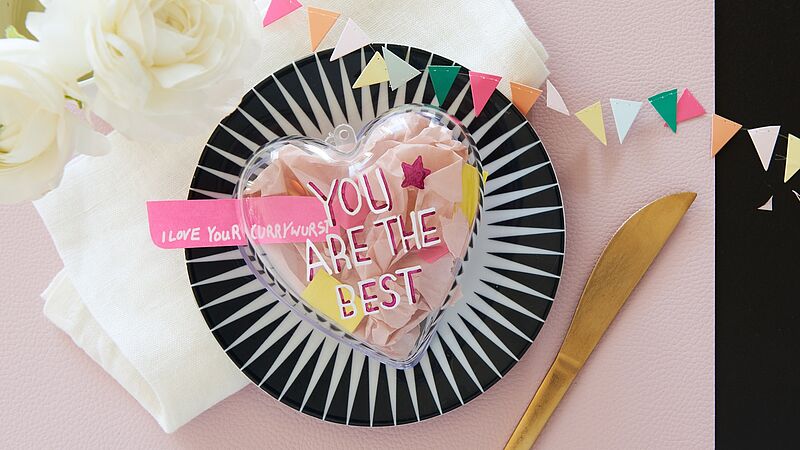
Heart-shaped box for Mother’s Day
“Mum, you are the best”
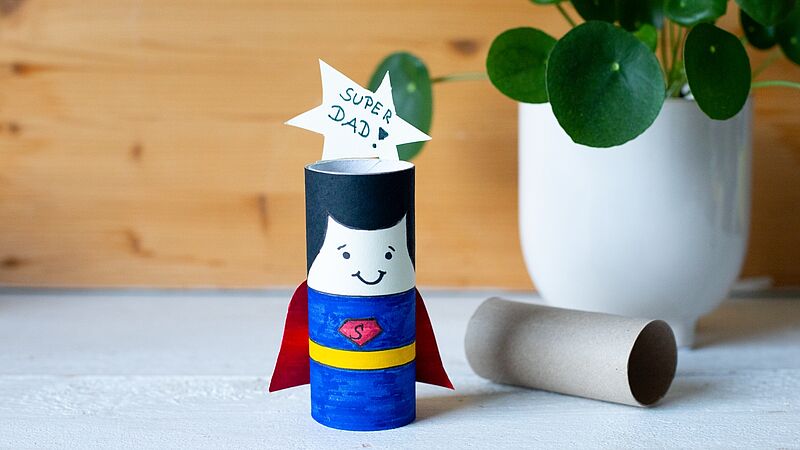
Craft idea for the best dad
Cool Father’s Day present for “Superdad”

Handmade wine labels
Beautifully designed wine labels - idea for Father's Day
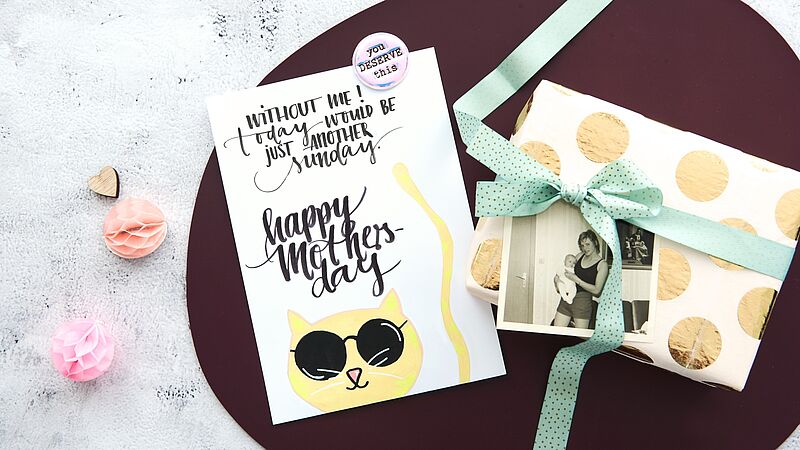
Card idea for the best mum
Lettering with acrylic markers
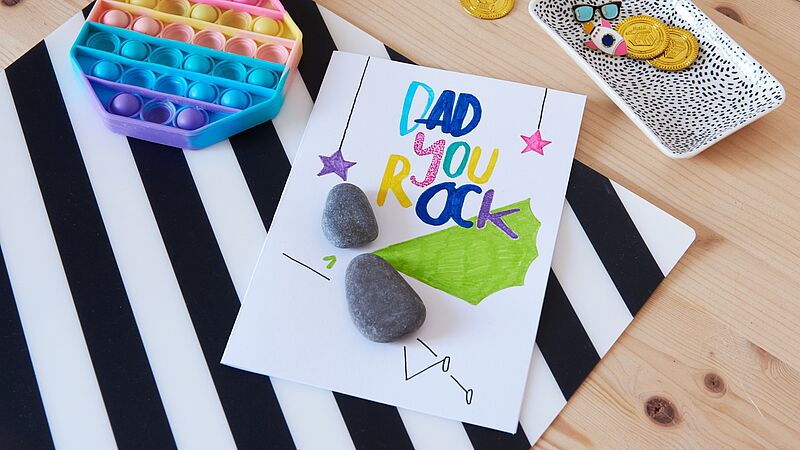
Father’s Day card idea
“Dad you rock”
Creative Newsletter
Subscribe to our newsletter, and we’ll send you inspirational and creative DIY ideas, along with details of our latest products and special offers.