
Step-by-step

Step 1
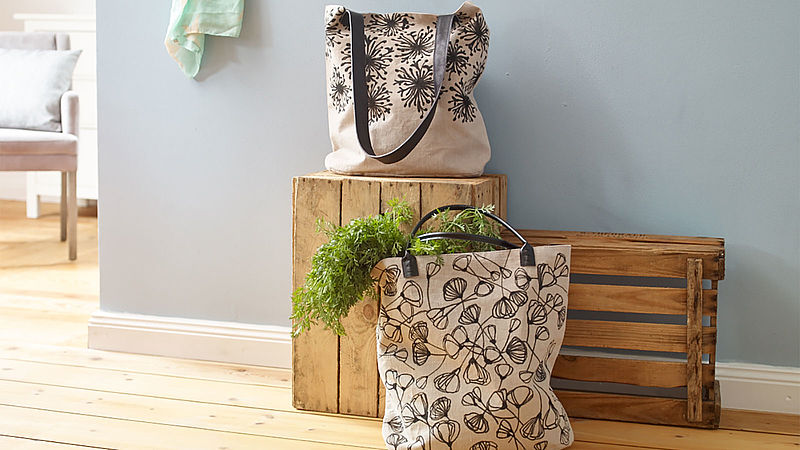
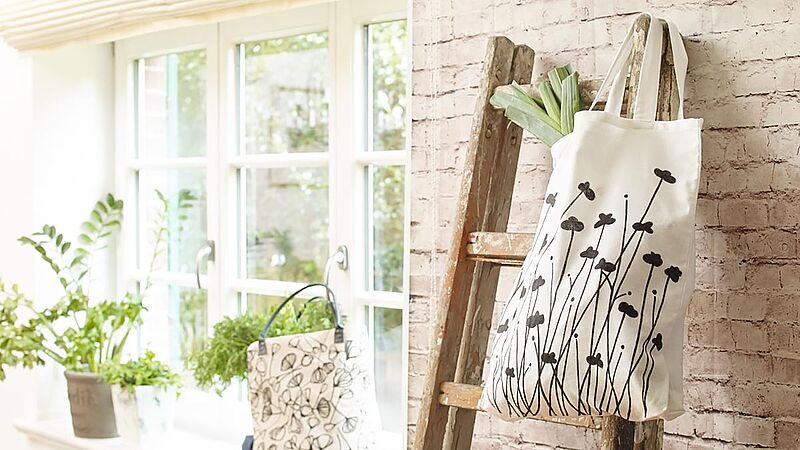
Our website shows a selection of various flower motifs for use as a template. Print out the finished motif in the size you want. Insert the cardboard into the bag to prevent the ink in the textile pens bleeding through to the back of the bag. The ideal way to transfer the design is to place the carbon paper on top of the fabric, followed by the motif. Now take the pencil or embossing pen and transfer the motif onto the bag. Handy tip: take care not to let the motif slip. Next, go over the pattern using the black textile marker.
Step 2
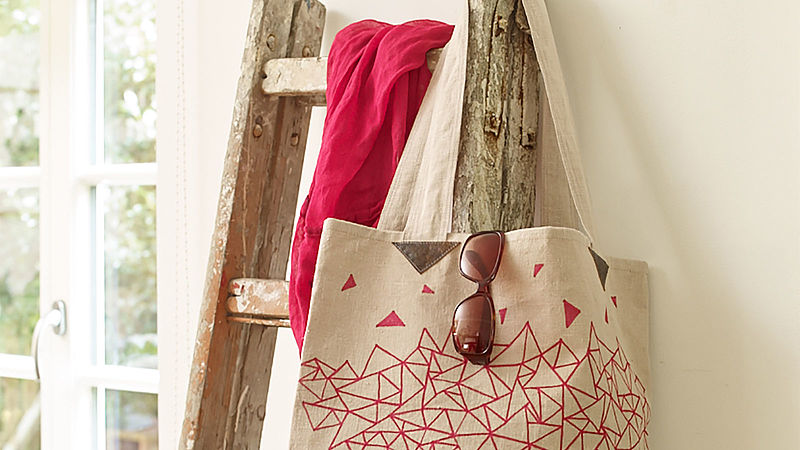
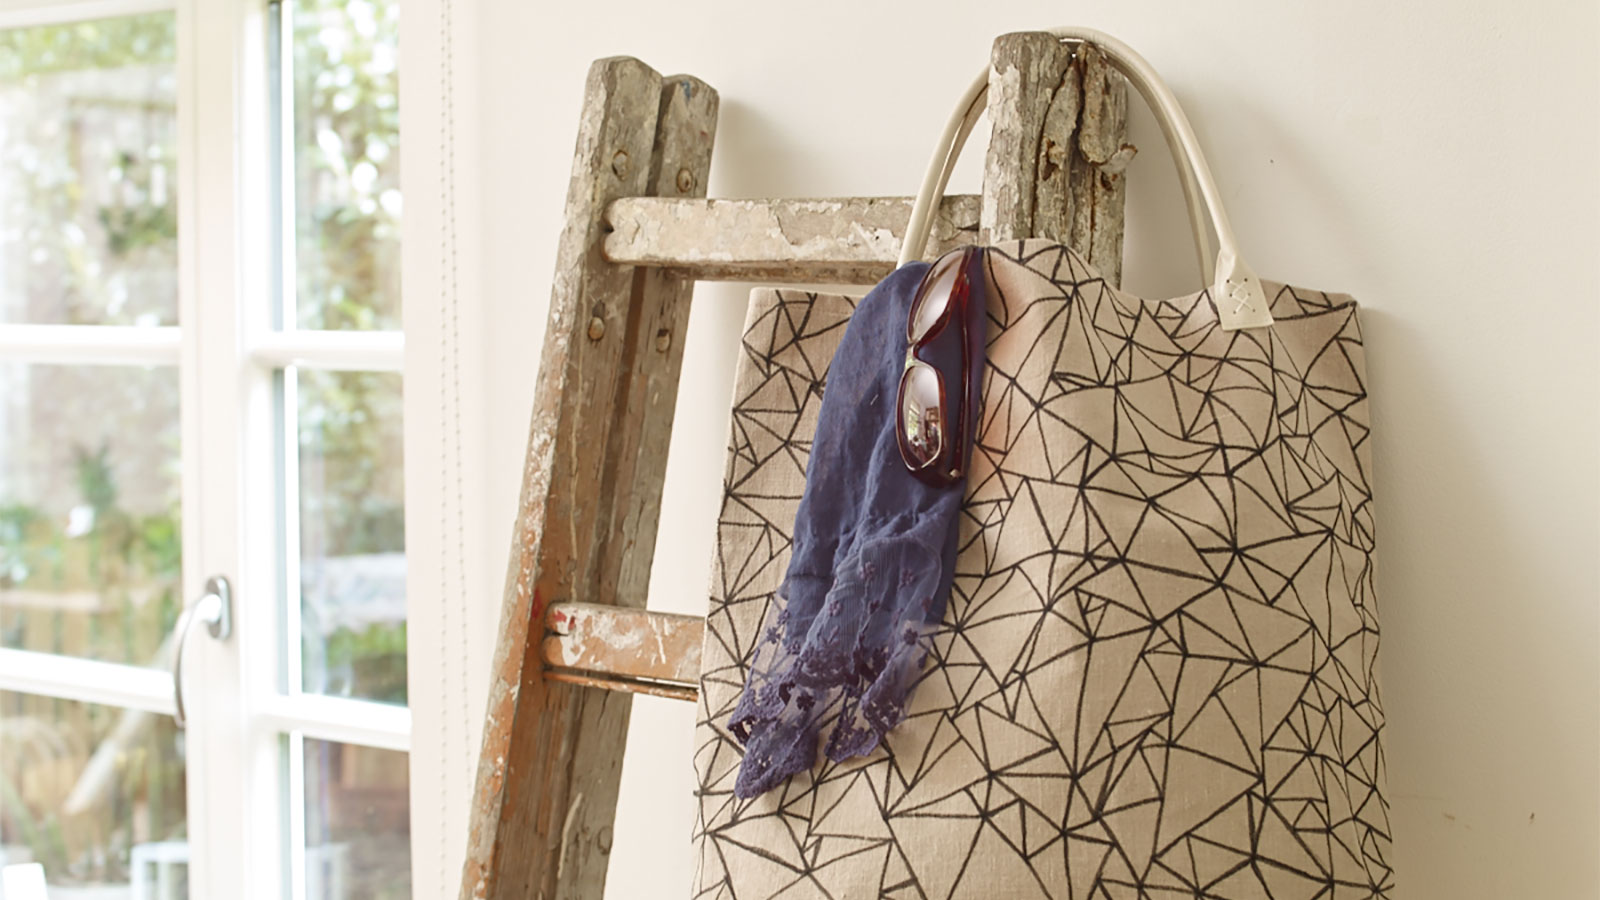
You can use this method to create any other design you want, of course – such as the graphic pattern shown here, which is made up of nothing but triangles. No template is needed for this motif which is easy to apply with the red edding 4500 textile marker.
Step 3
Once the design is finished, let the ink dry and then iron the bag without steam to set the pattern. Your designer piece will then be wash-resistant up to 60°C. Any marks left behind by the copy paper will disappear in the wash.
Products and materials


Other materials
- Light-coloured bag made of cotton or linen
- Design template
- Coloured carbon paper from a craft store or a shop selling sewing accessories
- Pencil or embossing pen to transfer the motif
- A piece of cardboard as a protective backing
- Ruler (optional)


Additional images
Related ideas

From old plates to stylish wall art
Upcycling idea for gran’s old porcelain

Handmade wine labels
Beautifully designed wine labels - idea for Father's Day
DIY shopping bags
Trendy bag designs – the easy way
Photo styling
Design your own photo gifts with ease

Surprise!
Glitter card with the wow factor

For magical moments
A glittery look for your party
Creative Newsletter
Subscribe to our newsletter, and we’ll send you inspirational and creative DIY ideas, along with details of our latest products and special offers.