
Step-by-step
Step 1
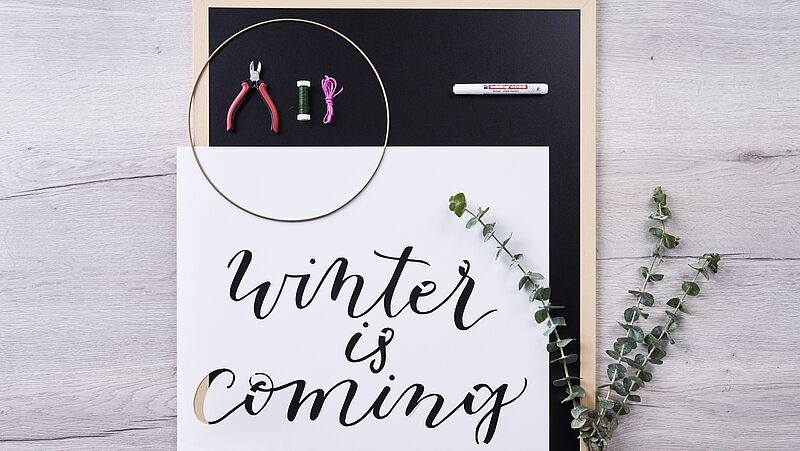
You can see all the materials you need at a glance in our photo. For the lettering, you’ll need the edding 4095 chalk marker in white. Print out the “Winter is coming” template and cut it out neatly with pointed scissors to create your stencil.
Step 2
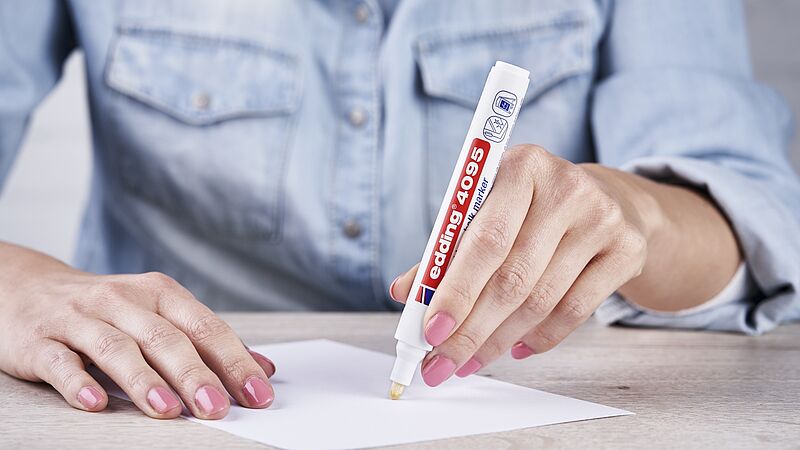
Before you start your design, here’s how to activate your chalk marker: shake the marker vigorously with the cap still on, then remove the cap, place the nib on a piece of absorbent paper and carefully pump the marker up and down a few times until ink appears in the nib. Now you’re ready to get drawing, activating the other pens as you go. (After use, always replace the cap securely and store the marker horizontally.)
Step 3
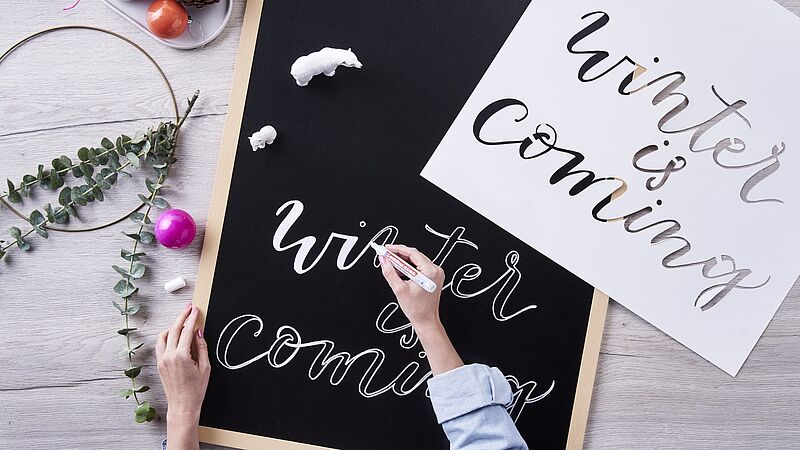
Place the stencil on the lower half of the board and use the activated marker to draw the lettering. We recommend you draw the outlines first before colouring them in. And if your first attempt doesn’t quite work out, or you want to change something, simply wipe off the ink with a damp cloth and start over again.
Step 4
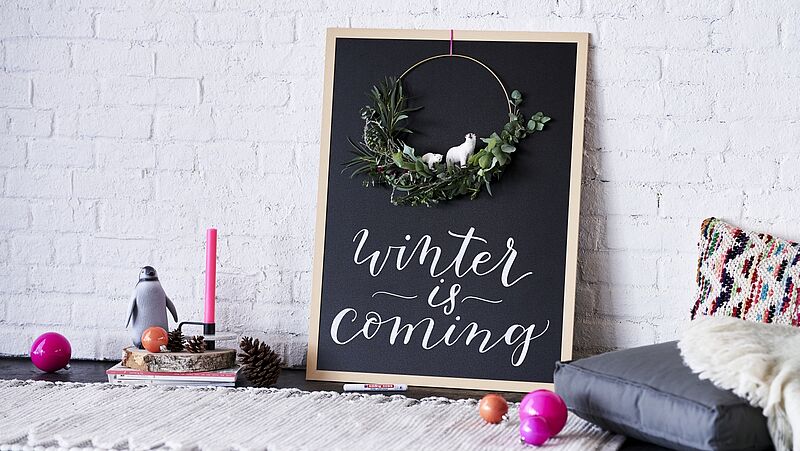
Form a small wreath out of eucalyptus, pine or holly twigs tied together with wire and secure it to the wooden frame.
Products and materials


Other materials
- Chalkboard with a wooden frame (such as “Woody” made by Securit)
- A piece of scrap paper for activating the marker
- Pointed scissors
- A damp cloth for making corrections, if needed
- Twigs for making the wreath
- Metal ring
- Craft wire
- Pliers
- String or ribbon for hanging
Templates

"Winter is coming"
Related ideas

Picnic time!
Plan ahead for the perfect day out

For magical moments
A glittery look for your party

Save-the-date card
Highly effective decoration

Happy Birthday!!
Shiny metallic shades for eye-catching birthday cards

Cards with a watercolour effect
Beautiful hand lettered motifs and sentiments

DIY menu cards
Menu card that also serves as a cutlery holder
Creative Newsletter
Subscribe to our newsletter, and we’ll send you inspirational and creative DIY ideas, along with details of our latest products and special offers.