
Step-by-step
Step 1
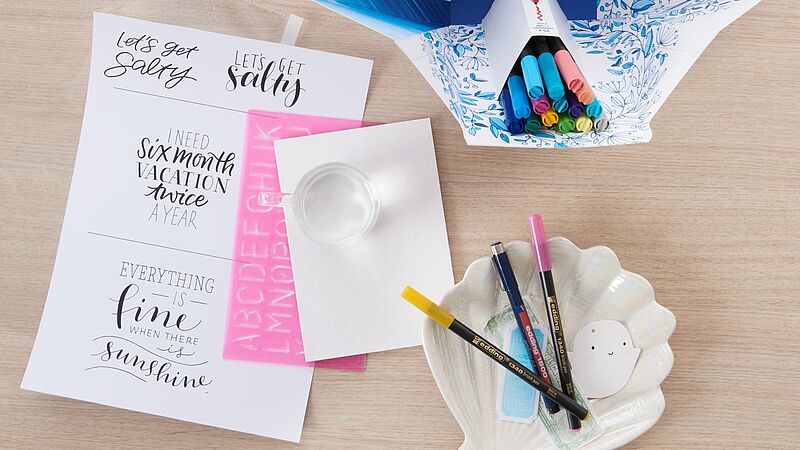
To design your cards you'll need the Colour Happy Big Box with its wide range of contents. First and foremost, however, you'll be using the edding 1800 profipen and the edding 1340 brush pen. Print out the lettering template so it’s ready to use.

Step 2
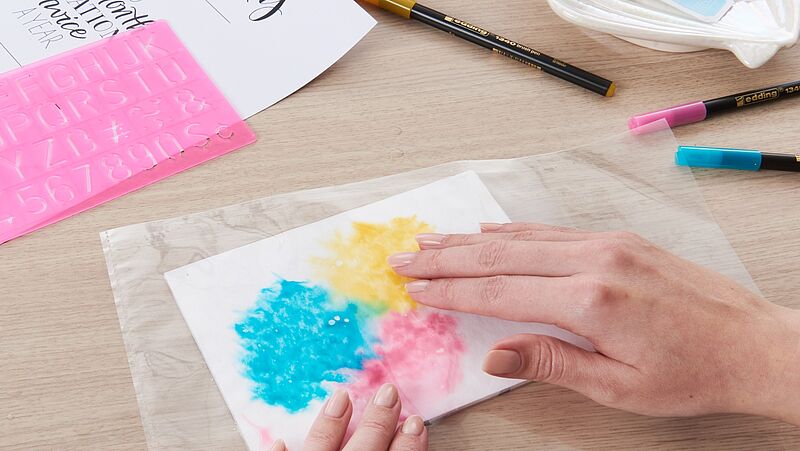
Starting with the edding 1340, apply a selection of colours to the plastic film. Moisten the watercolour paper with the brush and a little water.
Step 3
Now lay the plastic film (with the painted side facedown) on the sheet of paper and run your hand over it to spread out the ink. This creates a lovely watercolour effect. Let the paper dry thoroughly.
Step 4
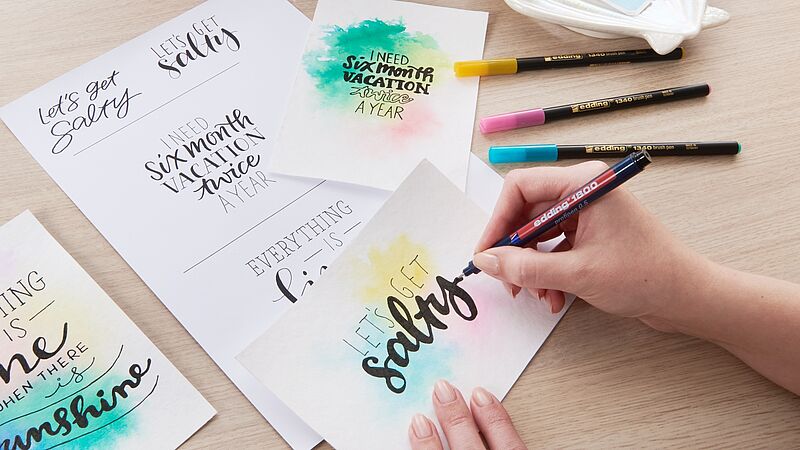
Once the paper is dry, it's time for the hand lettering. The fine tip of the edding 1800 makes it the ideal choice for beautiful, hand-drawn fonts. If you prefer not to copy straight from the template, try using carbon paper to help you transfer the sections of text onto the card.
Step 5
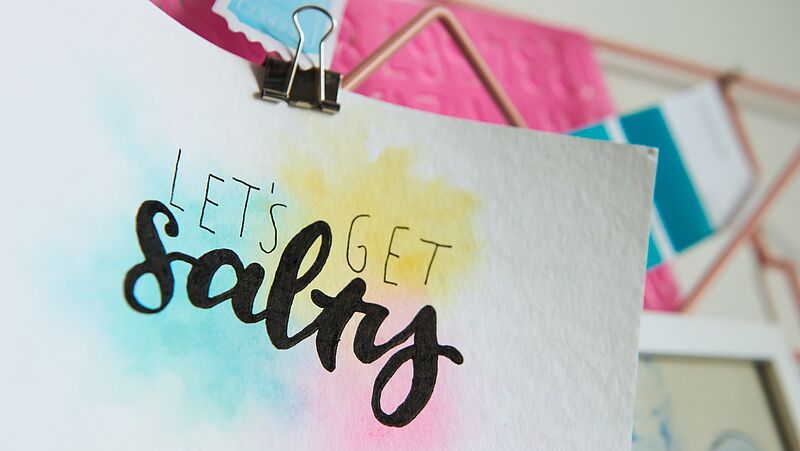
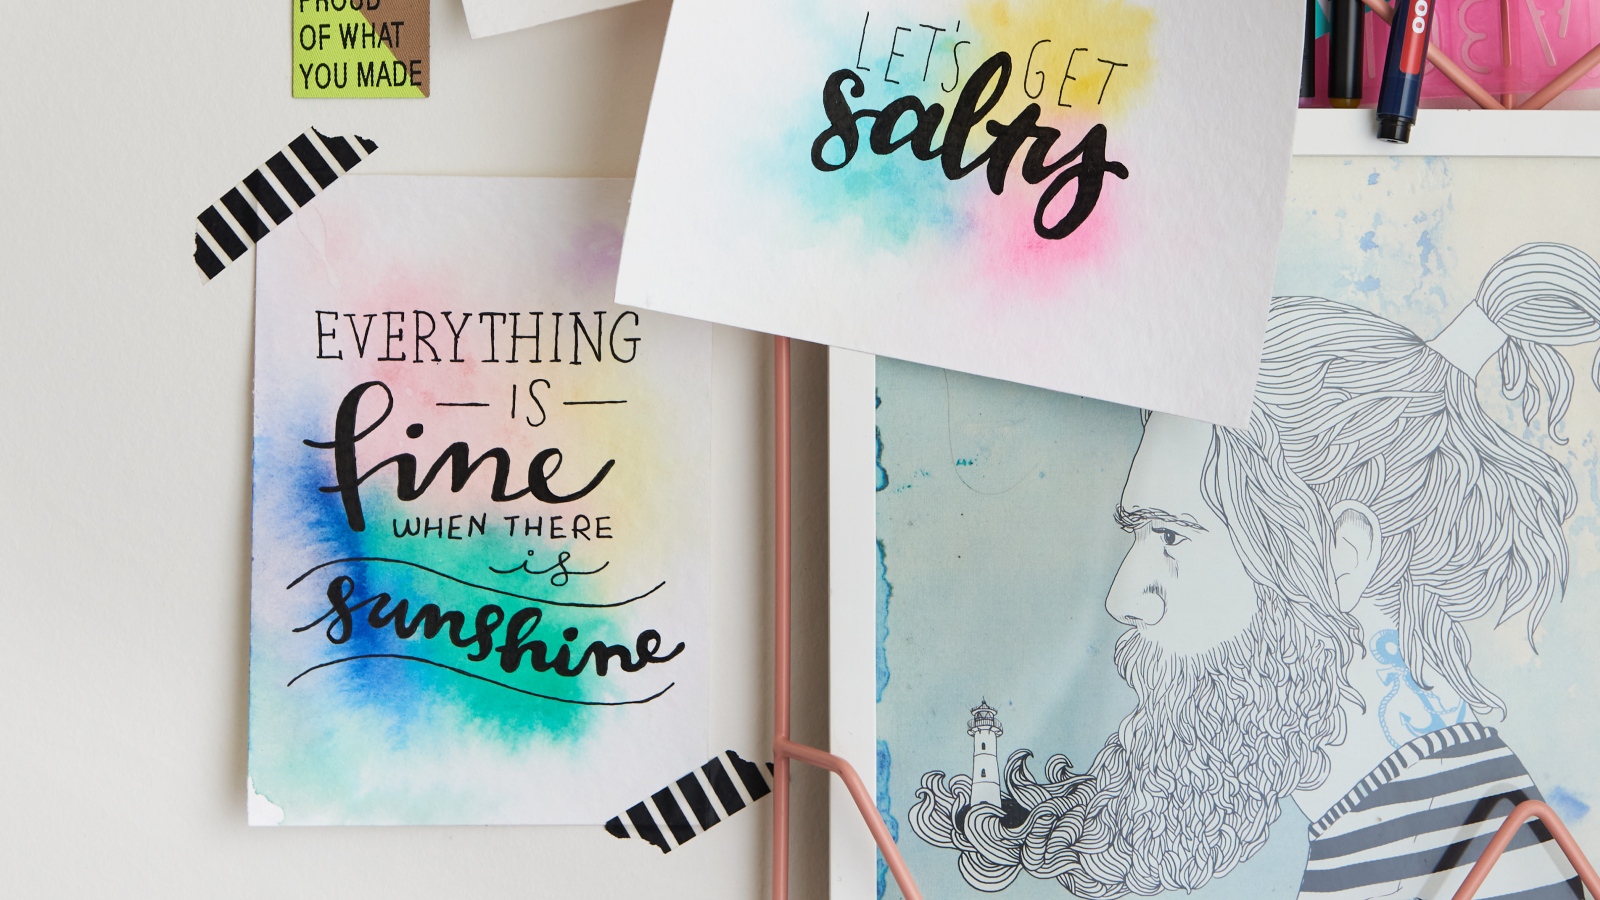
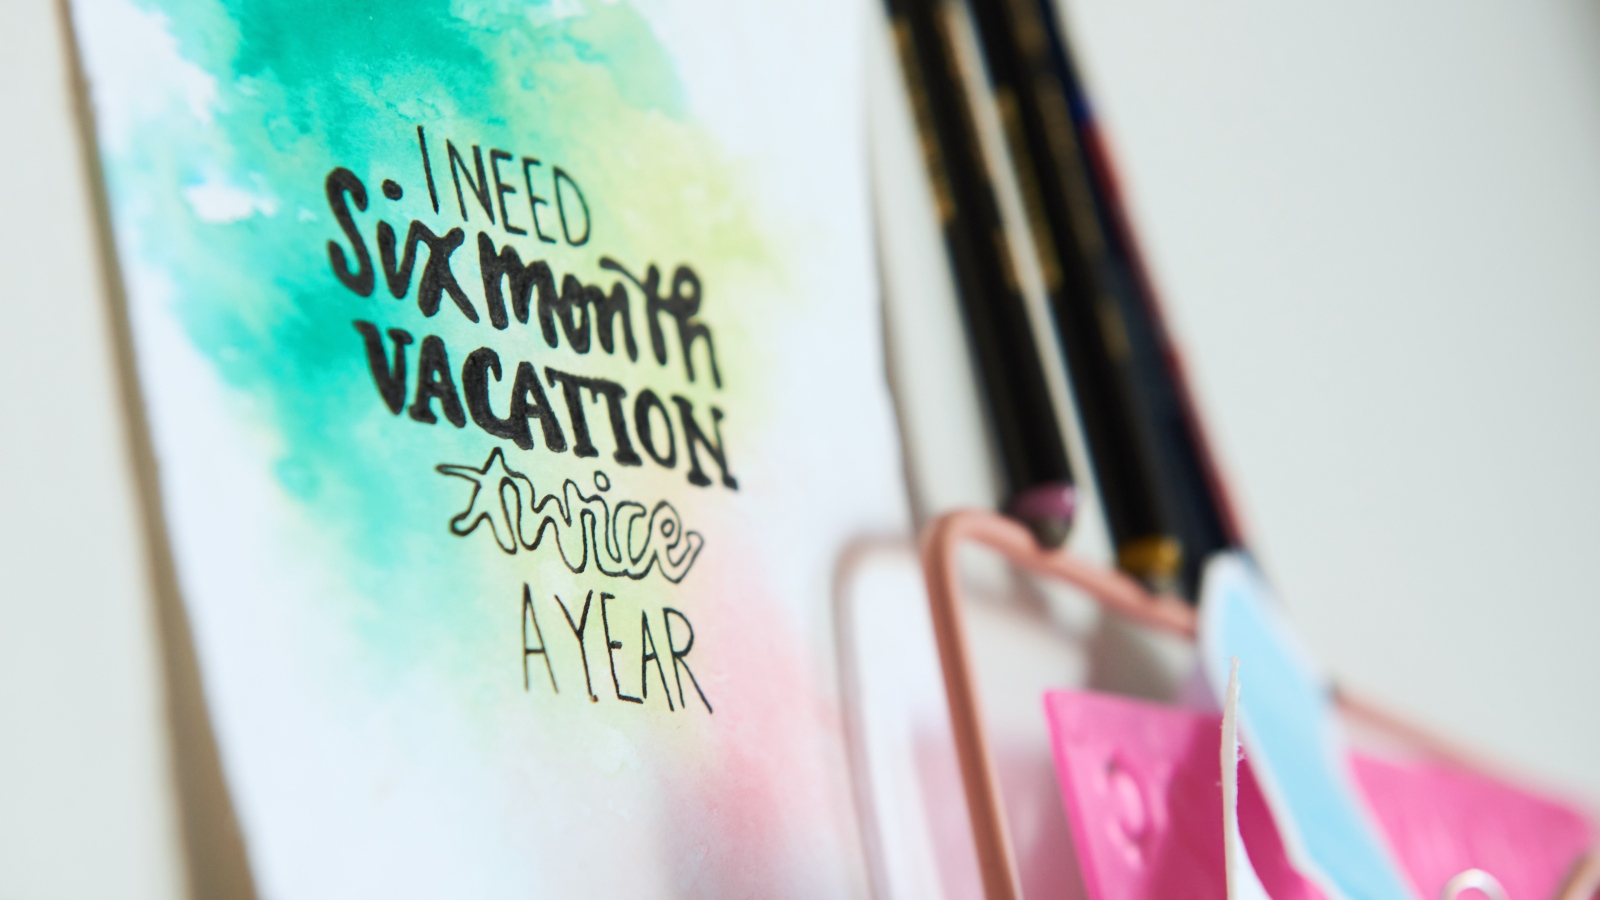
In our photo, you can see the lettering in more detail. When it comes to the broader letters, draw the outer lines first before filling them in.
Products and materials


Other materials
- Absorbent paper, e.g. watercolour paper
- Plastic film or sheet, e.g. clear document sleeve
- Glass of water
- Paintbrush
- Template
- Letter template (optional)
Templates

Statements Salty
Additional images
Related ideas
Easy-peasy season’s greetings
Creatively designed Christmas cards
Christmas post with added sparkle
Eye-catching cards for your nearest and dearest
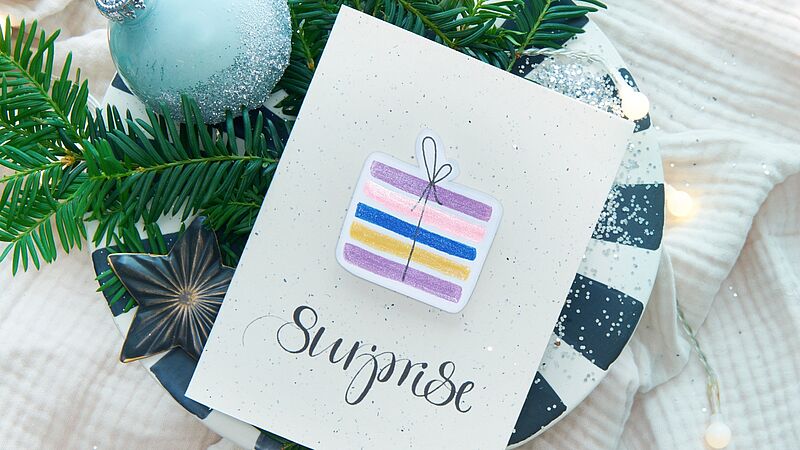
Surprise!
Glitter card with the wow factor
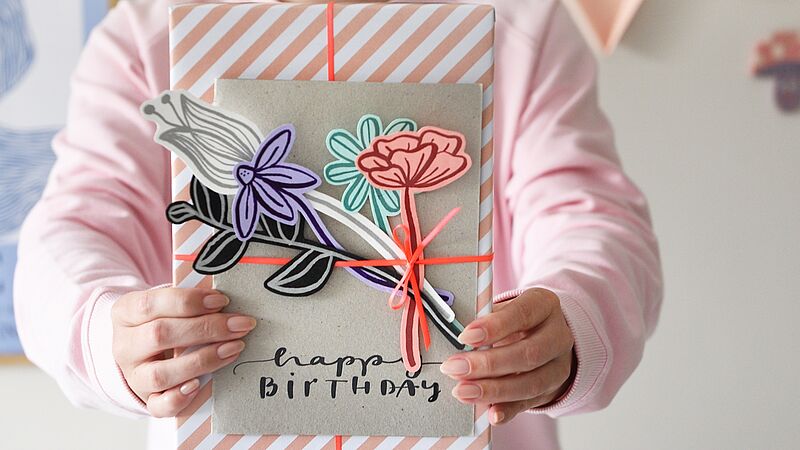
Birthday card
… with a floral decoration guaranteed not to wilt!
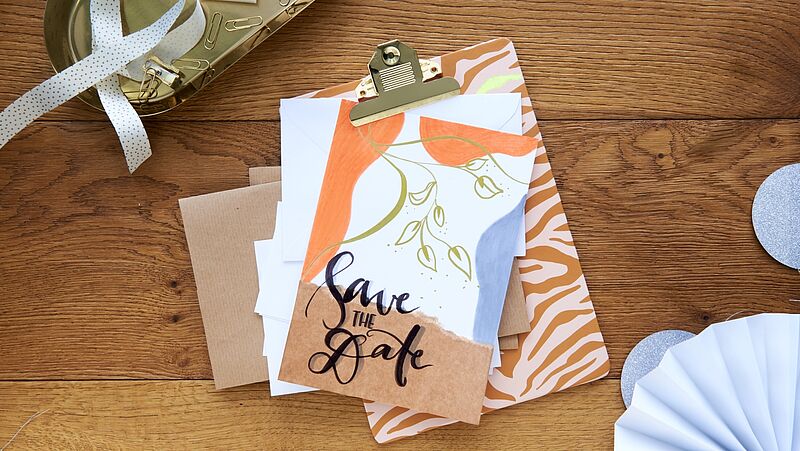
Save-the-date card
Highly effective decoration

Happy Birthday!!
Shiny metallic shades for eye-catching birthday cards
Creative Newsletter
Subscribe to our newsletter, and we’ll send you inspirational and creative DIY ideas, along with details of our latest products and special offers.