
Step-by-step
Step 1
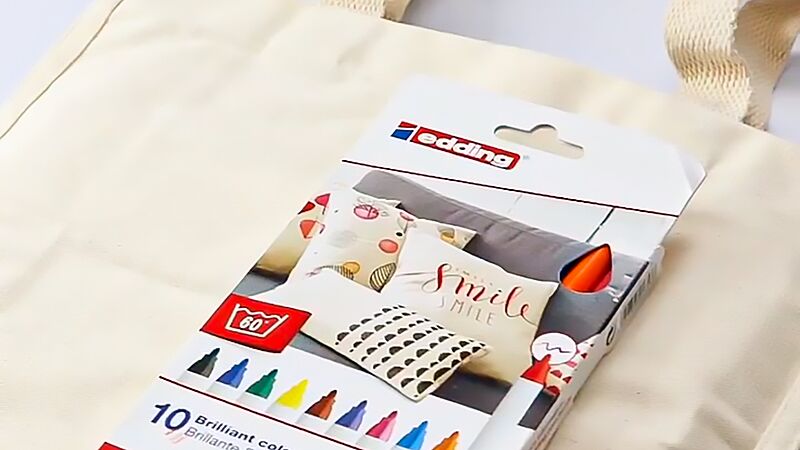
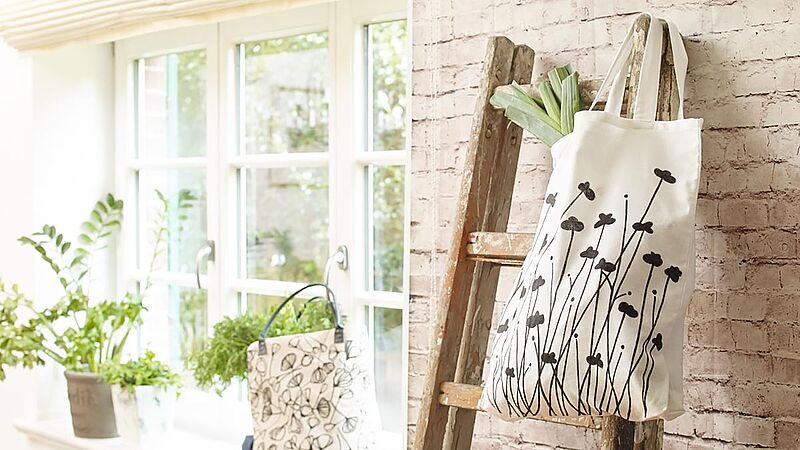
To ensure maximum adhesion of the textile pen ink to the material, we recommend you wash, dry and iron your bag beforehand. The textile pens come in handy sets of assorted and carefully co-ordinated colours. In our photo, you can see the Basic Set of 10 colours.
Step 2
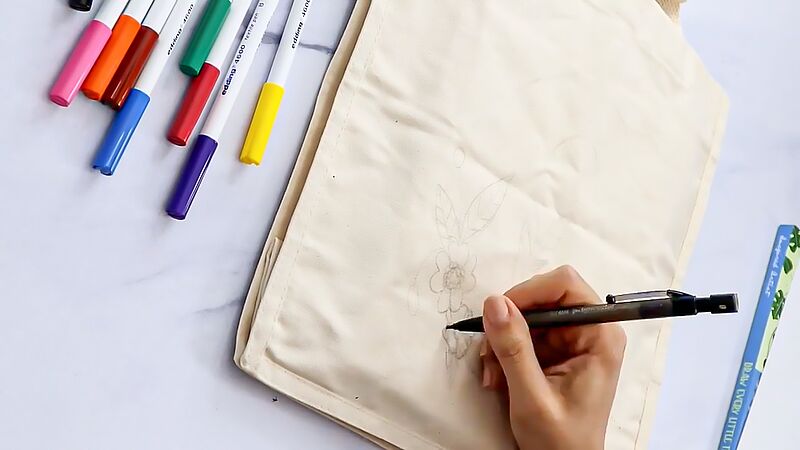
Think of a design and draw it on the bag using a pencil. It’s really handy if the material is translucent because it means you can create a motif and then place it under the fabric so that the design shows through. You can then use the textile pen to transfer the design onto the actual fabric.
Step 3
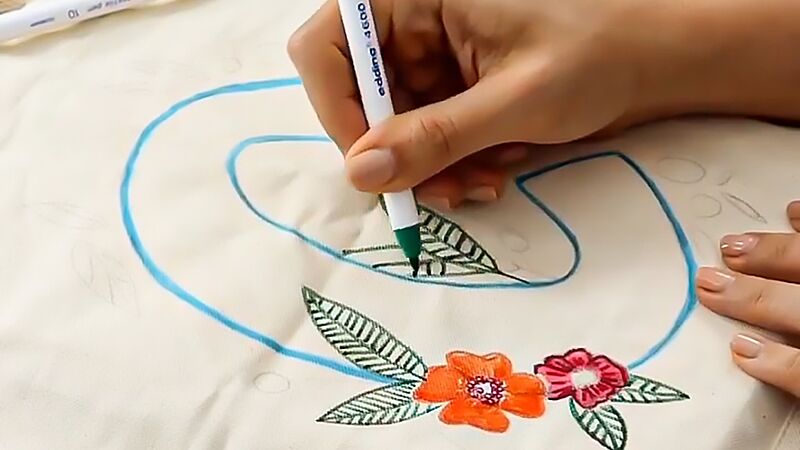
Before you start colouring, place a piece of card inside the bag to prevent the ink bleeding through the fabric. Next, colour in your flower motifs in a range of colours. Just do whatever takes your fancy. The fine tip of the textile pen allows you to create even dainty patterns and finer details without any problem.
Step 4
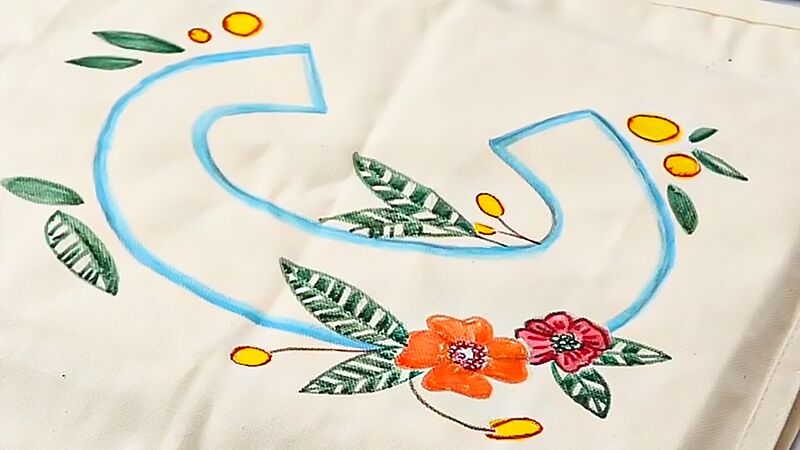
You can see the finished design in more detail in this photo. To finish, heat-fix the bag by ironing without steam. This will make it wash-resistant to 60°C.
Products and materials

Other materials
- Light-coloured fabric bag
- Pencil
- Cardboard to act as a base
- Iron
Related ideas

From old plates to stylish wall art
Upcycling idea for gran’s old porcelain

Handmade wine labels
Beautifully designed wine labels - idea for Father's Day
DIY shopping bags
Trendy bag designs – the easy way
Photo styling
Design your own photo gifts with ease
Surprise!
Glitter card with the wow factor

For magical moments
A glittery look for your party
Creative Newsletter
Subscribe to our newsletter, and we’ll send you inspirational and creative DIY ideas, along with details of our latest products and special offers.