
Step-by-step
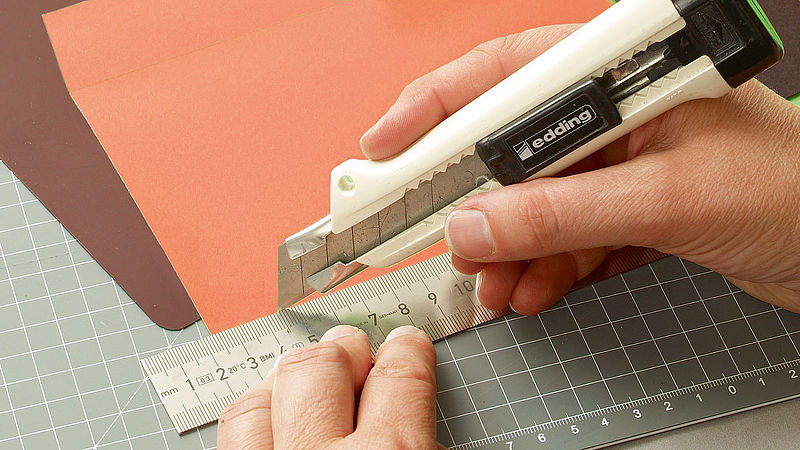
Step 1
Cut the paper into 20 x 20 cm squares.
Step 2
Form the individual sheets of paper into cones with a sharp point and secure with tape or glue. Double sided tape is recommended.

Step 3
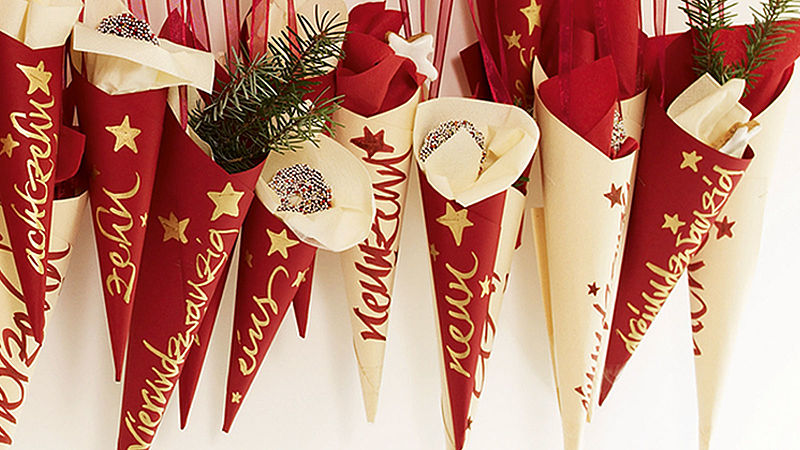
Use the edding 751 gloss paint markers to write the numbers one to twenty-four on the cones. Either use the number or write out the numbers in words. Both look great.

Step 4
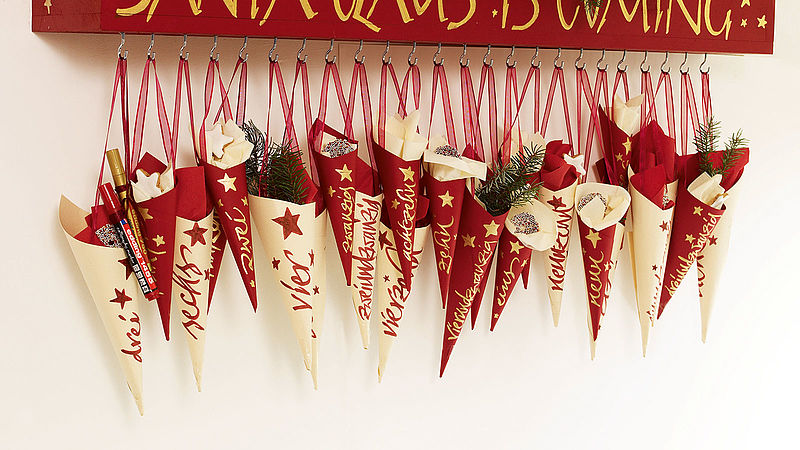
Punch a hole on either side of the finished holder and run a ribbon through to create a loop for hanging.
Step 5
Finally, wrap the treats in tissue paper and place in the cones.
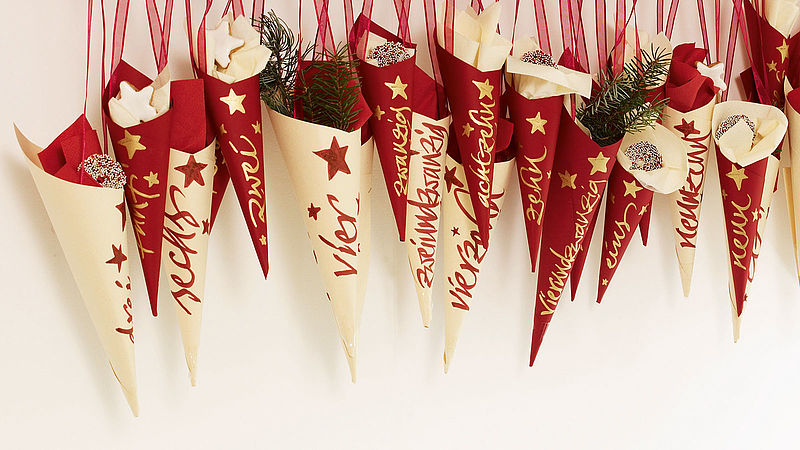
Step 6
Hang the finished cones on a wooden board with hooks, or wherever you like.
Products and materials


Other materials
- 24 sheets of 20 x 20cm thick paper in your choice of colours
- Double-sided tape (recommended) or any strong glue
- Scissors
- Tissue paper in matching colours
- Ribbon
- Optional: a hook and wooden board for fixing the calendar on the wall
Related ideas
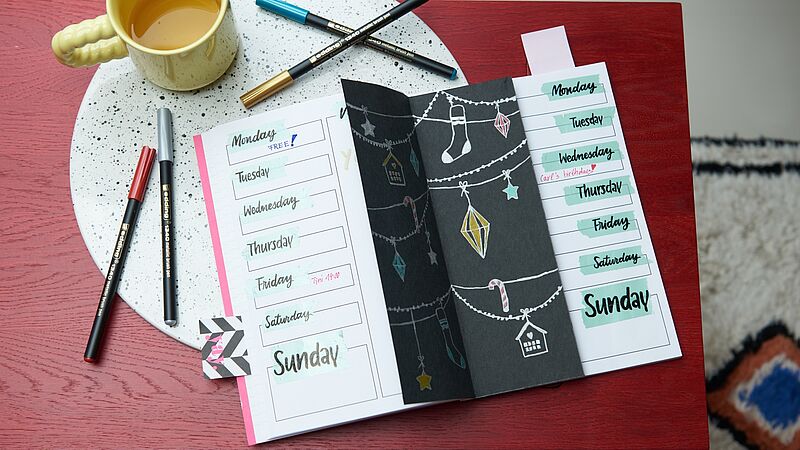
A festive look for your journal
Decorate your weekly planner with this stylish insert

Festive glass baubles
Hand-decorated baubles for the Christmas tree
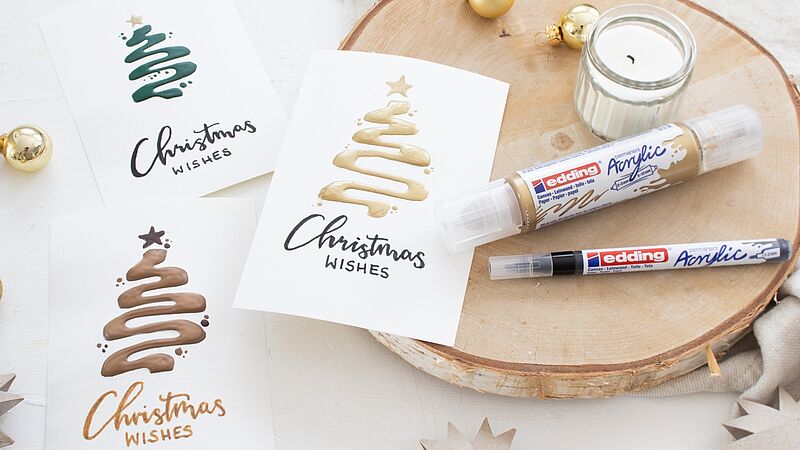
Easy-peasy season’s greetings
Creatively designed Christmas cards

Individual gift jar
Small gifts, beautifully packaged
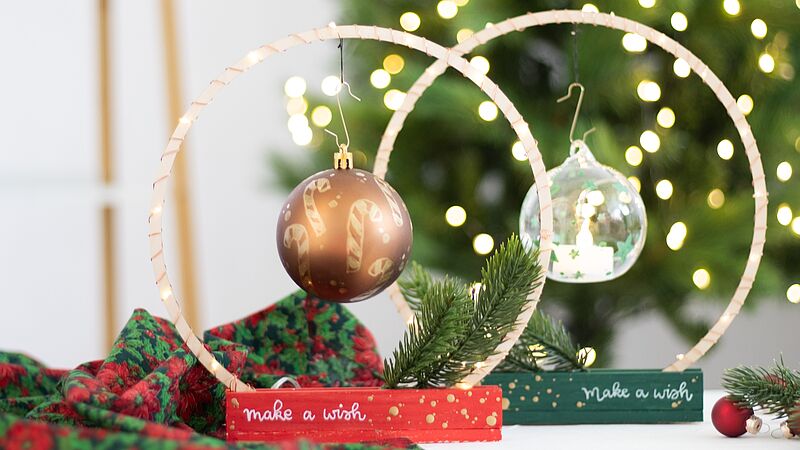
Design your own circle of light
Create a festive atmosphere
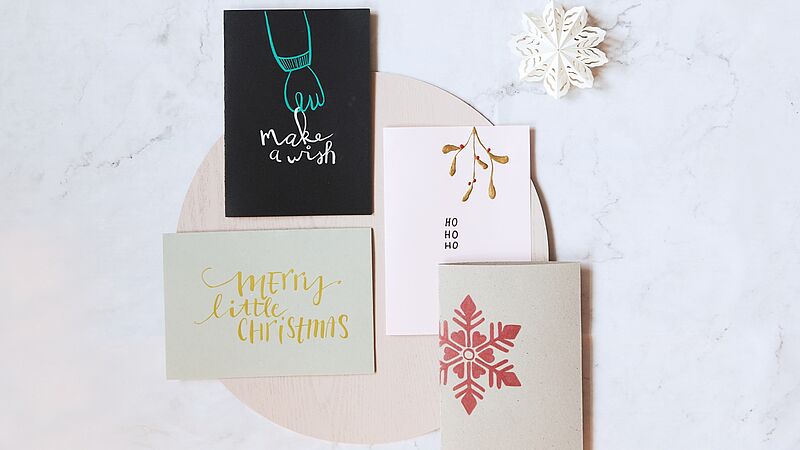
Christmas post with added sparkle
Eye-catching cards for your nearest and dearest
Creative Newsletter
Subscribe to our newsletter, and we’ll send you inspirational and creative DIY ideas, along with details of our latest products and special offers.