
Step-by-step
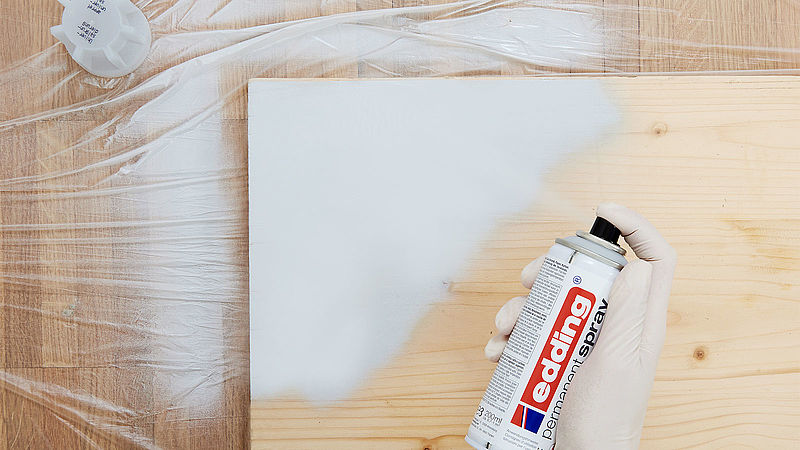
Step 1
To prepare the two wooden panels, cover completely with universal primer spray and leave to dry thoroughly. Next, spray the larger panel all over in mild mint. We recommend holding the can at a distance of 25 cm and using horizontal and vertical strokes to ensure a more even coverage. For the essentials on working with edding Permanent Spray, go to our Spray basics. Leave to dry for approx. 30 mins.
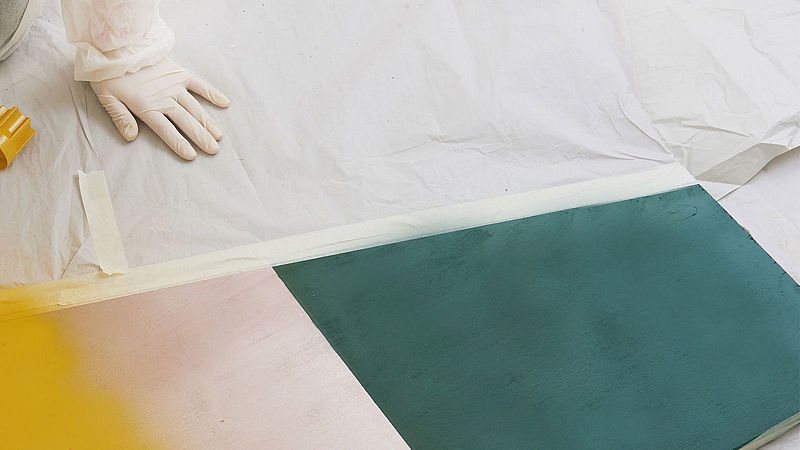
Step 2
To spray a section of the smaller panel in moss green, use masking film to carefully cover the area you don’t want painted. Leave to dry.
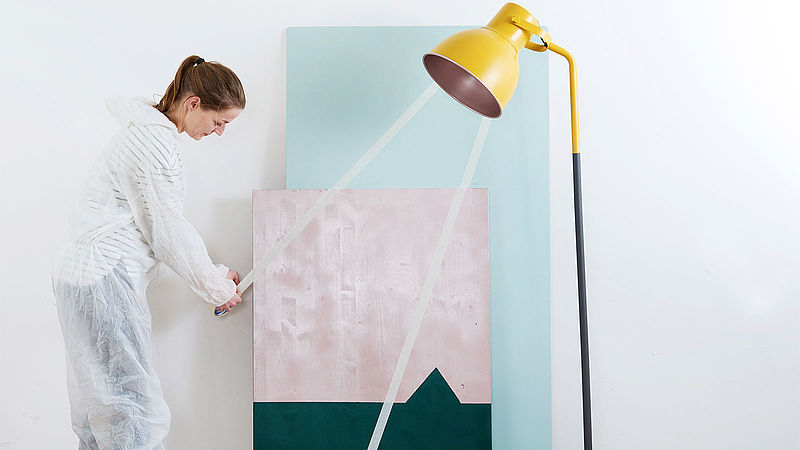
Step 3
When everything is completely dry, arrange the two wooden panels the way you want them to look when mounted on the wall. Mark the position of the yellow “light beam” on the wooden panel with masking tape and, again, cover any areas that you want to remain paint-free.
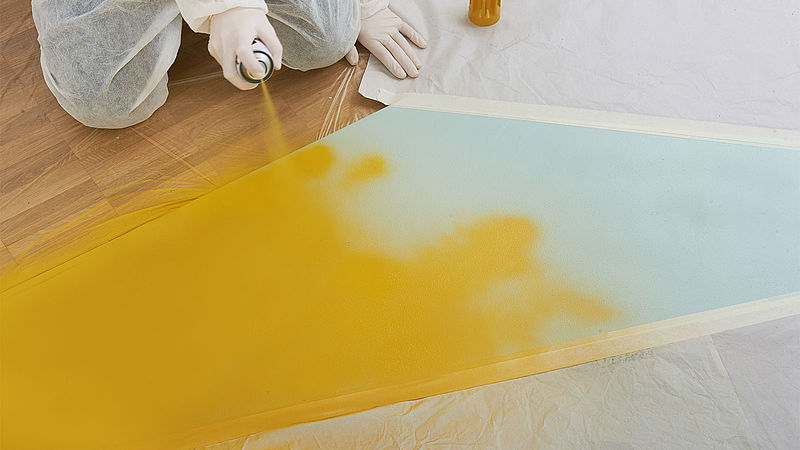
Step 4
Now you can get cracking with the vibrant amber paint. As before, hold the can at a distance of 25 cm. Allow the paint to dry thoroughly.
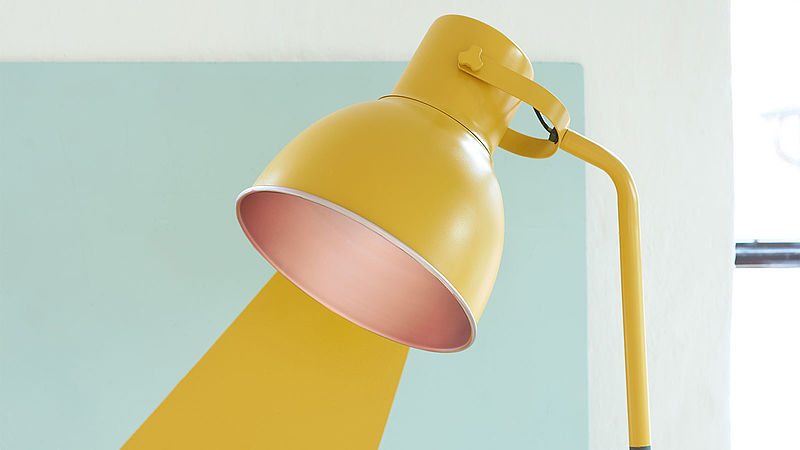
Step 5
Place the lamp so that it appears to throw a yellow “beam” across your wall design. To make your artwork look even more amazing, you could even paint the actual lamp in vibrant amber to match.
Products and materials


Other materials
- Two wooden panels, in different sizes
- Adhesive tape or masking tape
- Masking film to cover the blank areas
- Protective cover for spraying, gloves
- Floor lamp for presenting the design effectively
Additional images

Related ideas
Annoying little scratches
Fix scratches in your wooden furniture
Cushion with graphic patterns
A real eye-catcher for your sofa

DIY vases made from old cups
Copy this cheerful upcycling idea to make an eye-catching vase

Home decorating ideas without limits
Unique, handmade designs

Boho chic décor
Bottles and lanterns decorated with delicate patterns
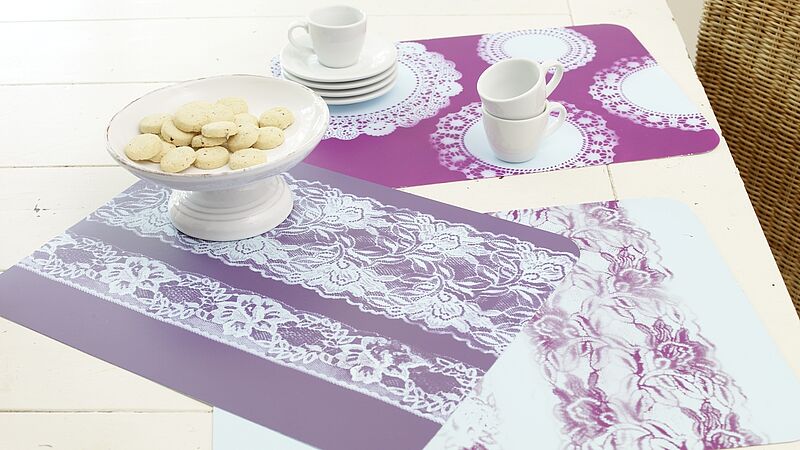
Table mats in shades of lilac
Pretty placemats with delicate lace patterns
Creative Newsletter
Subscribe to our newsletter, and we’ll send you inspirational and creative DIY ideas, along with details of our latest products and special offers.