
Step-by-step
Step 1
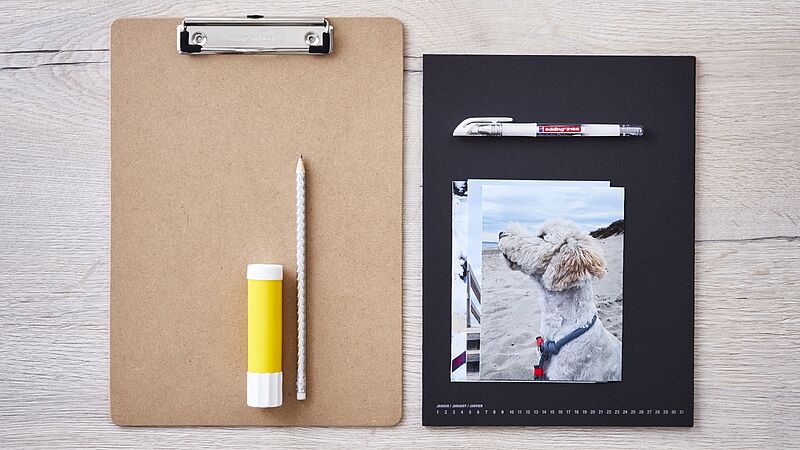
In our example, we used gel rollers in white (colour code 049) and a variety of metallic shades. There’s a total of 7 metallic colours in the range for creating amazing effects on dark-coloured paper, and many other colours, too. Gather together a minimum of 13 photos (to include the cover page).
Step 2
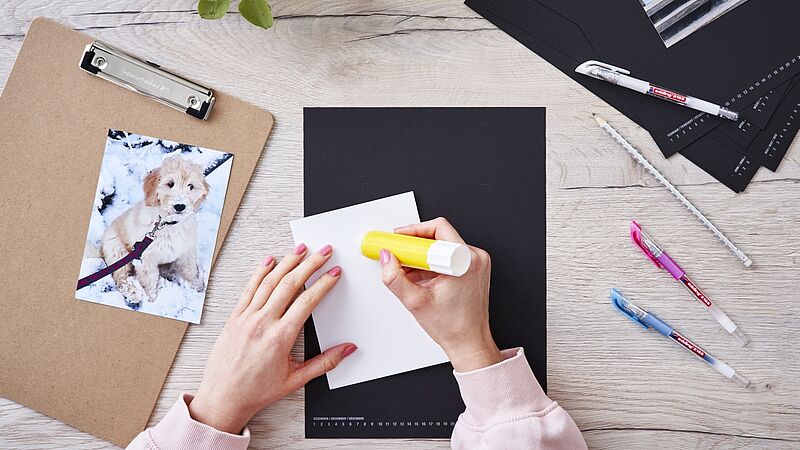
We glued our photos in a central position, but feel free to arrange them however you want. If you’ve got lots of photos you want to display, you can group 2 or more on each page.

Step 3
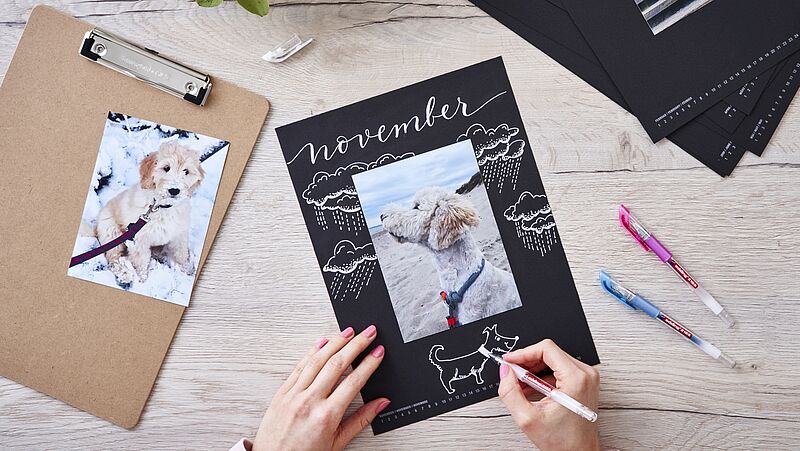
Take time to think up what captions and drawings you want to add to the photos. For a really decorative effect, why not write the calendar month in calligraphy at the top of each page. We recommend you sketch everything in pencil first, so it’s easier to make changes.
Step 4
Next, take the white gel roller (or whatever colour you choose) and go over all your pencil strokes. The ink gives very good coverage, so the pencil lines will not be visible afterwards. The fine nib of the gel roller makes even intricate drawings possible – like these raindrops, for example. If you’re making a loose-leaf calendar rather than a bound one, simply secure the individual pages to the clipboard afterwards.
Products and materials

edding 2185 gel roller
Other materials
- Blank photo calendar or individual sheets
- Clipboard (optional)
- Pencil
- Glue stick
Templates

"November"
Additional images
Related ideas

From old plates to stylish wall art
Upcycling idea for gran’s old porcelain

Handmade wine labels
Beautifully designed wine labels - idea for Father's Day
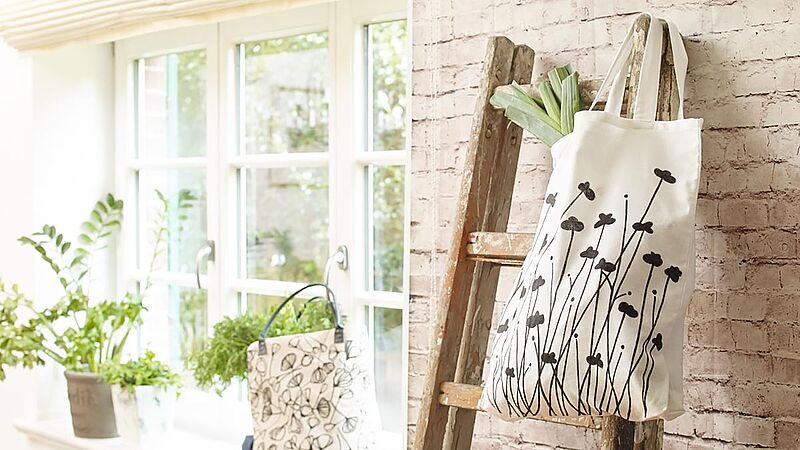
DIY shopping bags
Trendy bag designs – the easy way
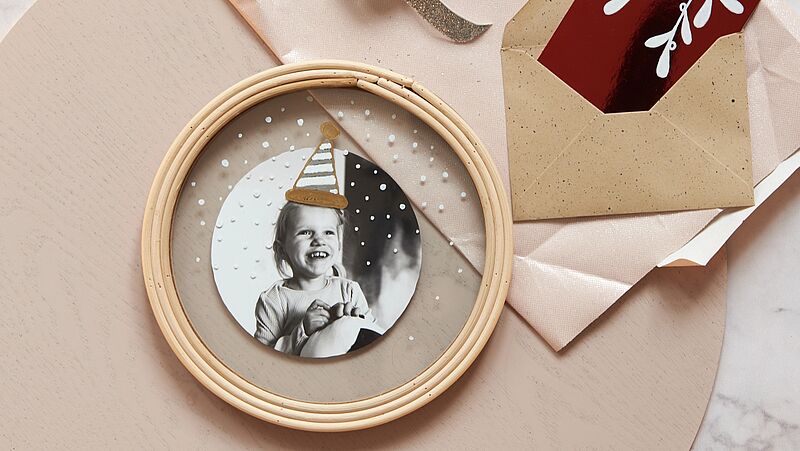
Photo styling
Design your own photo gifts with ease
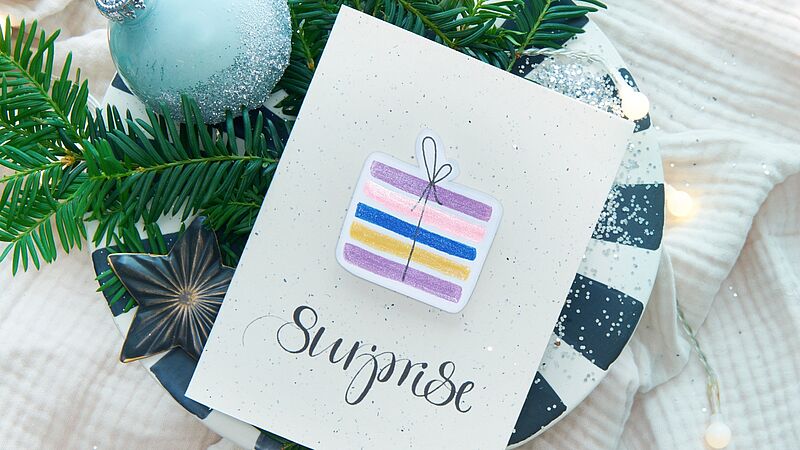
Surprise!
Glitter card with the wow factor
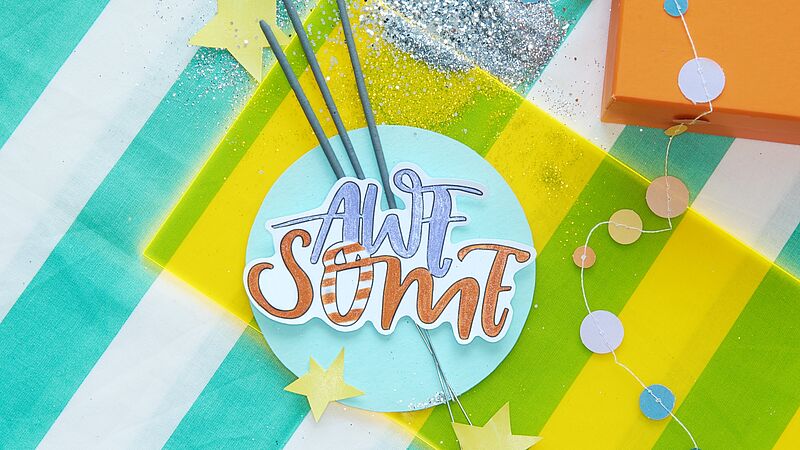
For magical moments
A glittery look for your party
Creative Newsletter
Subscribe to our newsletter, and we’ll send you inspirational and creative DIY ideas, along with details of our latest products and special offers.