
Step-by-step
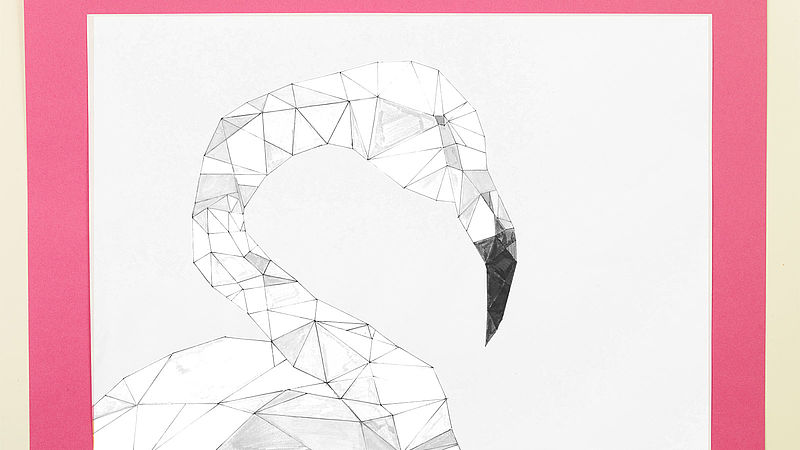
Step 1
The flamingo image is formed by linking lots of individual triangles together. First, draw the outline of the flamingo in pencil. Fill in the outline with triangles of all sizes. Some areas can be completed with squares instead, or other geometric shapes.
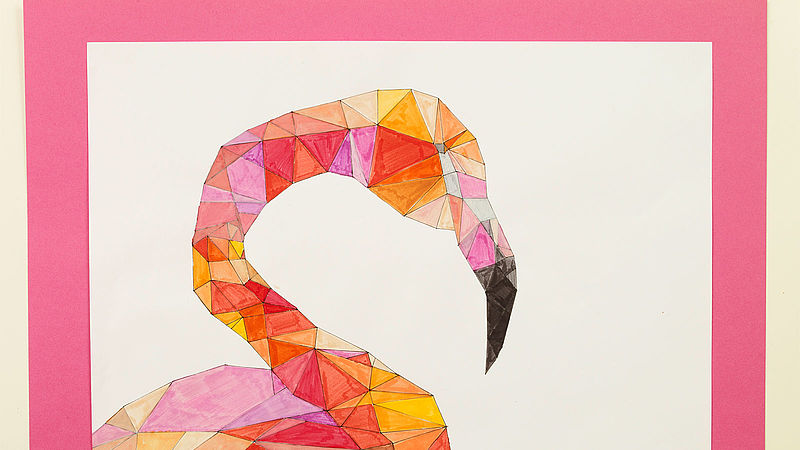
Step 2
Using the brushpens, colour in the pattern any way you like. We chose mainly pink and red tones to match the colour of flamingoes. To finish, colour the beak in black, and don’t forget to add the eye.
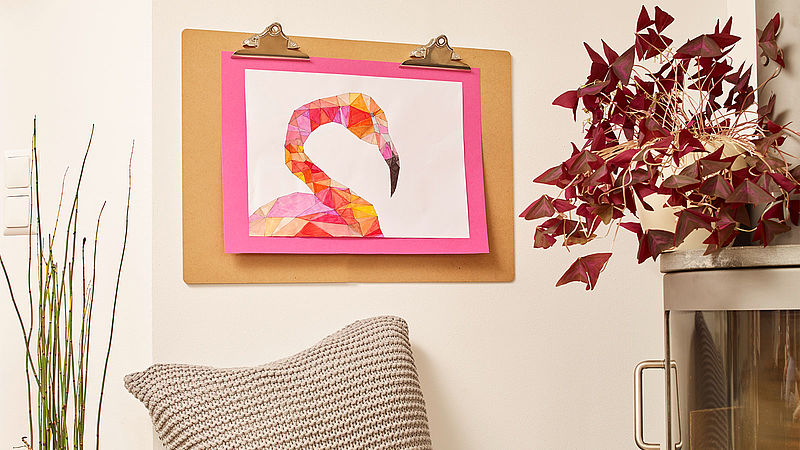
Step 3
You can lighten the colour of individual triangles with the Pastel Pen – Soft White. The more times you colour over an area, the more pastel the original shade becomes. Your picture is now ready to be hung on the wall or given as a present!
Products and materials
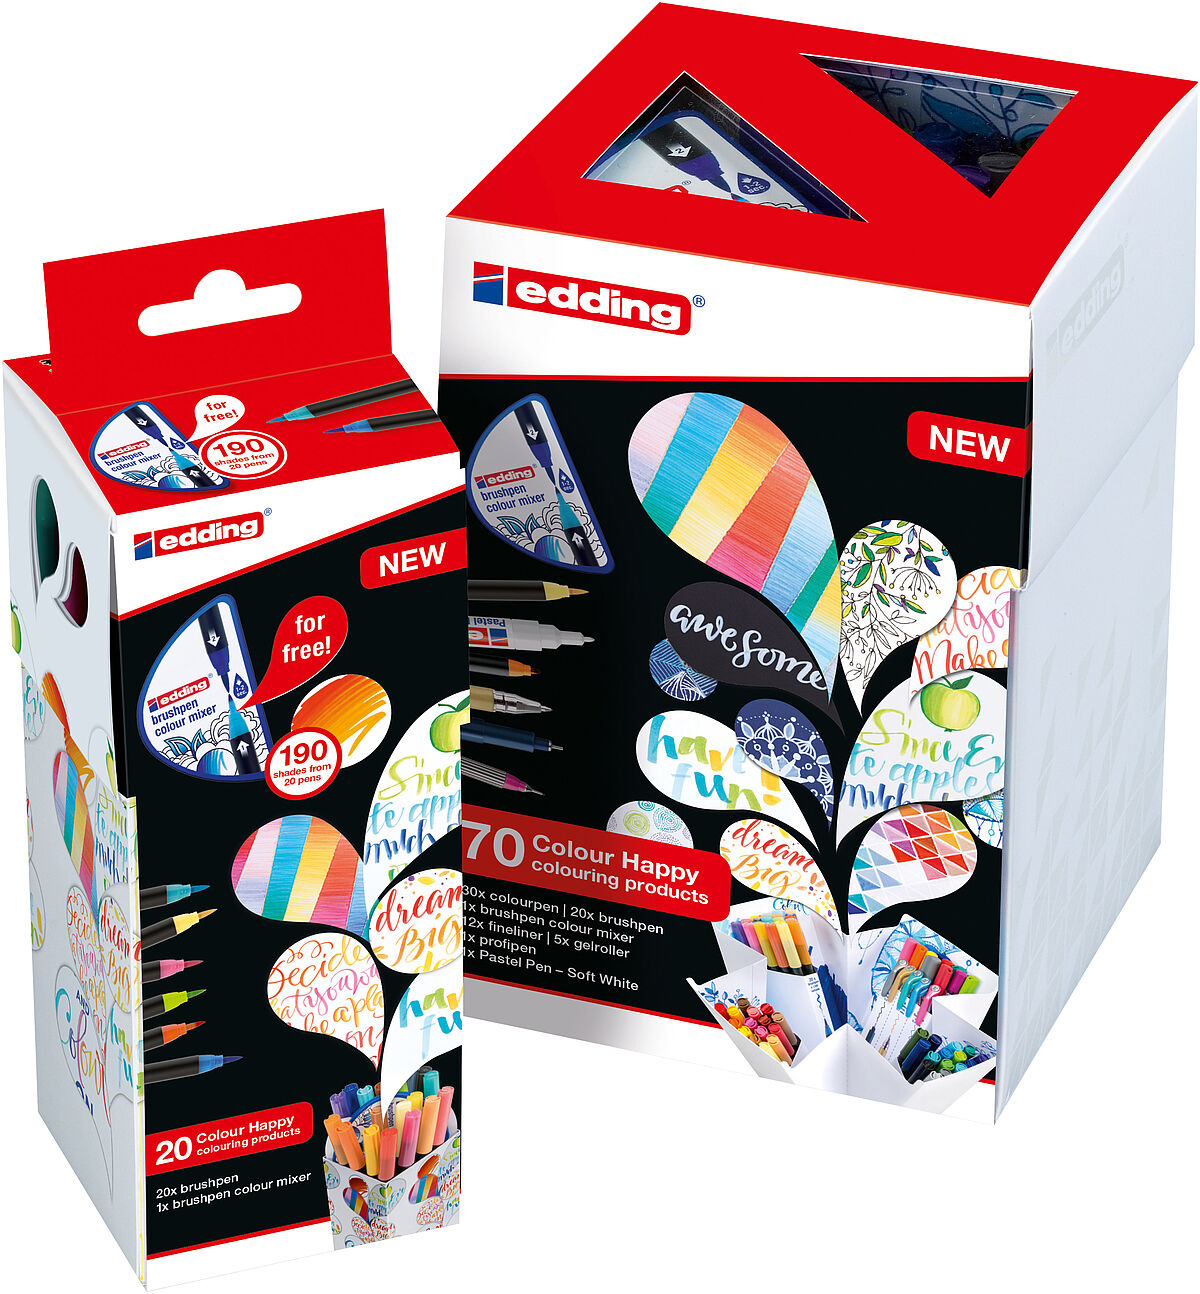
edding Colour Happy edition
Other materials
- Smooth white drawing paper
- Pencil
Related ideas
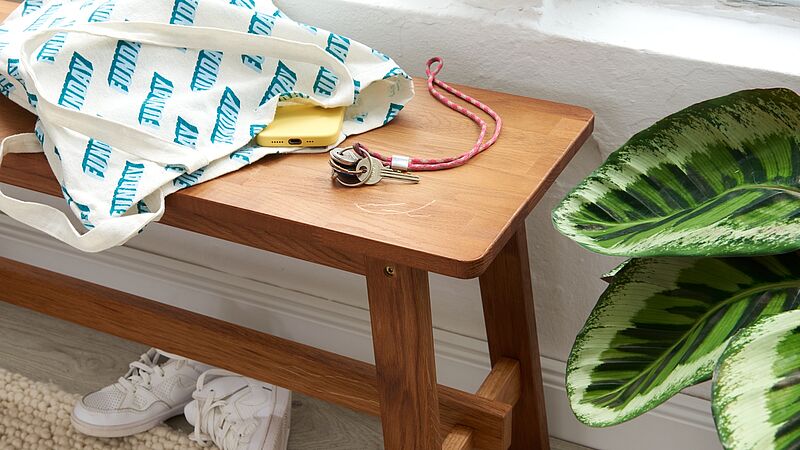
Annoying little scratches
Fix scratches in your wooden furniture

Cushion with graphic patterns
A real eye-catcher for your sofa
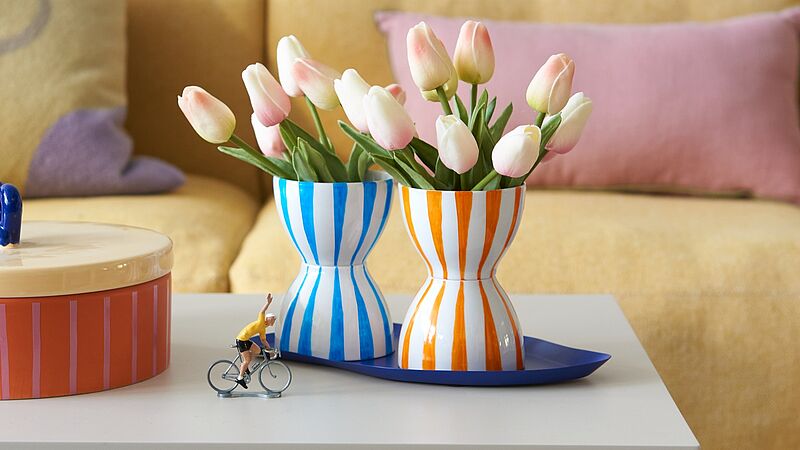
DIY vases made from old cups
Copy this cheerful upcycling idea to make an eye-catching vase
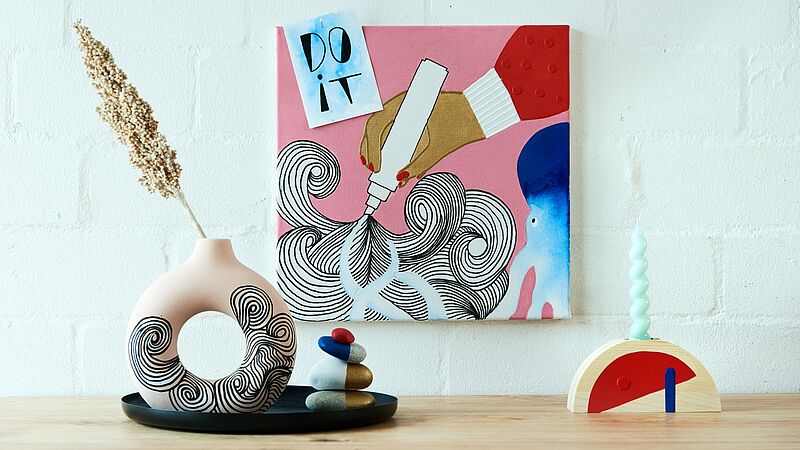
Home decorating ideas without limits
Unique, handmade designs

Boho chic décor
Bottles and lanterns decorated with delicate patterns
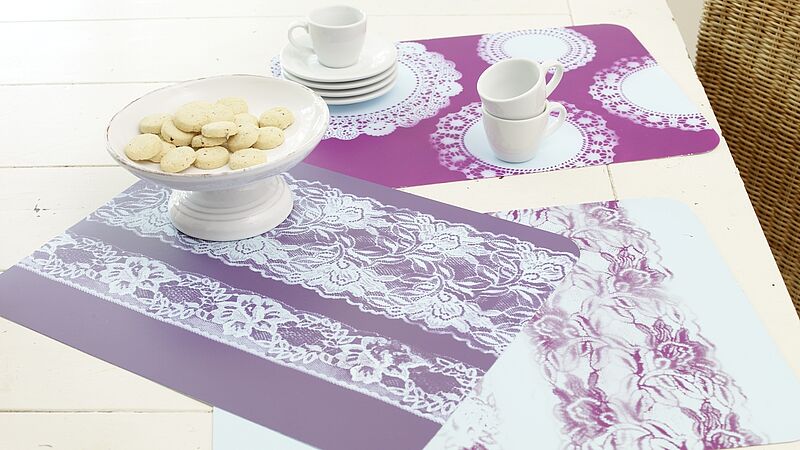
Table mats in shades of lilac
Pretty placemats with delicate lace patterns
Creative Newsletter
Subscribe to our newsletter, and we’ll send you inspirational and creative DIY ideas, along with details of our latest products and special offers.