
Pas-à-pas
Etape 1
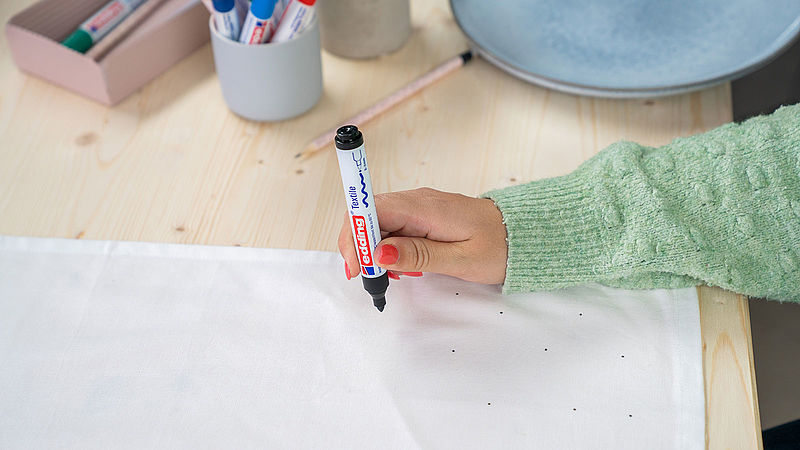
Wash the fabric before you start decorating, leave it to dry and then iron it to remove any creases. Make sure you have all your materials to hand before you start. Our templates are ready to download and print – it’s so simple! Using the textile marker, start by making lots of little black dots at each end of the table runner, leaving the central area free for the main design.
Etape 2
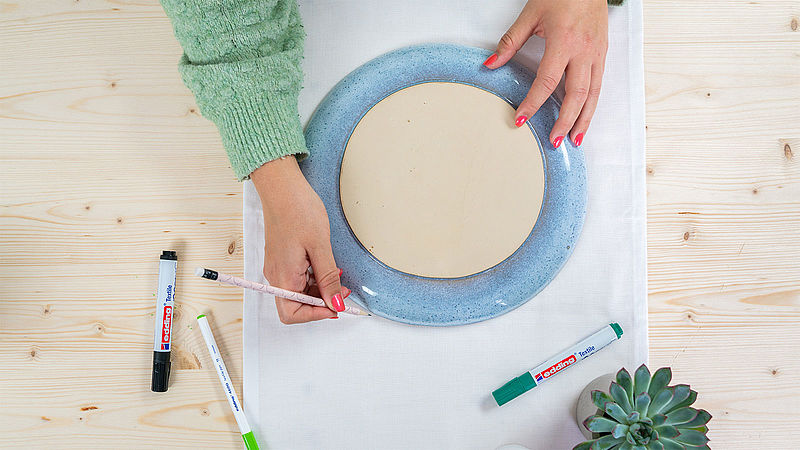
Take the pencil and draw a circle in the middle of the runner for your chosen motif. To achieve a perfect circle, draw a faint line around a plate or other round object.
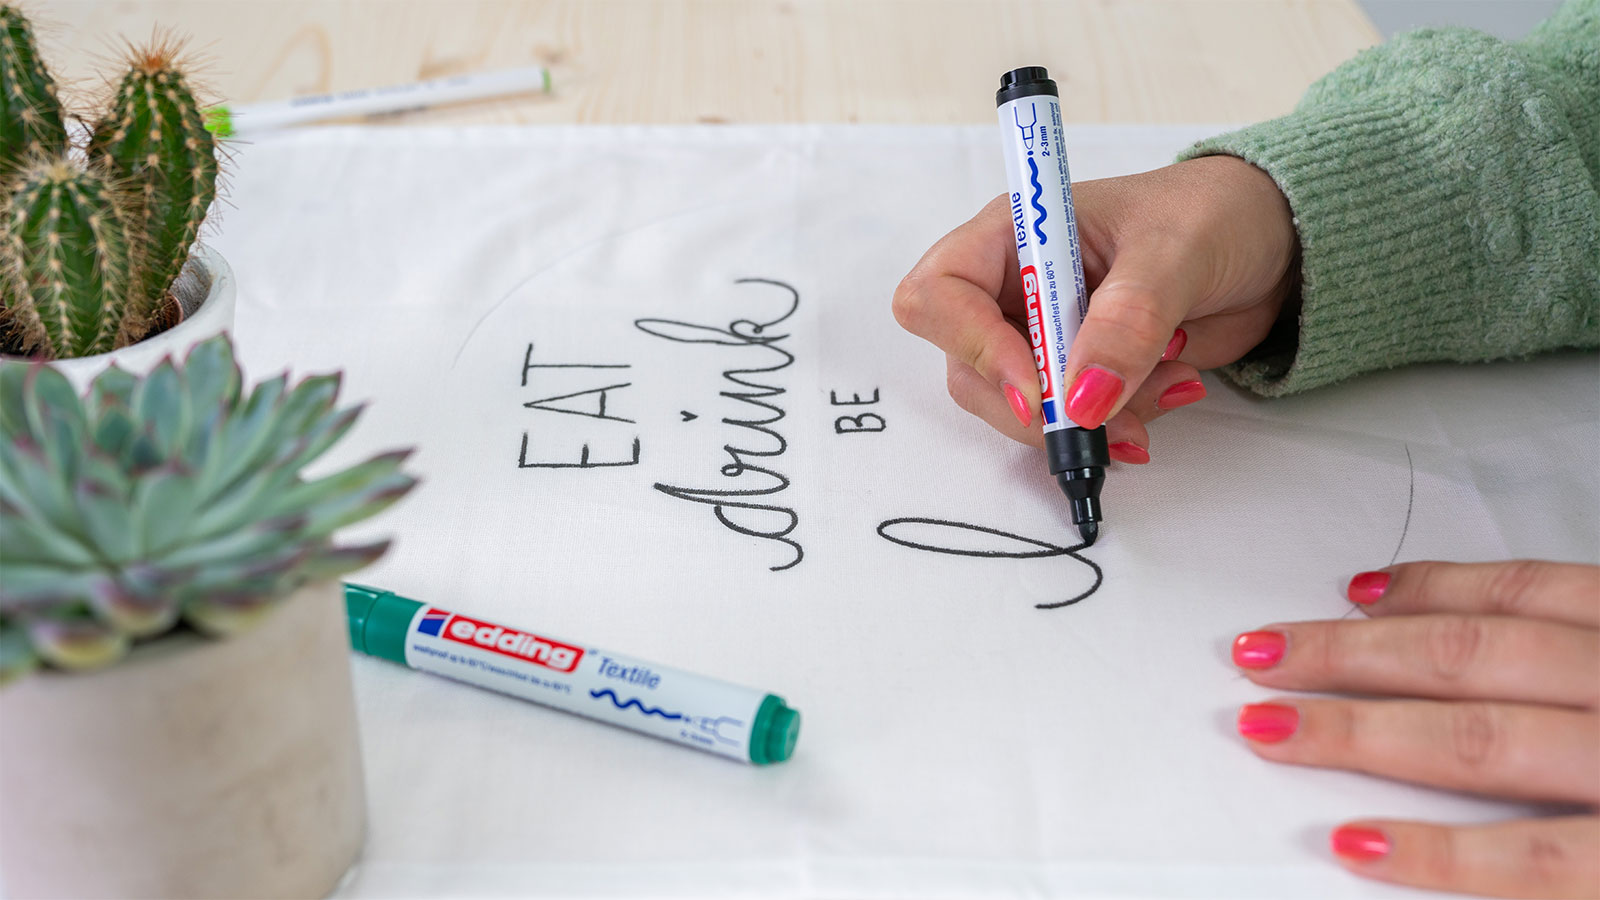
Etape 3
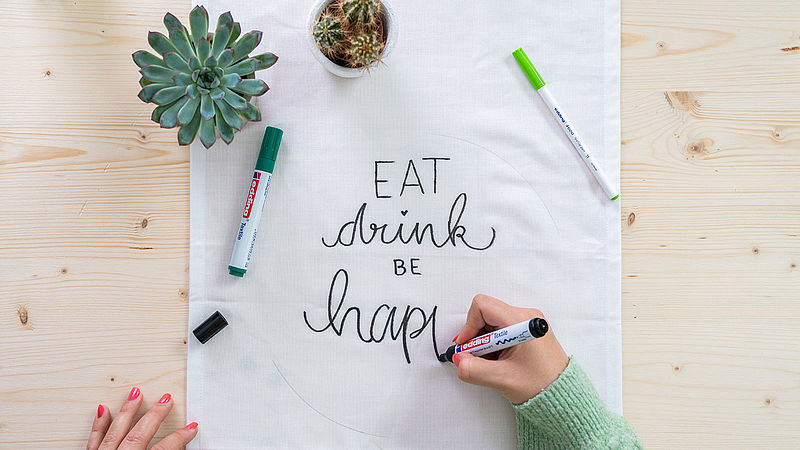
Print out the template of the wording in the size you want and place it under the table runner so it shows through the fabric. Trace over the lettering with the black edding textile pen. Now make each downward stroke thicker by going over it again with the textile marker. Do the same for each letter and, before long, you’ll have perfect-looking hand lettering.
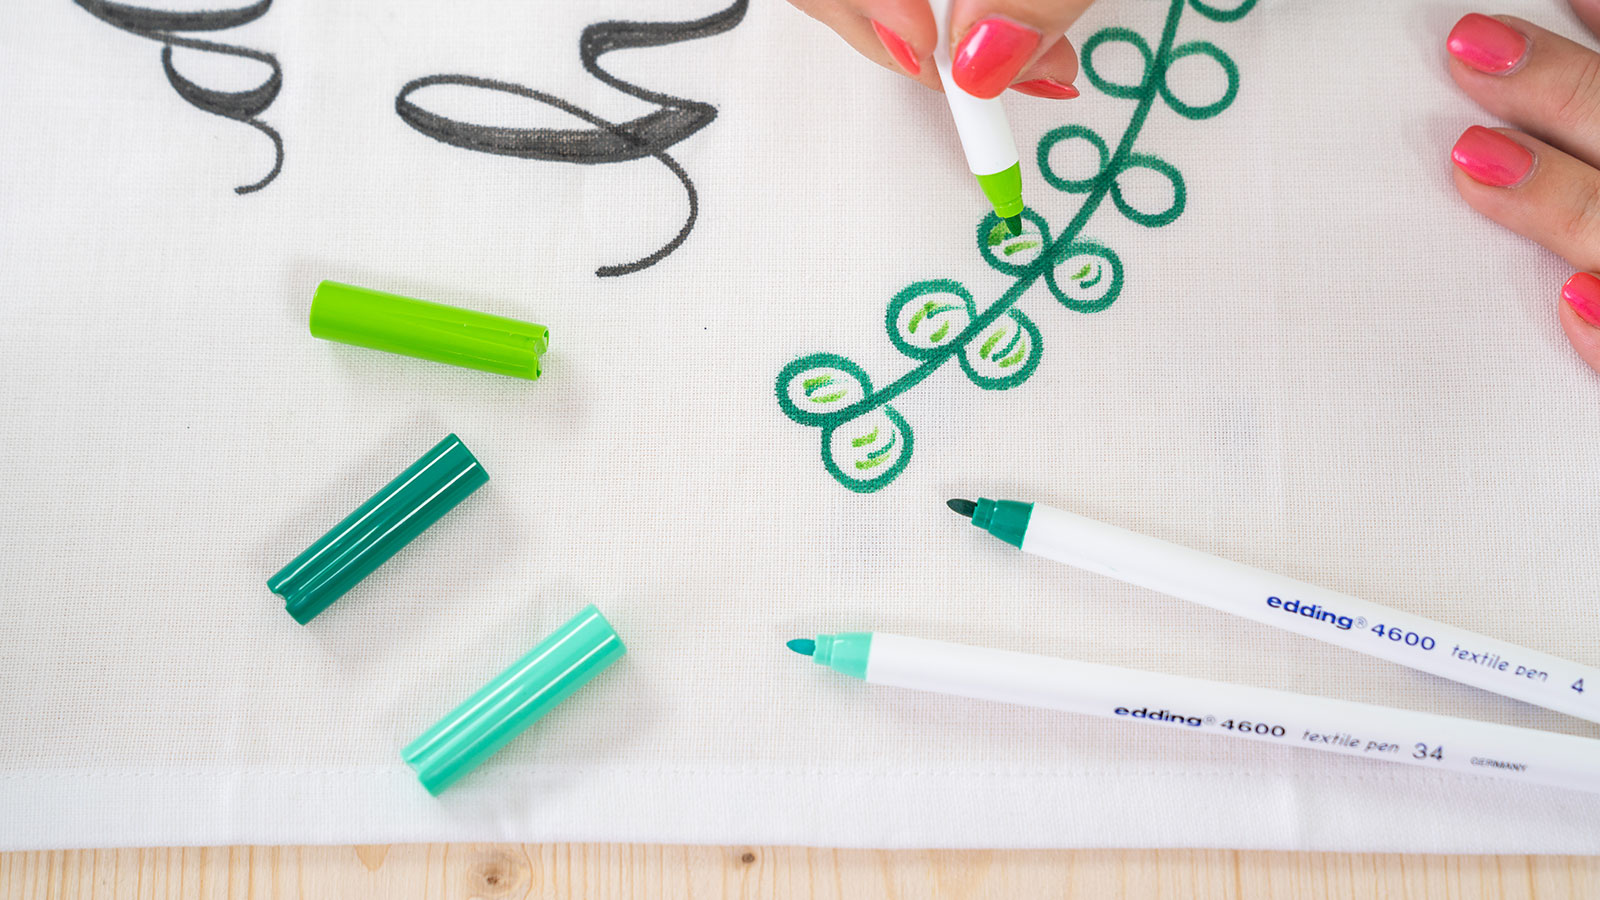
Etape 4
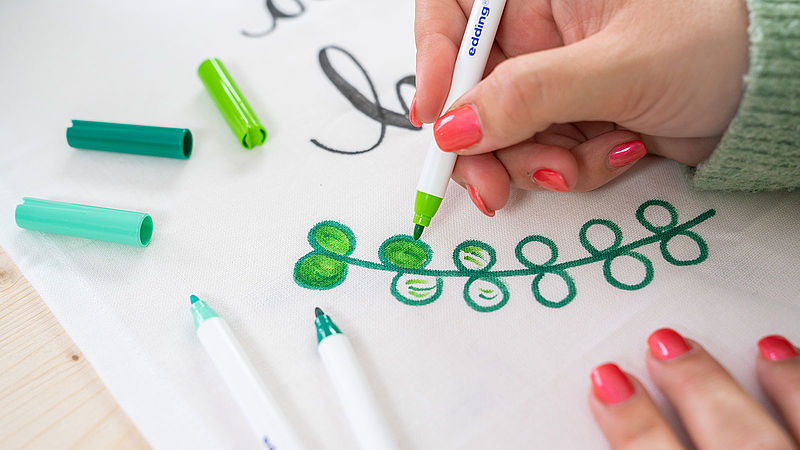
Now frame your wording with a flower or leaf pattern. Our idea is to draw short individual branches over your pre-drawn circle using the green textile pen, adding small round leaves. Choose a different colour (light green, for instance) for colouring in and any finishing touches - and that’s all there is to it.
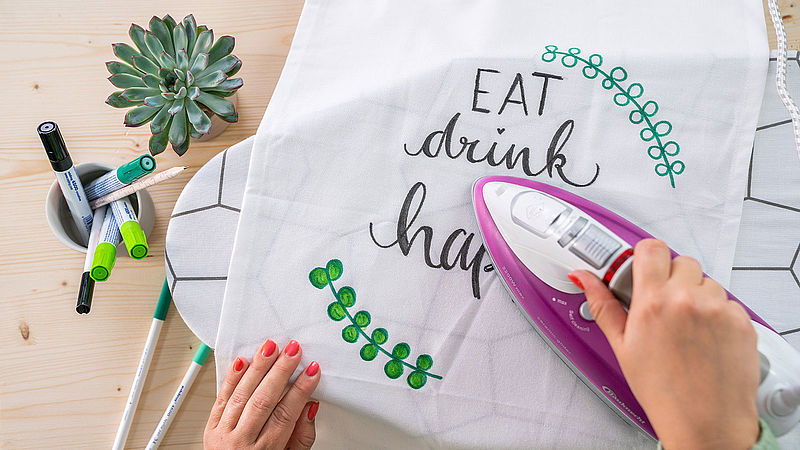
Etape 5
To set the ink, iron the runner on the no-steam setting. It will then be able to withstand wash cycles up to 60°C.
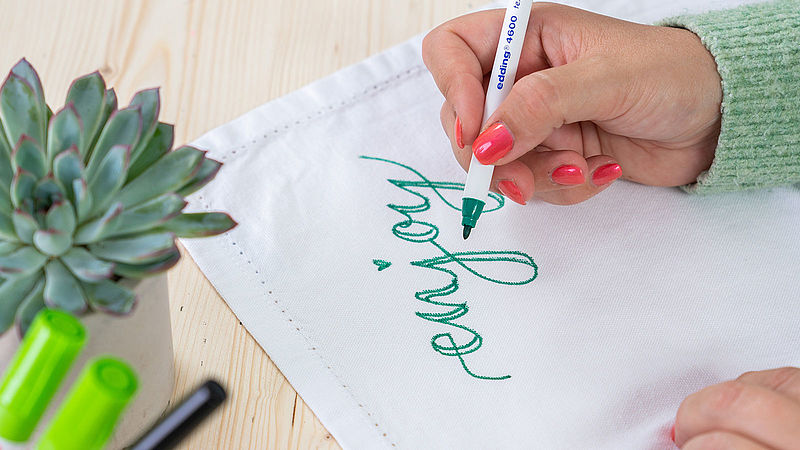
Etape 6
To decorate the fabric napkins, lightly sketch out your chosen wording in pencil (in our example we’ve written “enjoy”), then draw over it with the green textile pen.

Etape 7
Finally, draw a double line on each downward stroke and fill in the gaps using a second colour (pale green, for example). Once the design is finished, run over the napkin with a hot iron.
Produits et matériel


Autre matériel
- Pencil
- Light-coloured table runner made of cotton
- Light-coloured cotton fabric serviettes
- Template (optional)
- An iron

Images supplémentaires
Idées liées

Des porte-ustensiles gris béton
Une idée d’upcycling pour vos accessoires de cuisine

Rafraîchissez les joints de vos carrelages
Redonnez de l’éclat à vos joints de salle de bains et de cuisine
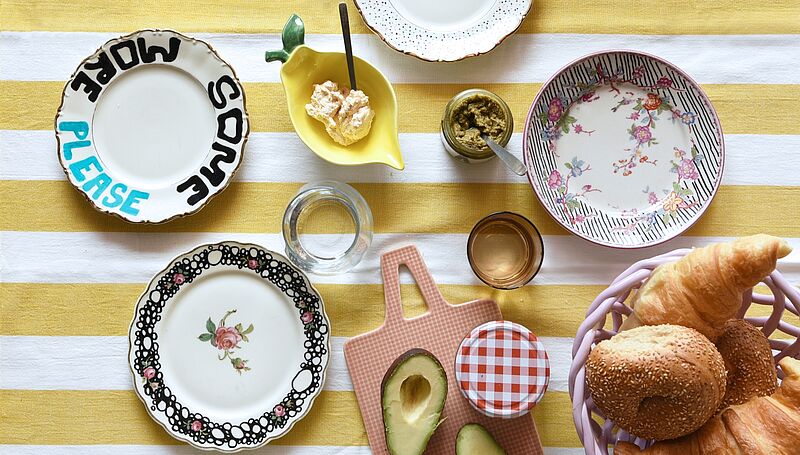
De la vaisselle vintage relookée
Upcyclez les assiettes en porcelaine de votre grand-mère
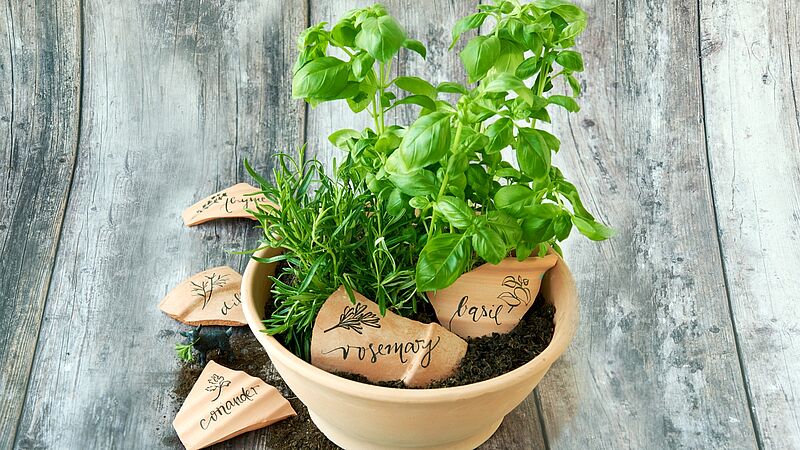
Herbes aromatiques décoratives
Des étiquettes à planter en terre cuite stylées
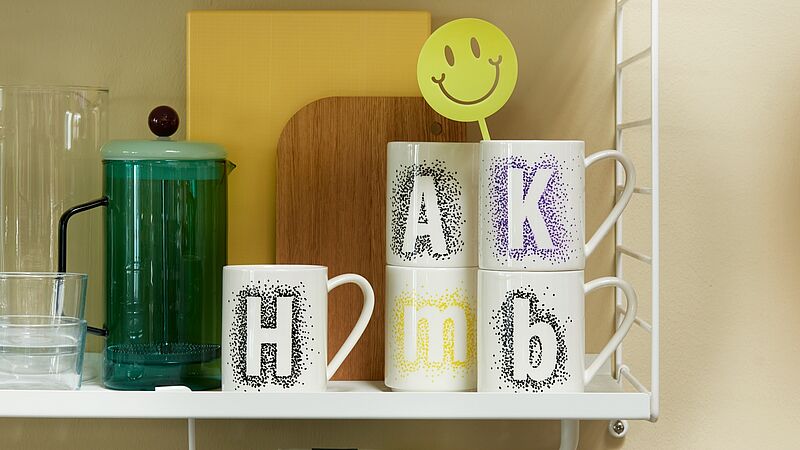
Vos mugs préférés auront un décor DIY
Donnez le ton avec des motifs de petits points
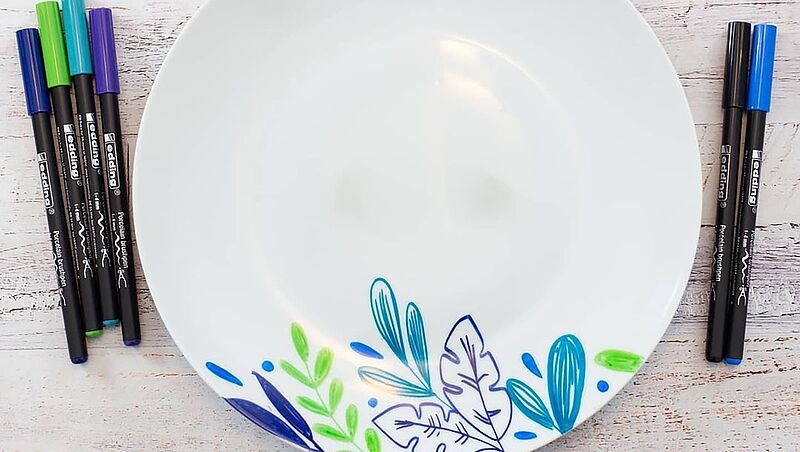
Un régal pour les yeux !
Pour une assiette pleine d’originalité, décorez-la de motifs de feuilles tout simples
Newsletter Idées créatives
Laissez-nous vous inspirer en recevant des idées créatives DIY et des informations sur les nouveaux produits et promotions.