
Step-by-step
Step 1
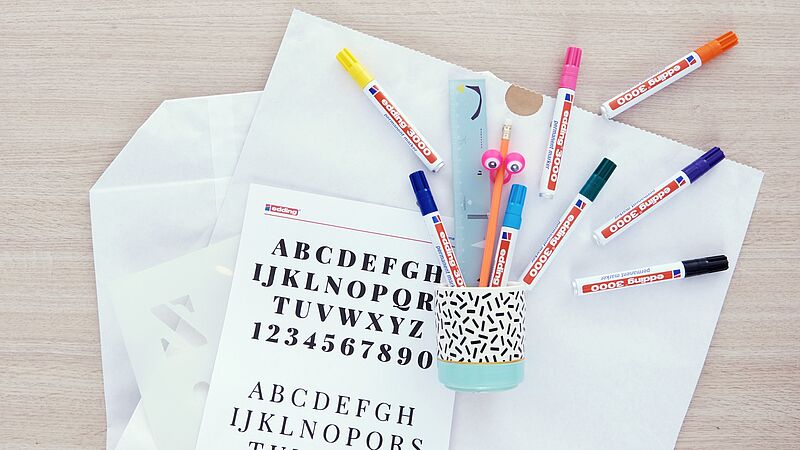
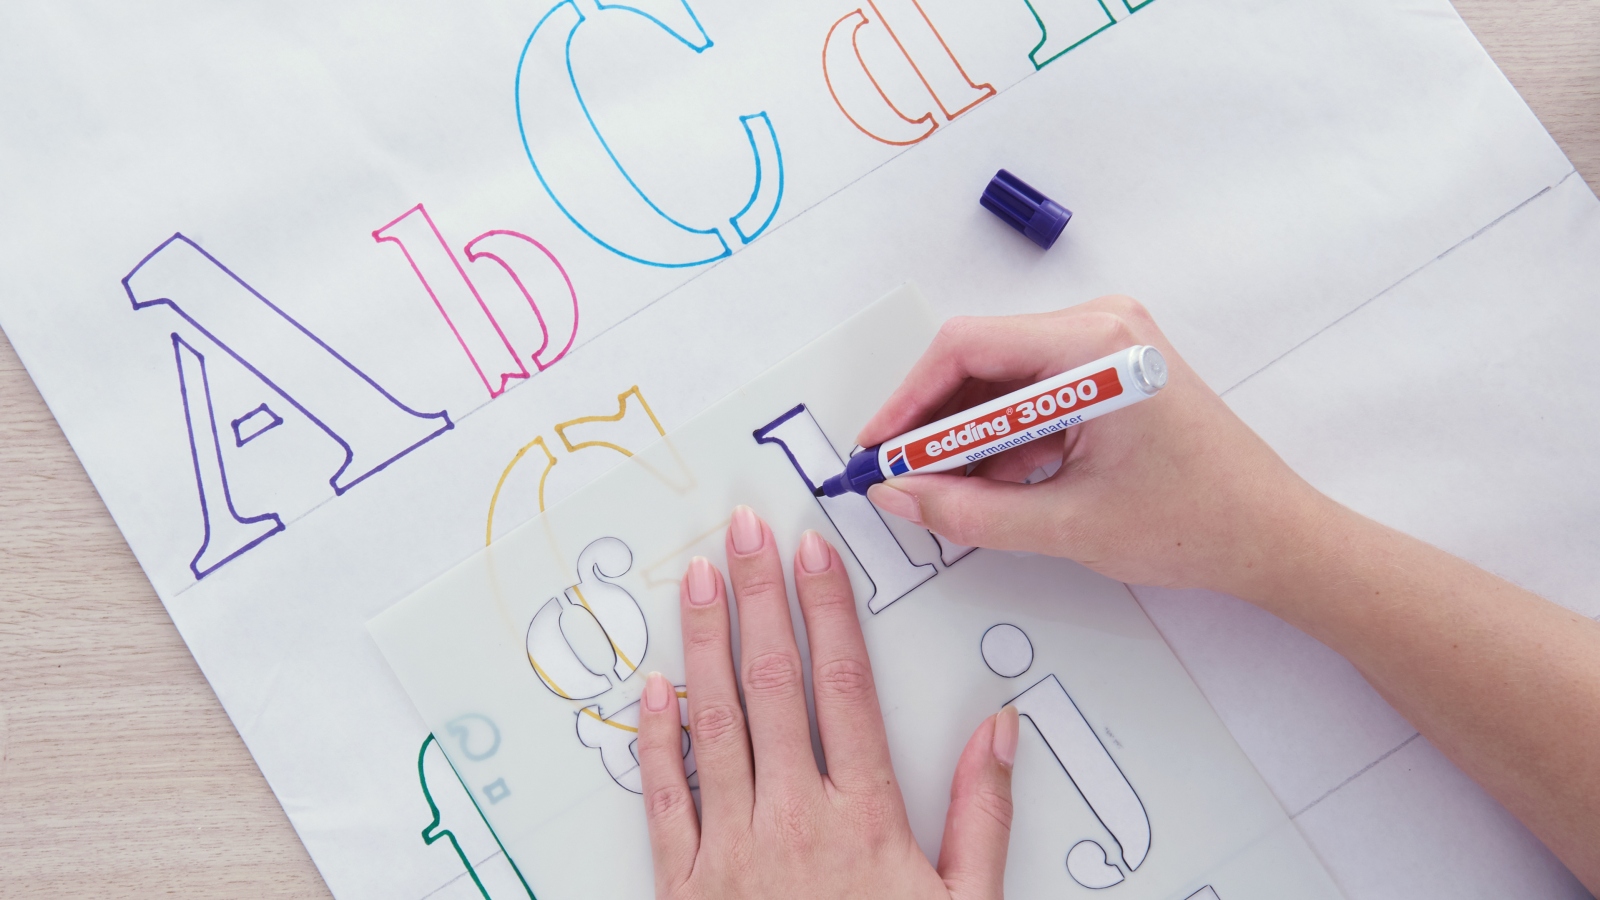
You can see all the materials you need at a glance in our photo. For our design, we opted for the classic edding 3000 marker with a medium wide nib. Before you start, pick out your favourite colours. Don’t forget our brand new addition: we now offer sets of 5 markers in coordinated colours. If drawing freehand isn’t your thing, you can print out the alphabet sheet that can be found on our website and use it as a template for copying.
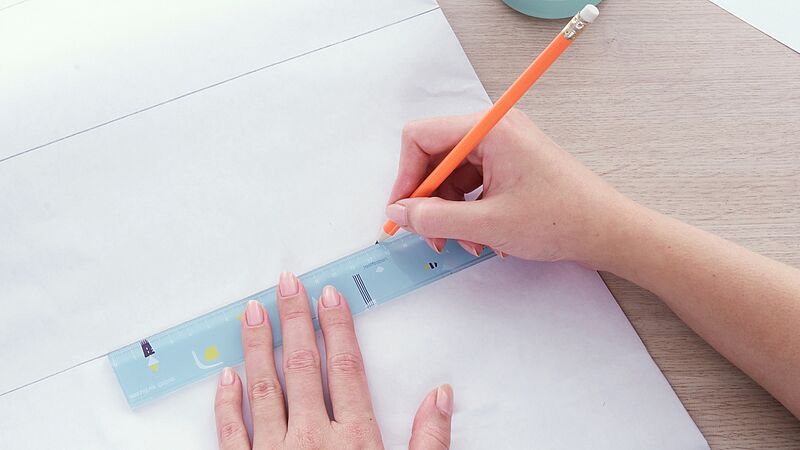
Step 2
Keep the letters nice and straight. It helps if you draw a few faint pencil lines (well spaced apart) on the bag to guide you.
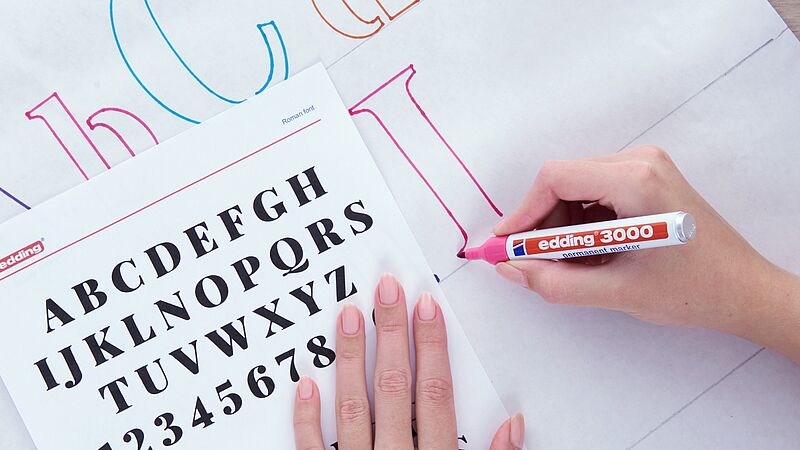
Step 3
If you wish to make your alphabet letters look a bit more interesting, why not draw them on the line but in different sizes? If you prefer, you could make your own template on parchment or greaseproof paper or buy a suitable letter stencil. Start by drawing the outlines of the letters using the permanent marker.
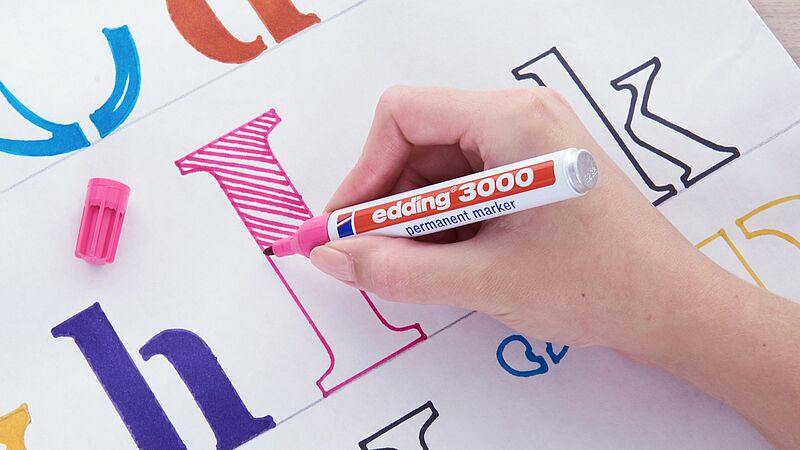
Step 4
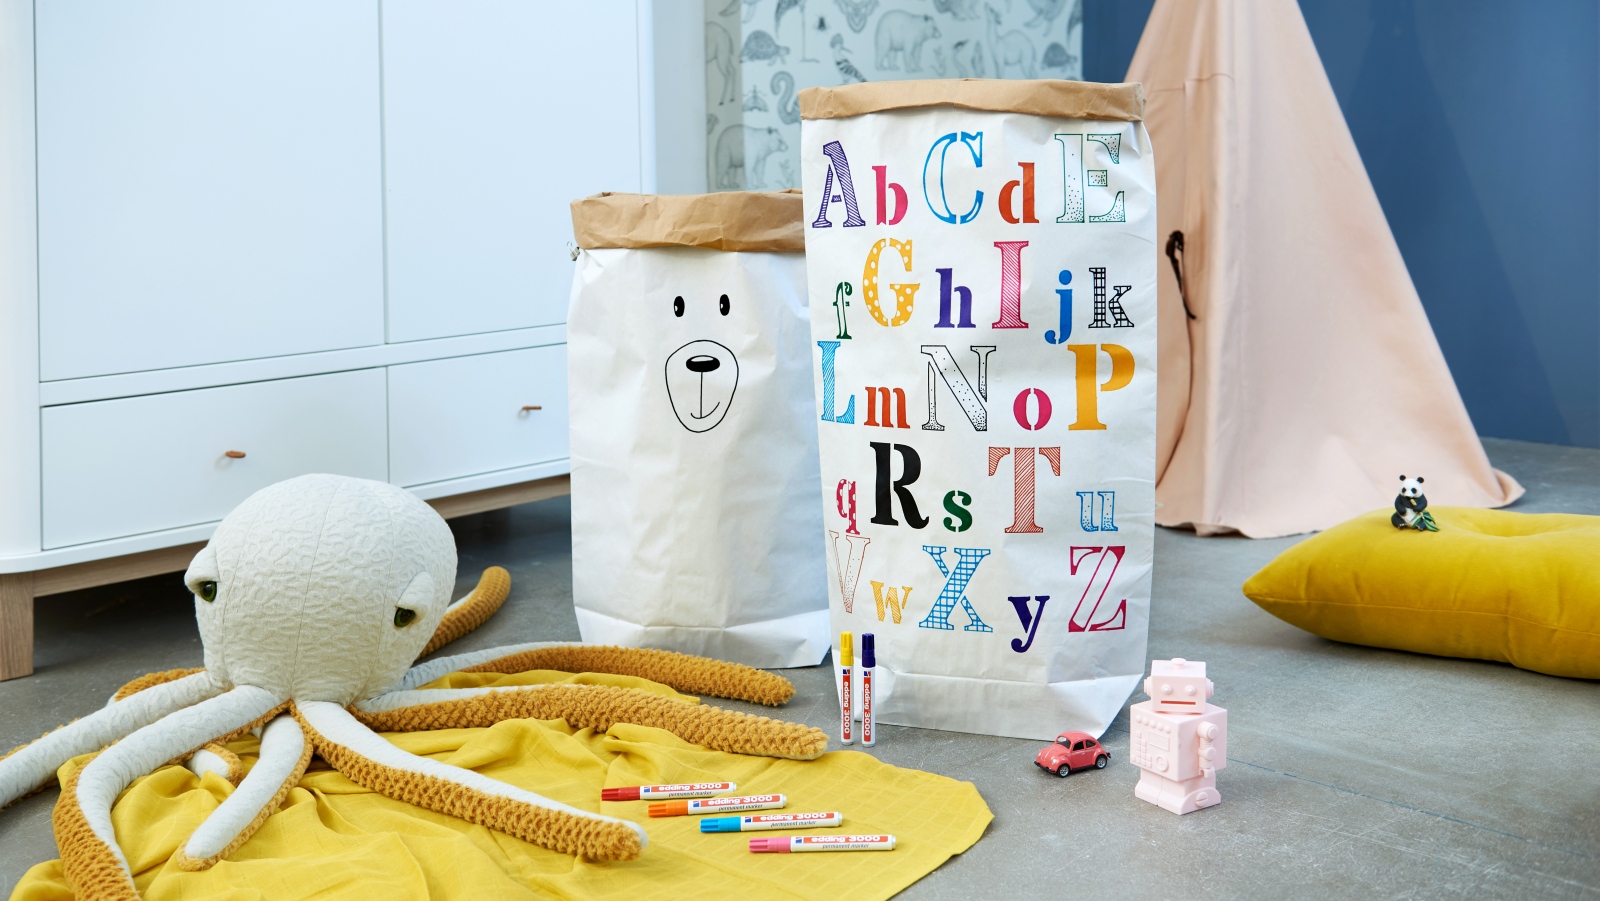
Once you’ve done that, colour them in however you want, with dots, diamonds, squares or cross-hatching – whatever takes your fancy!
Products and materials


Other materials
- Large, tear-resistant paper bags
- Ruler
- Pencil
- Letter template (optional)
Templates

Roman font
Additional images
Related ideas

Shelf decorated with love
Make children’s dreams come true
I made it myself!
How to create a super cool lamp from a sheet of cardboard

Designs in natural tones
Record baby's first milestones with these creative keepsakes
Life hack for removing stickers
Remove stickers from doors and furniture without a trace

Name tag for children's room
Design idea for young circus artists
DIY memo holder
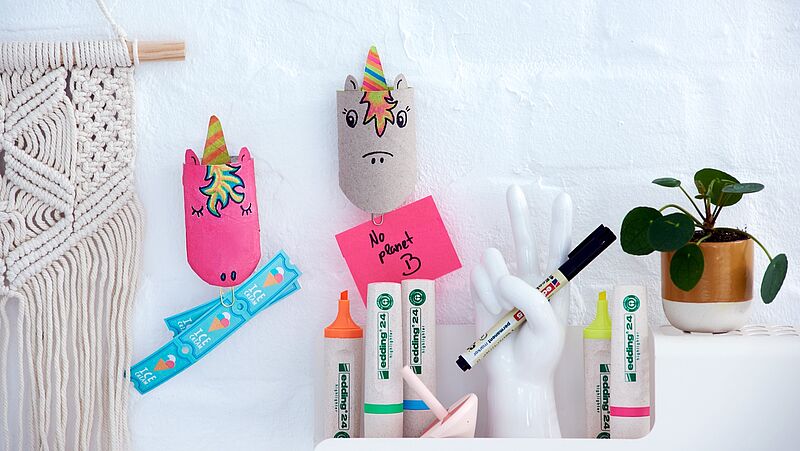
Make your own unicorn memo board
Creative Newsletter
Subscribe to our newsletter, and we’ll send you inspirational and creative DIY ideas, along with details of our latest products and special offers.