
Step-by-step

Step 1
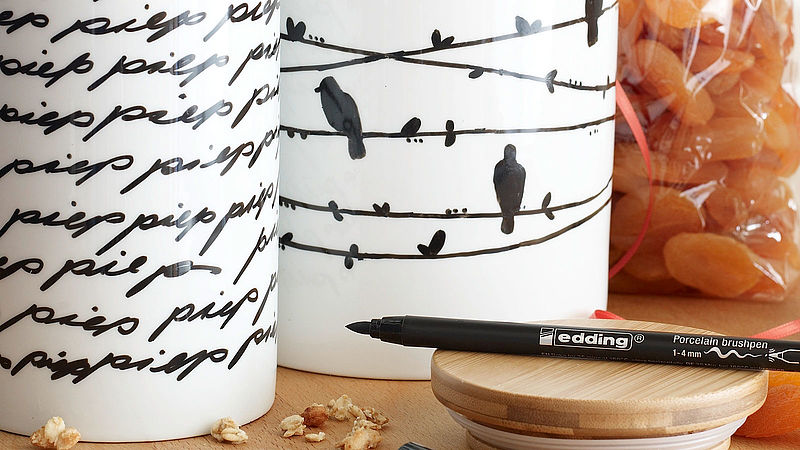
For best results, clean the porcelain with water first (ideally in the dishwasher) and wipe over with methylated spirits. Thorough cleaning is essential in order to remove any (invisible) protective film applied during manufacture. Only decorate the outside of the jars, leaving the inside unpainted. The tip of the brushpen is very versatile, so you can create very fine lines or broad brush strokes. For fine lines, it’s best to use the brush-shaped tip of the pen, and to make broader strokes you need to hold the pen flatter.
Step 2
We focused on decorating in black, adding little birds and a text-filled background to the jars. But if you prefer a brighter picture then you have lots of colours to choose from. Don’t worry if you make a mistake, you can simply wipe it off with a damp cloth or a cotton bud. You can continue to make corrections right up until it goes into the oven and the design is then fixed.

Step 3
Once you have finished your design, leave the jar to dry for 15 minutes. Then place it on a cold oven rack, slide it into the pre-heated oven and bake it at 160°C for 25 minutes. Leave in the oven to cool afterwards. After baking, your personalised jars will be dishwasher-safe.
Products and materials

Other materials
- White storage jars made of porcelain or oven-proof ceramic
- Water and methylated spirits for initial cleaning
- Damp cloth or cotton buds to wipe off any mistakes
- Conventional oven
Related ideas

Utensil holders in concrete grey
Upcycling idea for your kitchen accessories

Freshen up your grouting
Add sparkle to bathroom and kitchen grouting

Handmade wine labels
Beautifully designed wine labels - idea for Father's Day
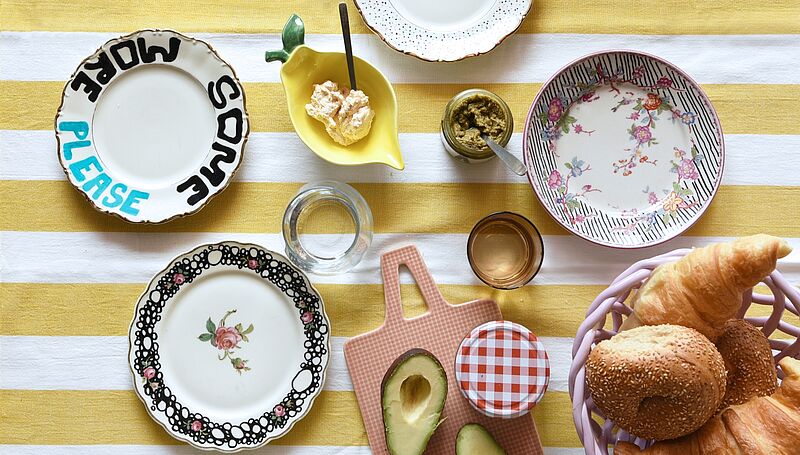
A new look for vintage crockery
Upcycle granny’s porcelain plates
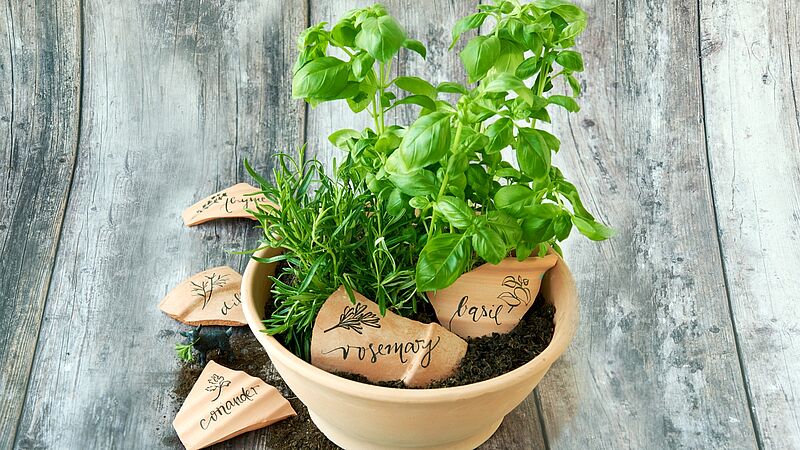
Decorative kitchen herbs
Stylish terracotta plant labels
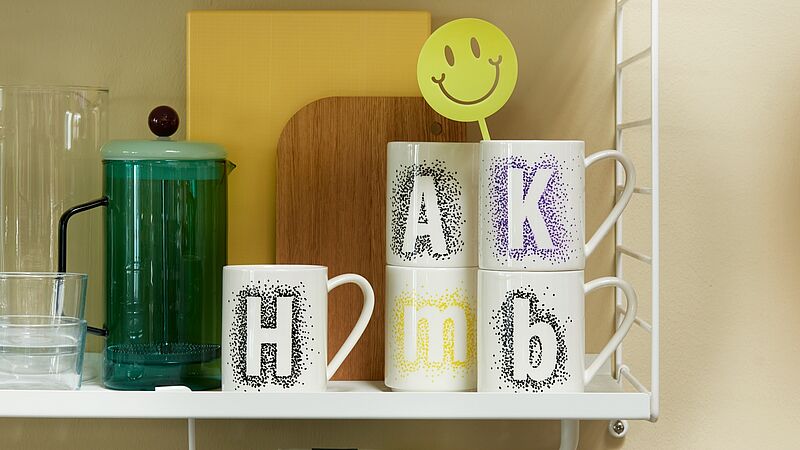
Favourite mugs with a DIY design
Set the tone with patterns of dots
Creative Newsletter
Subscribe to our newsletter, and we’ll send you inspirational and creative DIY ideas, along with details of our latest products and special offers.