
Step-by-step
Step 1
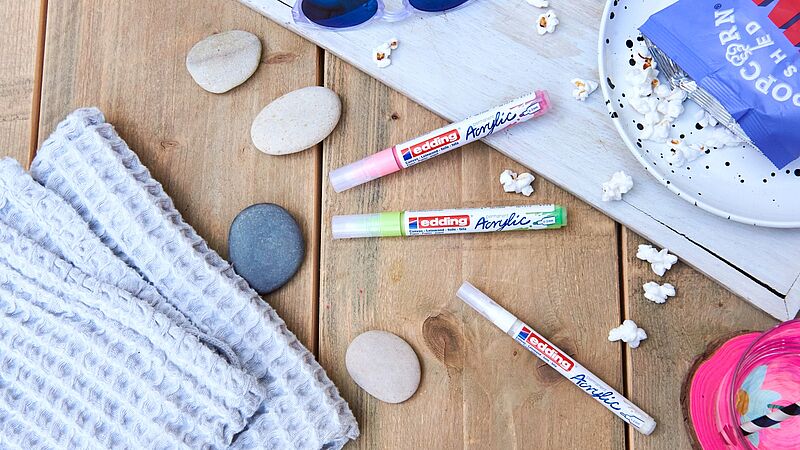
Our acrylic markers come in a wide array of bold colours, so feel free to pick your favourites. If you're colouring in larger areas, the medium edding 5100 acrylic marker is ideal. For delicate patterns, however, we recommend the narrower edding 5300 fine acrylic marker.
Step 2
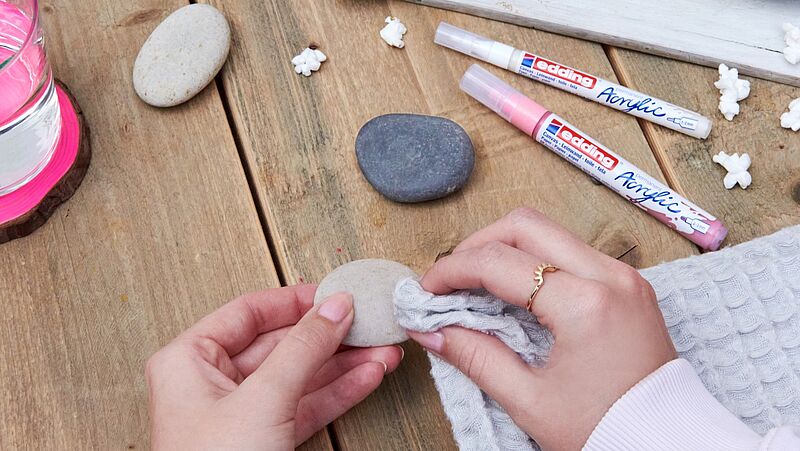
Before you begin, wipe the pebbles clean with a damp cloth. Next, activate all the markers as follows: with the cap still on, shake the marker until you can hear the mixing ball rattle inside, then carefully pump up and down until ink appears in the tip. Test the marker on a piece of scrap paper.
Step 3
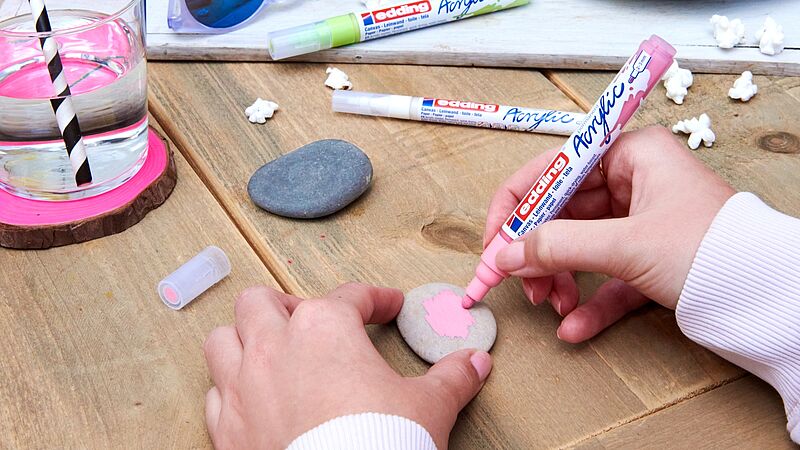
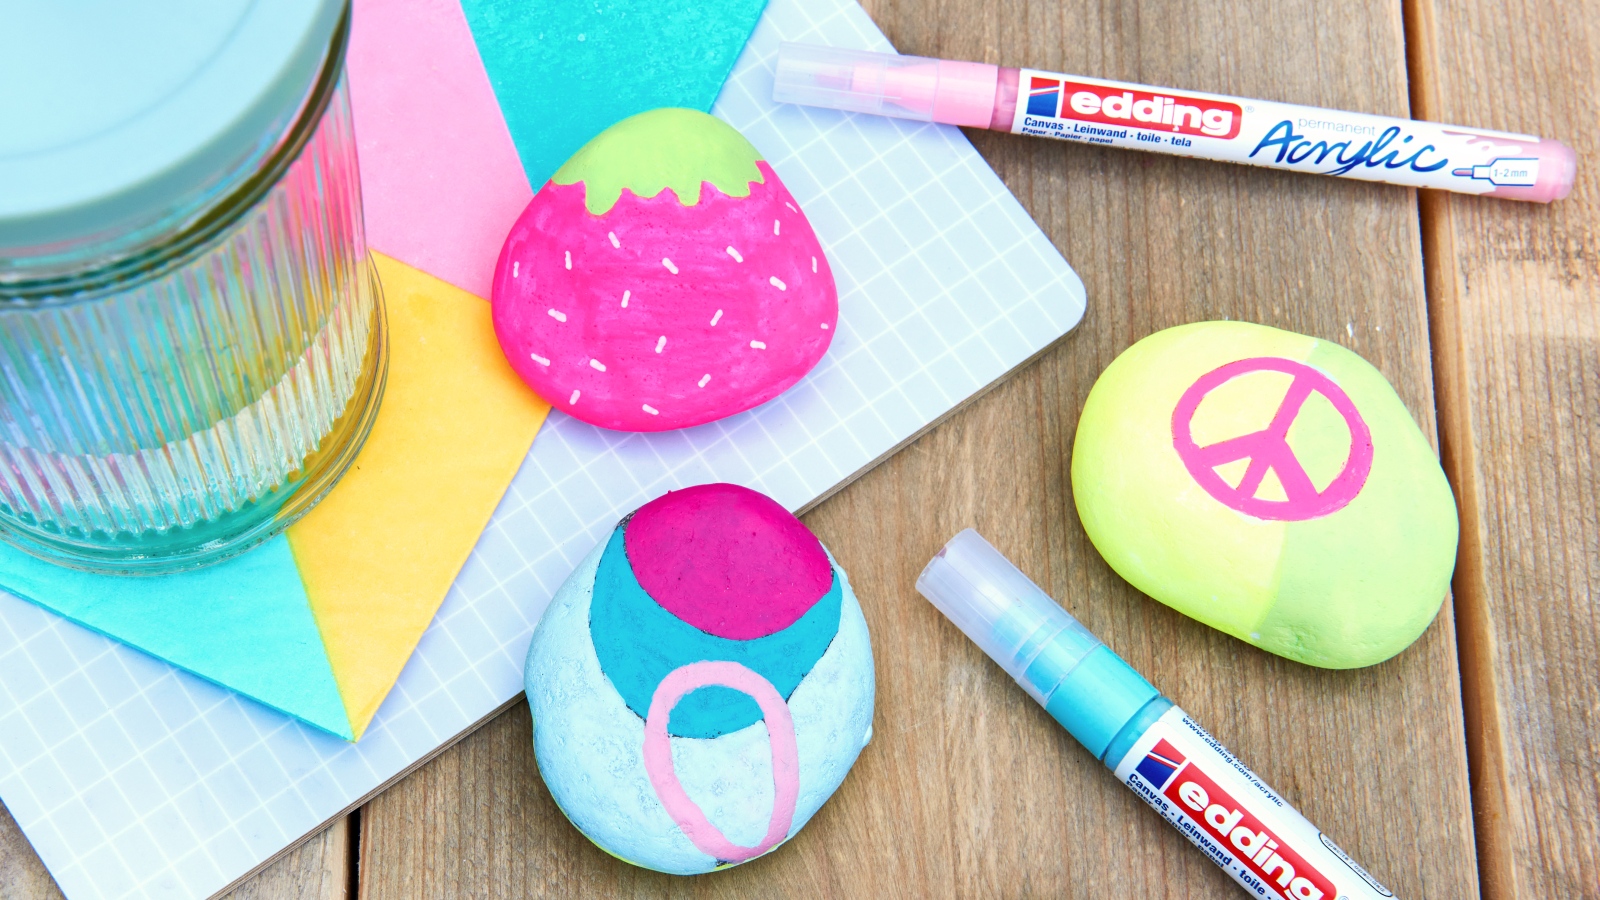
To create the strawberry motif, first apply a base layer using the medium acrylic marker in classy mauve.
Step 4
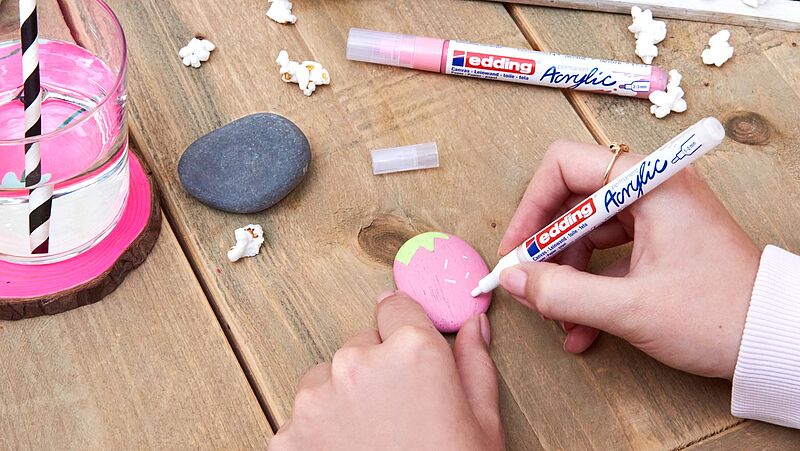
Once the surface is dry, paint the green leafy part of the strawberry at the top in pastel green. Now use the fine acrylic marker in white to round off the picture with a few little dots and dashes. You can easily blend colours together as long as the painted sections are still wet. However, if you don't want to do that (as shown in our example) it’s best to let one colour dry thoroughly before continuing with the next.
Step 5
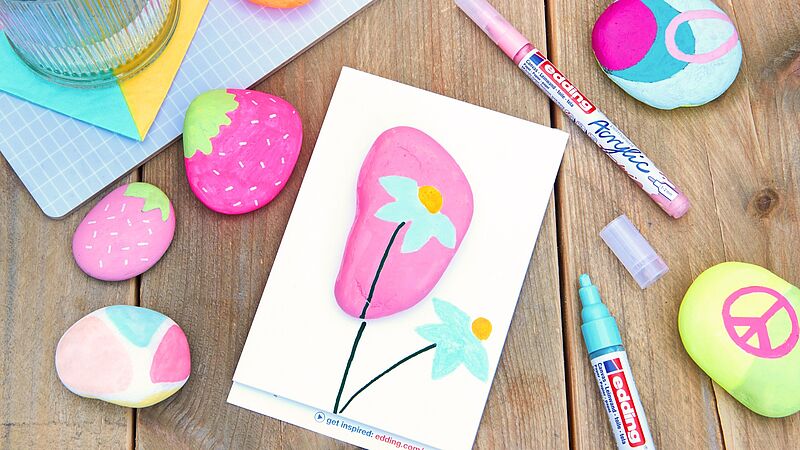
Brightly-painted pebbles also make lovely decorative features on greetings cards, as you can see from our example. Glue the pebble onto the card and simply paint on some extra flowers with stems.
Products and materials


Other materials
- Pebbles or smooth stones
- A damp cloth
Additional images

Related ideas

DIY plant pots
Decorative upcycling idea using plastic bottles
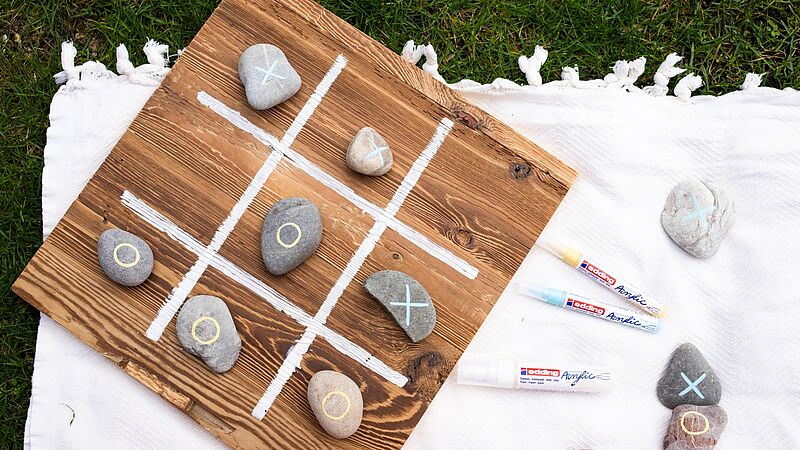
Play Noughts and Crosses
Get that summer feeling with a handmade board game
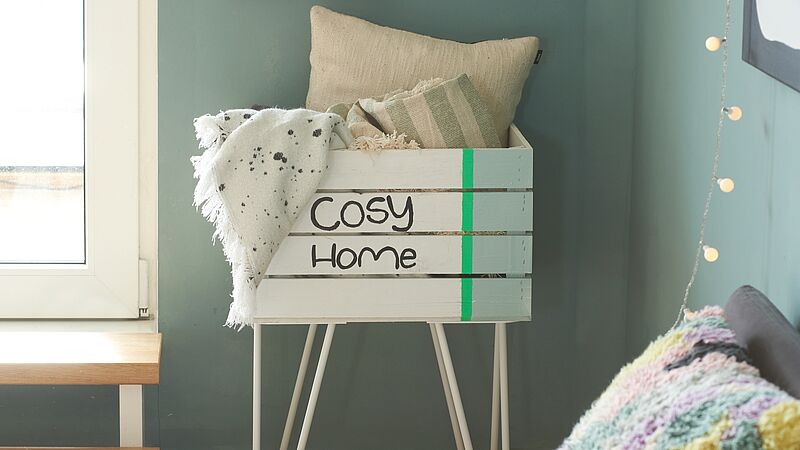
Neat storage idea for your cushions
Upcycling idea for your home
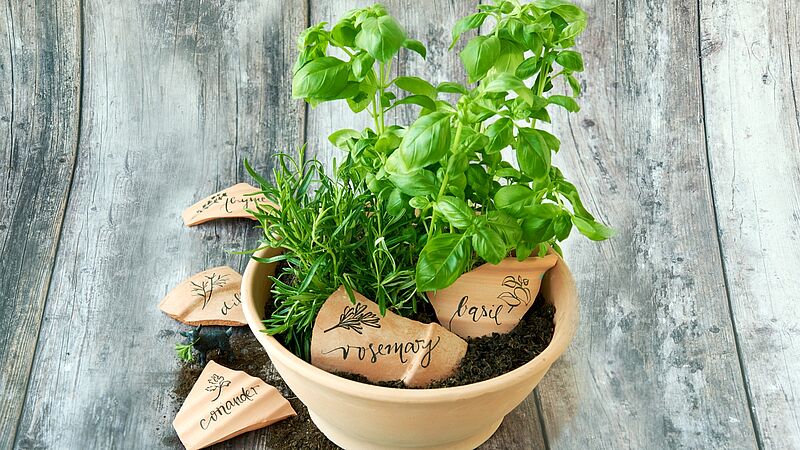
Decorative kitchen herbs
Stylish terracotta plant labels
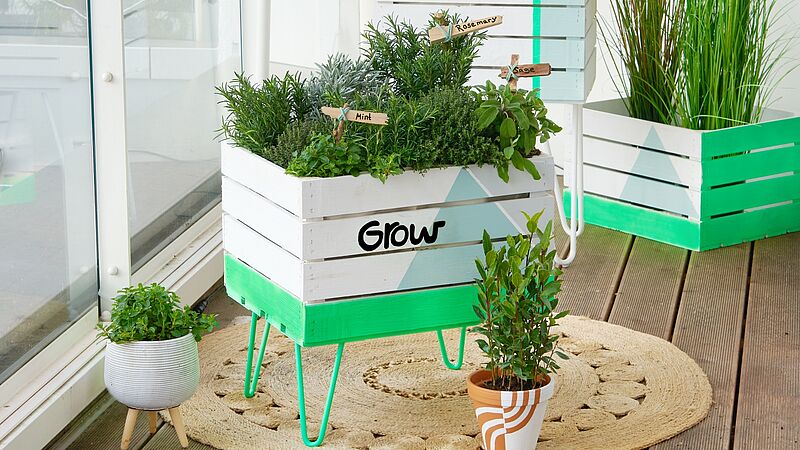
Jazz up crate planters
Attractive upcycling idea for old wooden crates
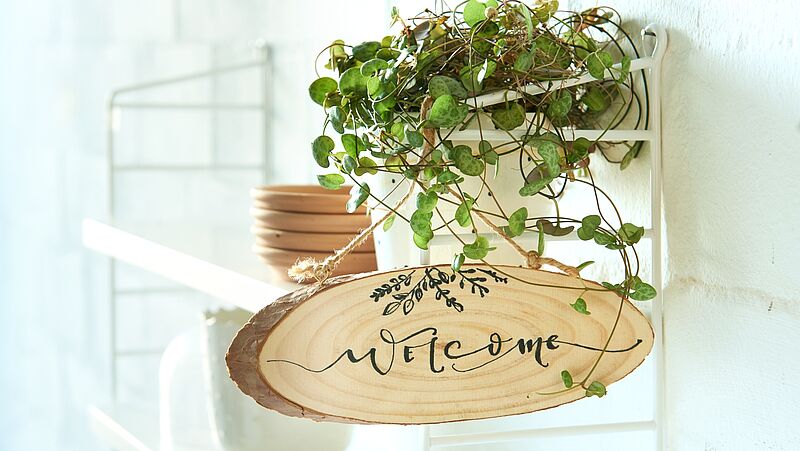
Wooden welcome sign
Stylish greeting sign for your guests
Creative Newsletter
Subscribe to our newsletter, and we’ll send you inspirational and creative DIY ideas, along with details of our latest products and special offers.