
Step-by-step
Step 1
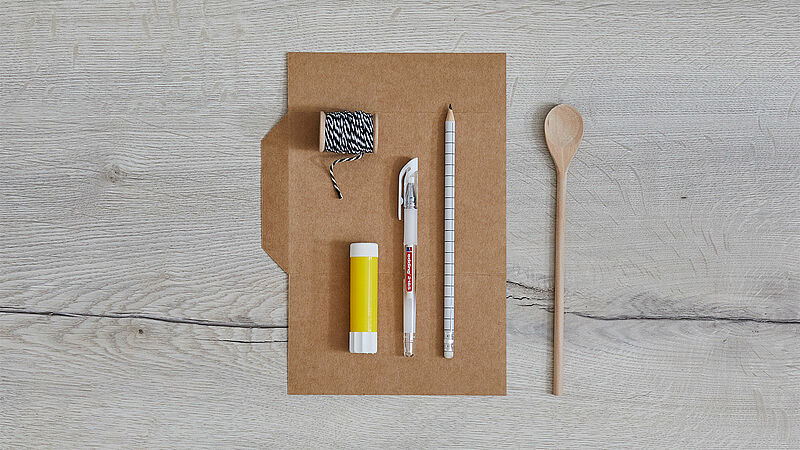
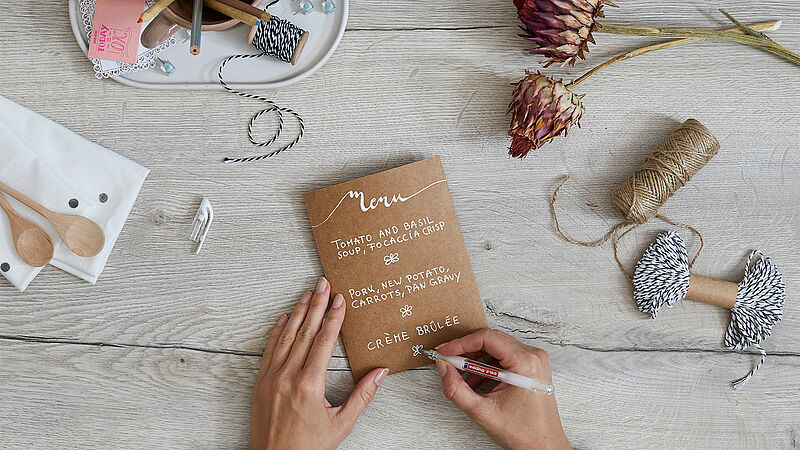
For this idea we used a white gel roller. You can see everything you need at a glance in our photo. Each menu card is made from one piece of paper, which should be large enough to fold into a pocket shape that will hold the cutlery and serviette, with sufficient overlap to seal the edges on 3 sides. Everyone gets a menu card, so you’ll need as many pieces of paper as there are guests.
Step 2
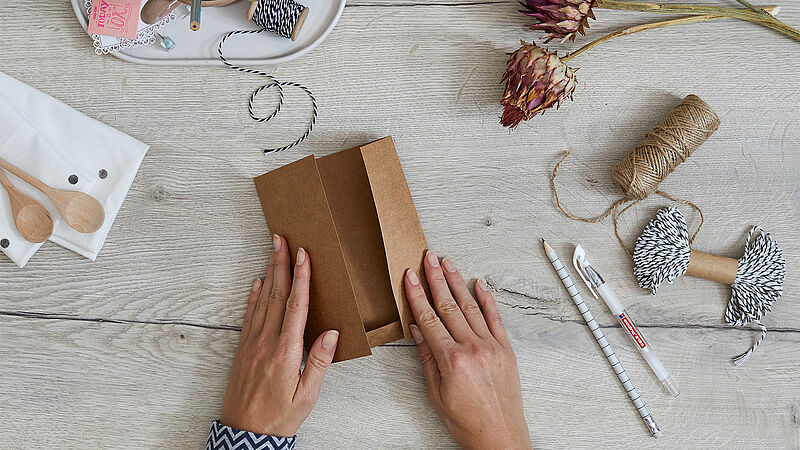
Fold the paper into a bag shape.
Step 3
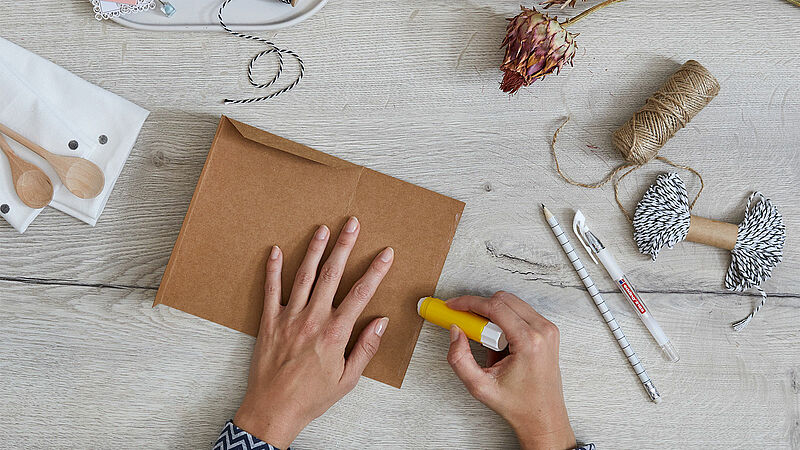
Next, seal the left, right and bottom edges with glue. The top edge is left open for inserting the cutlery and the serviette later on.
Step 4
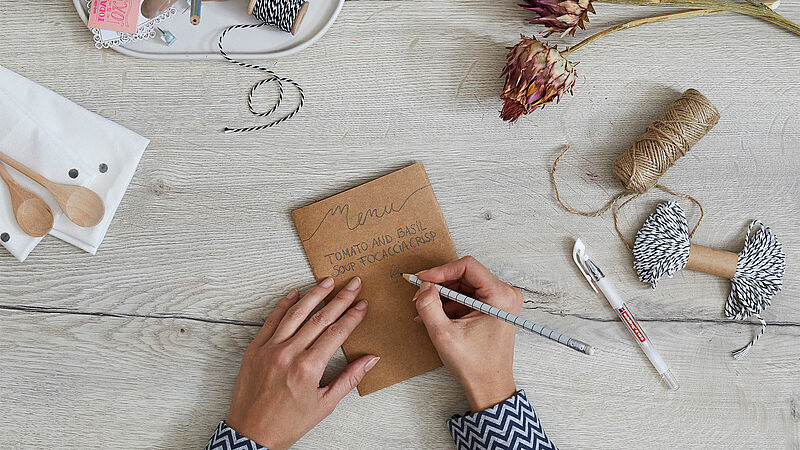
Sketch out the menu lightly in pencil first.

Step 5
Now use the white gel roller to go over the pencil lines of the letters you have written. For a decorative effect, you could highlight the word “Menu”, or use a combination of font styles – just do whatever takes your fancy.
Step 6
To enhance the overall appearance, use the gel roller to insert little embellishments or flourishes in-between each course.
Step 7
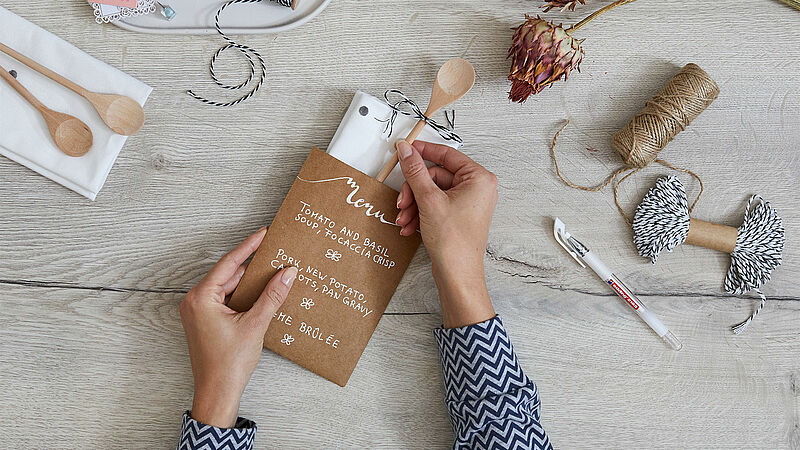
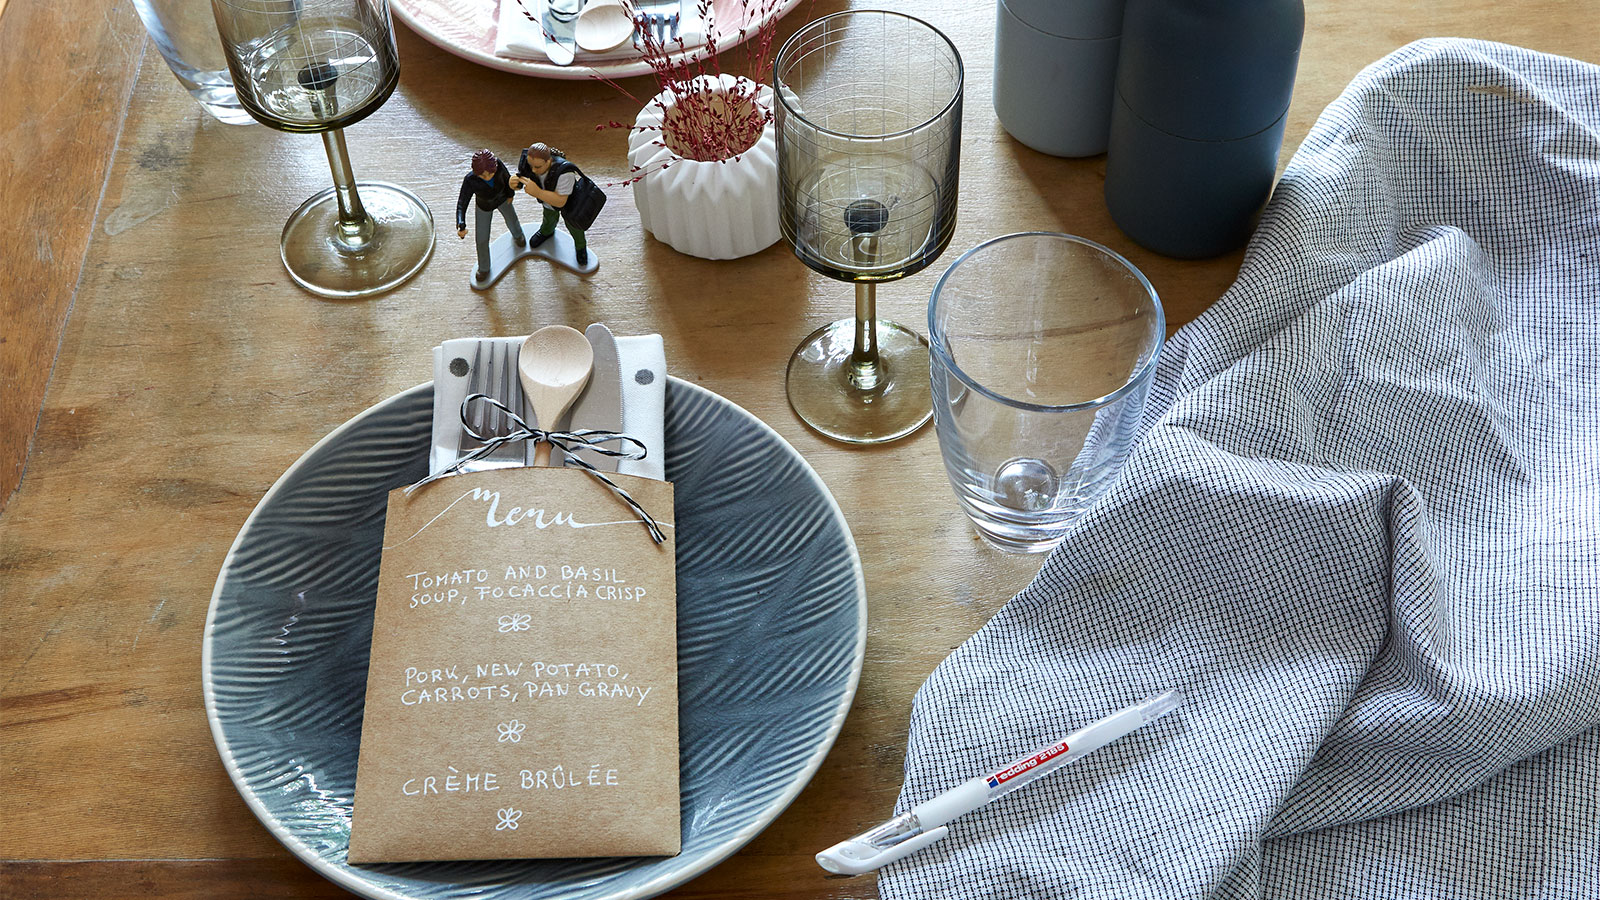
To finish off, tie a ribbon in a matching colour around the wooden spoon and place it inside the menu card together with the cutlery and serviette. You’re now all set for your guests to arrive!
Products and materials

Other materials
- Heavy duty brown paper, e.g. thick packing paper
- Pencil
- Decorative wooden spoon (one for each guest)
- Matching ribbon
- Glue
- Scissors
Additional images
Related ideas
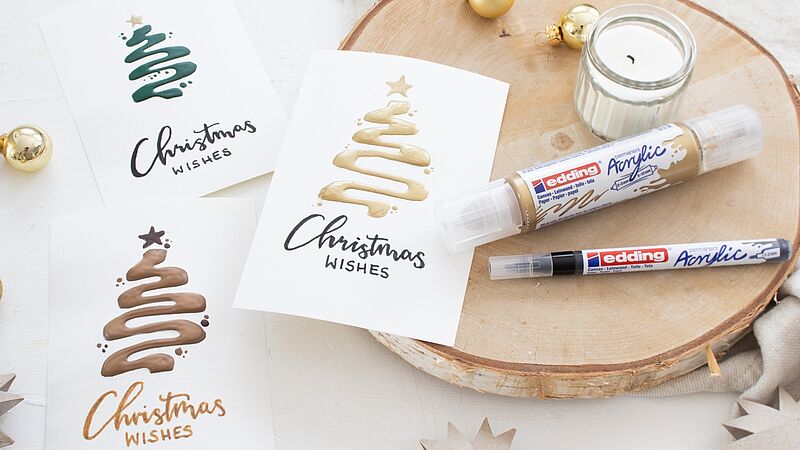
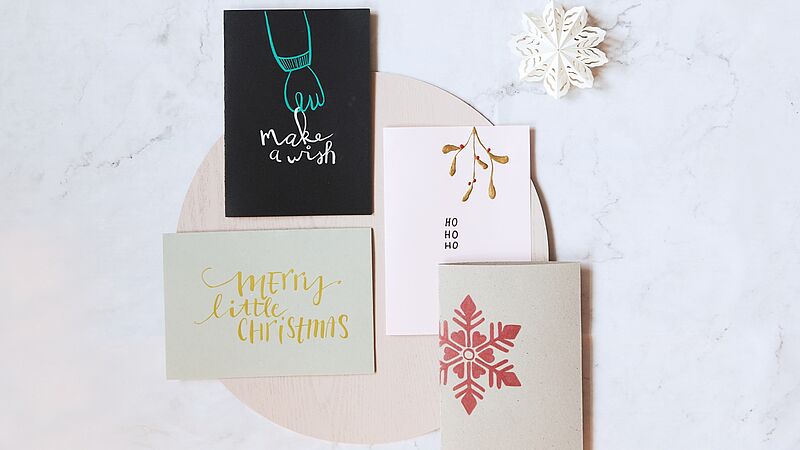
Easy-peasy season’s greetings
Creatively designed Christmas cards
Christmas post with added sparkle
Eye-catching cards for your nearest and dearest
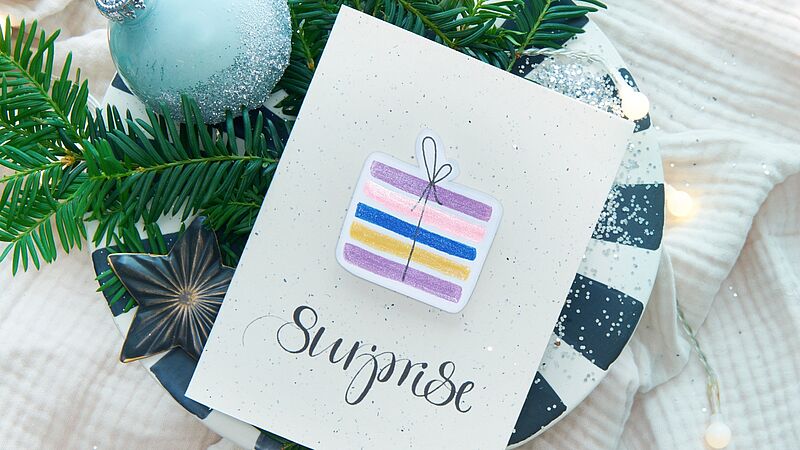
Surprise!
Glitter card with the wow factor
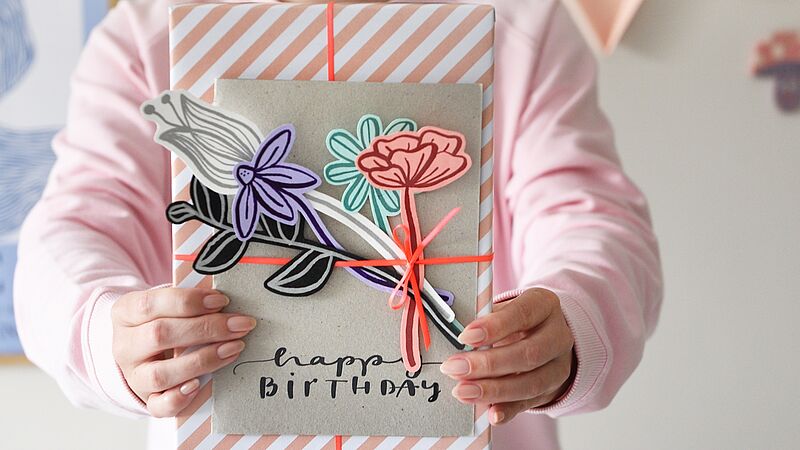
Birthday card
… with a floral decoration guaranteed not to wilt!
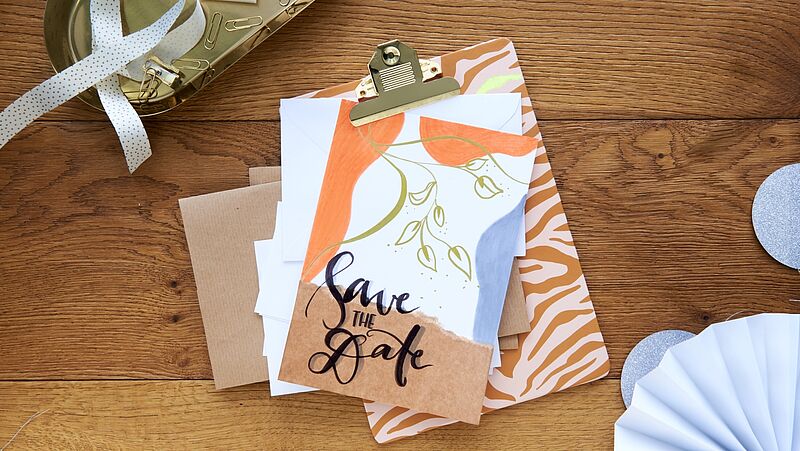
Save-the-date card
Highly effective decoration

Happy Birthday!!
Shiny metallic shades for eye-catching birthday cards
Creative Newsletter
Subscribe to our newsletter, and we’ll send you inspirational and creative DIY ideas, along with details of our latest products and special offers.