
Step-by-step
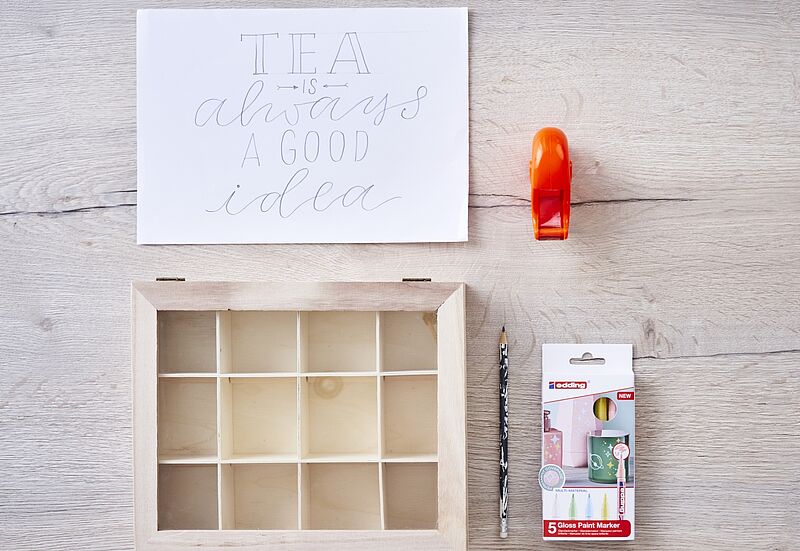
Step 1
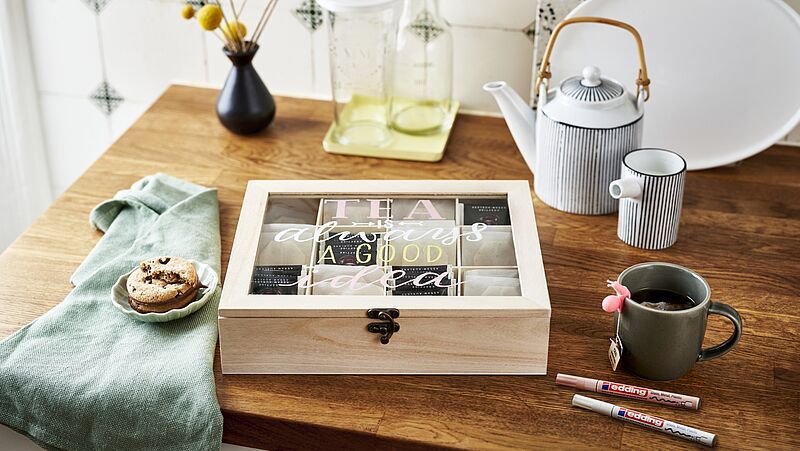
You can see all the materials at a glance in our photo. Start by printing out our template (enlarge or reduce it to suit the dimensions of the box). For our design, we used edding 751 gloss paint markers in pastel yellow, pastel rose and white.
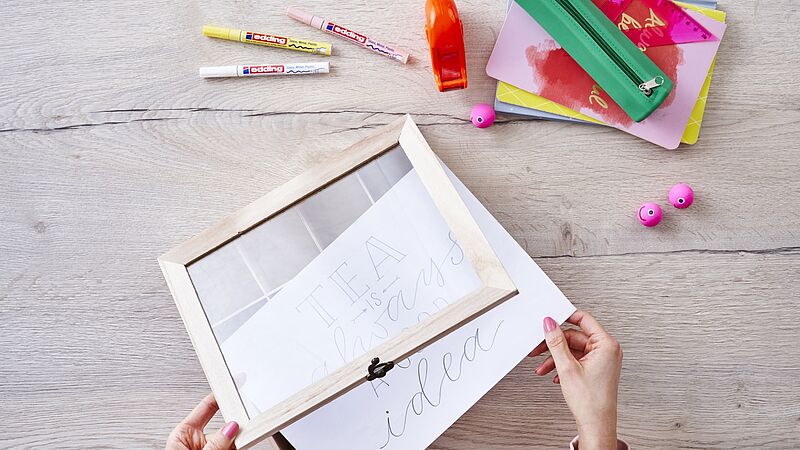
Step 2
Place the template under the see-through window. We recommend you secure it with adhesive tape to stop it slipping.
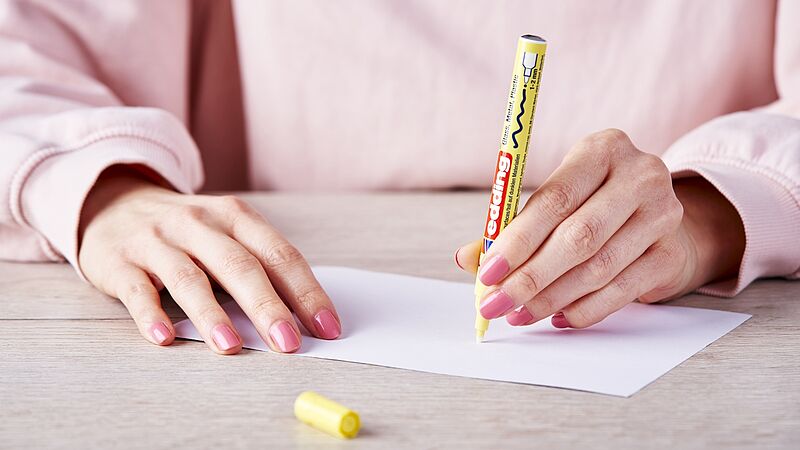
Step 3
Before using a gloss paint marker, you need to activate it as follows: shake the marker vigorously with the cap still on, then remove the cap, place the nib on a piece of absorbent paper and pump it up and down a few times until ink appears in the nib. Now you’re ready to get drawing. (After use, always store the marker horizontally.)
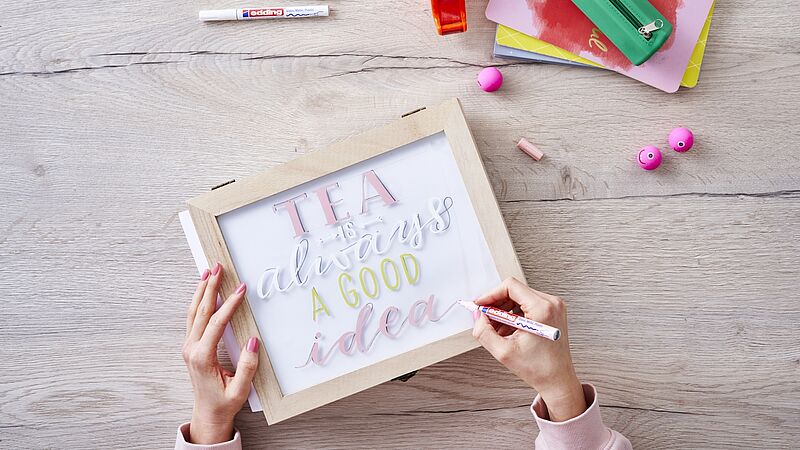
Step 4
Once you’ve primed the marker, use it to transfer the writing onto the lid. As you can see in our example, we used a different colour for each line. Draw the outlines of the letters first, let them dry for a little while and then colour them in.
Step 5
Once you’ve finished your design, the template can be removed. It’s now time to arrange your favourite tea varieties in the individual compartments.
Products and materials

Other materials
- Tea bag storage box
- Printable template
- Adhesive tape
Templates

Tea is always a good idea (Tea box)
Related ideas

Create your own concrete look
Unique upcycled bedside table

Upcycling idea for an old chest of drawers
A stylish new look for planters

Placemat upcycling idea
A stylish addition for your dinner table

Your very own designer side table
Create an eye-catching piece of furniture with this fun upcycling project
Repair scratches in your wooden floor
DIY hack: the simple way to get rid of dents and scratches
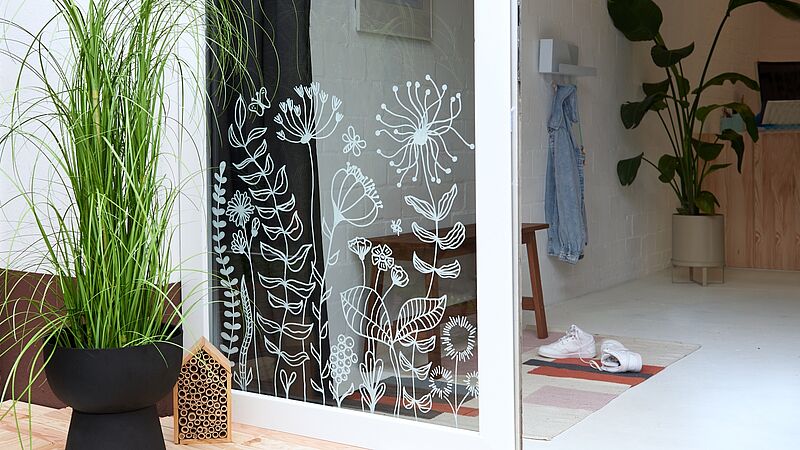
Magical flowers on your window
Decorate your windows and glass doors with striking floral designs
Creative Newsletter
Subscribe to our newsletter, and we’ll send you inspirational and creative DIY ideas, along with details of our latest products and special offers.