
Step-by-step
Step 1
First, make the tags out of the coloured paper. If you are using a tag punch, it will punch an eyelet hole for the ribbon at the same time. Alternatively, make the tags yourself: Sketch out the shapes on the coloured paper and cut them out. Punch a hole at the top in the middle.
Step 2
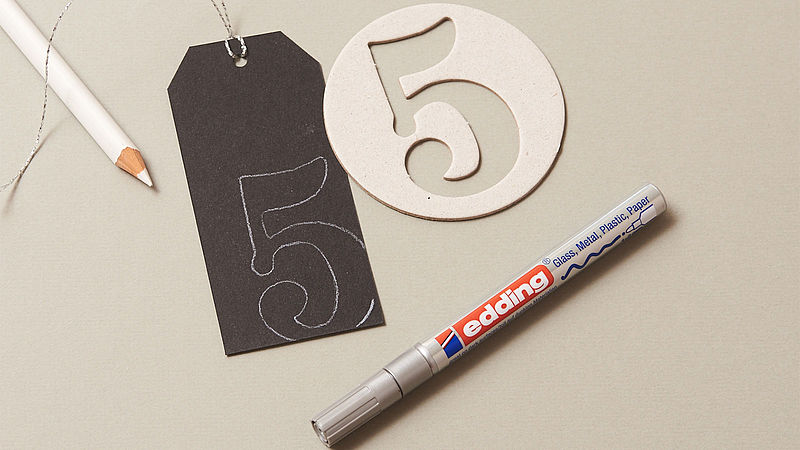
Place the number stencil over each tag and use the white crayon to transfer the numbers 1-24, one at a time. To give the tags a quirky look, make the numbers slightly slanted or crop them a little by positioning the stencil so that it goes beyond the edge of the tag.
Step 3
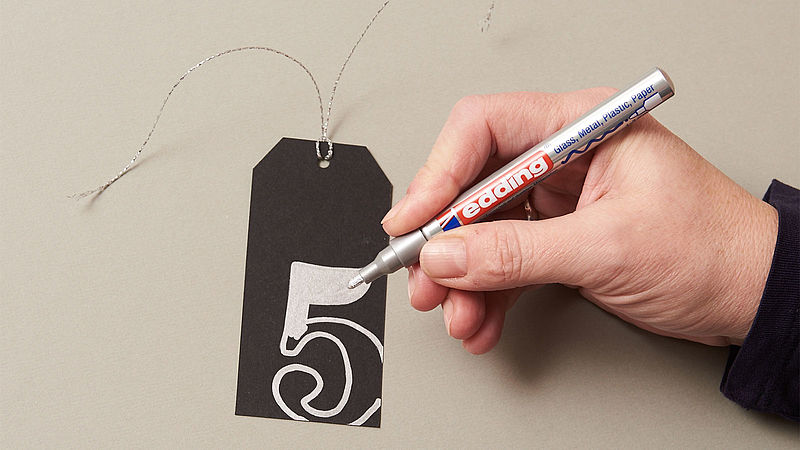
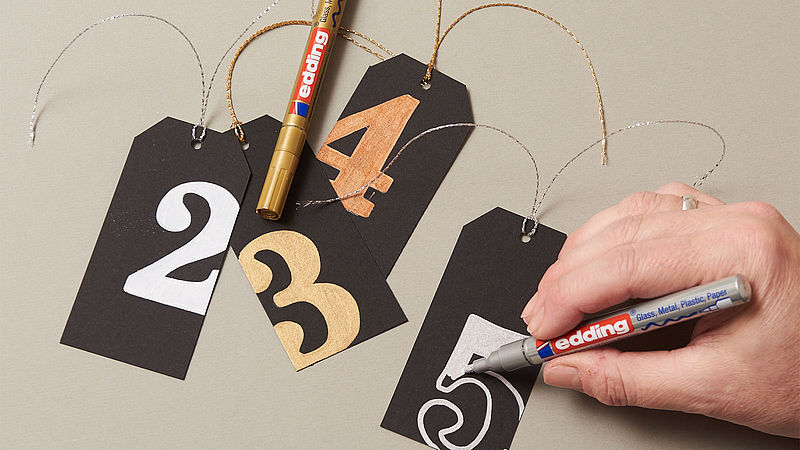
Then colour in the numbers with the gloss paint marker.
Before you start, here’s how to activate the edding gloss paint marker: Shake the marker firmly with the cap still on. Place the nib on a piece of scrap paper and carefully pump it up and down a few times until the ink fills the nib. Start by writing a few test strokes on some scrap paper. And don’t forget to always replace the cap securely after use.
Step 4
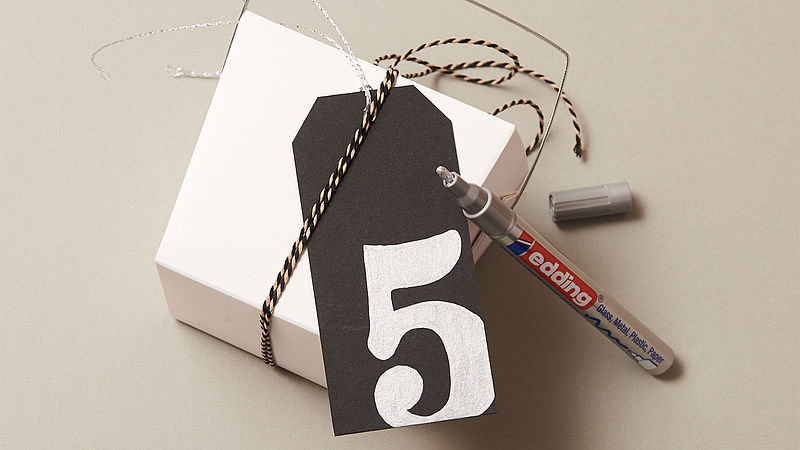
Allow to dry for a short time, then thread the ribbon through the hole and secure a tag to each ready-made gift.
Products and materials


Other materials
- Approx. 5 sheets coloured card – we used dark brown
- Craft punch for gift tags (such as Fiskars), or scissors and a hole punch
- Number stencil (from an art-and-craft store, or downloaded from our website), printed on thick paper
- White crayon
- Scissors or craft knife
- Matching gift ribbon
- Plain take out boxes or any sort of container to attach your gift tags
Templates

Roman font
Additional images

Related ideas
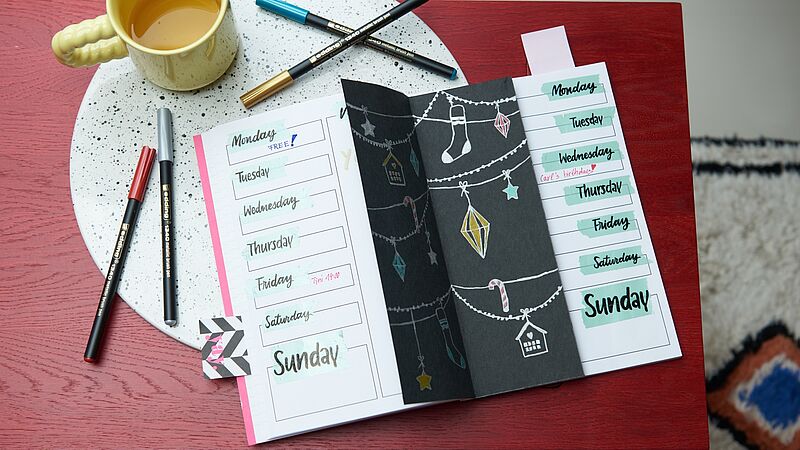
A festive look for your journal
Decorate your weekly planner with this stylish insert

Festive glass baubles
Hand-decorated baubles for the Christmas tree
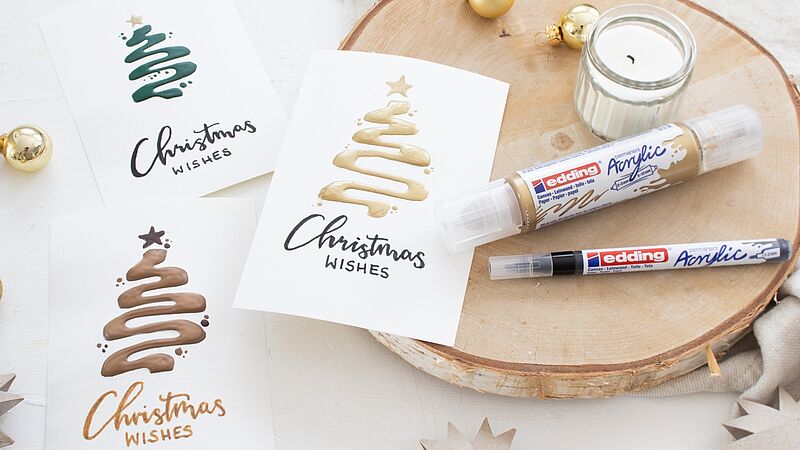
Easy-peasy season’s greetings
Creatively designed Christmas cards

Individual gift jar
Small gifts, beautifully packaged
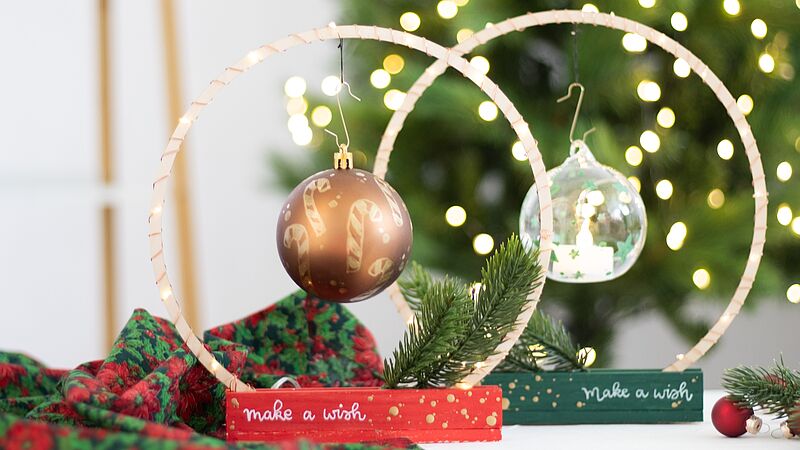
Design your own circle of light
Create a festive atmosphere
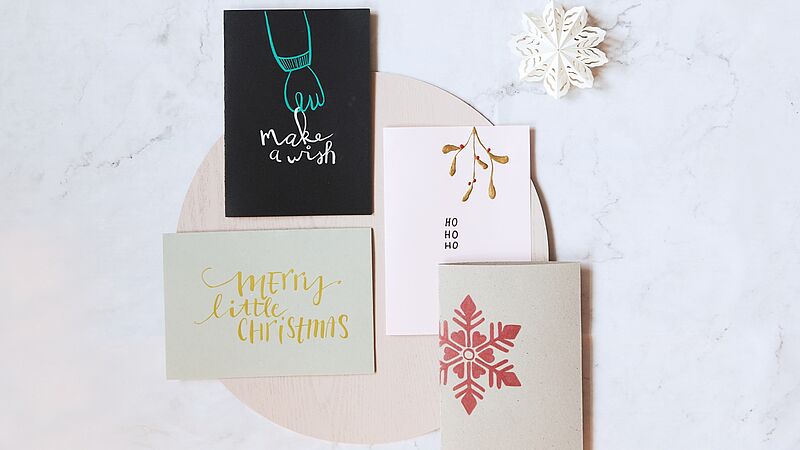
Christmas post with added sparkle
Eye-catching cards for your nearest and dearest
Creative Newsletter
Subscribe to our newsletter, and we’ll send you inspirational and creative DIY ideas, along with details of our latest products and special offers.