
Step-by-step
Step 1
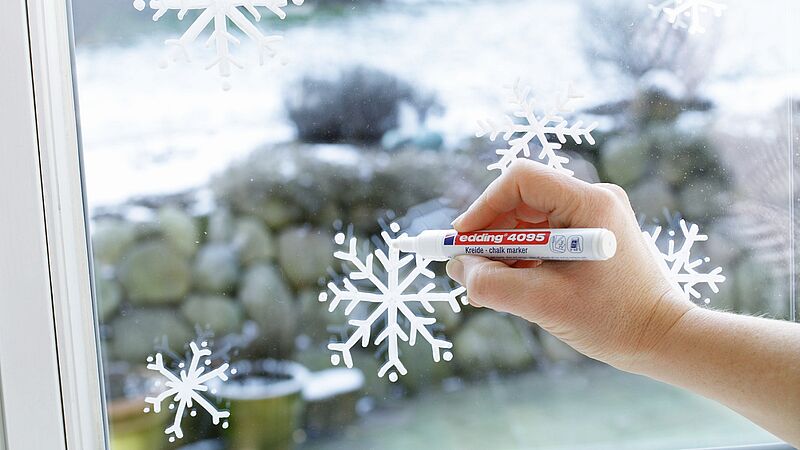
First, clean the window thoroughly. Before using a chalk marker, you need to activate it: Shake the marker vigorously with the cap still on, then remove the cap, place the nib on absorbent paper and pump it up and down a few times until ink appears in the nib. (And don’t forget to always store the marker horizontally after use.) Now you’re ready to get started.

Step 2
If your motifs are rather complex you’ll find it easier to use a paper template: when it’s ready, simply stick it to the back of the window, copy the motif – and you’re done! Or you can draw freehand if you prefer. If you’re not happy with your motif or you make a mistake, simply wipe the window clean with a damp cloth and have another go.

Step 3
Or you may wish to draw your own decorative and colourful window pictures. edding chalk markers are available in nine vibrant shades.
Step 4
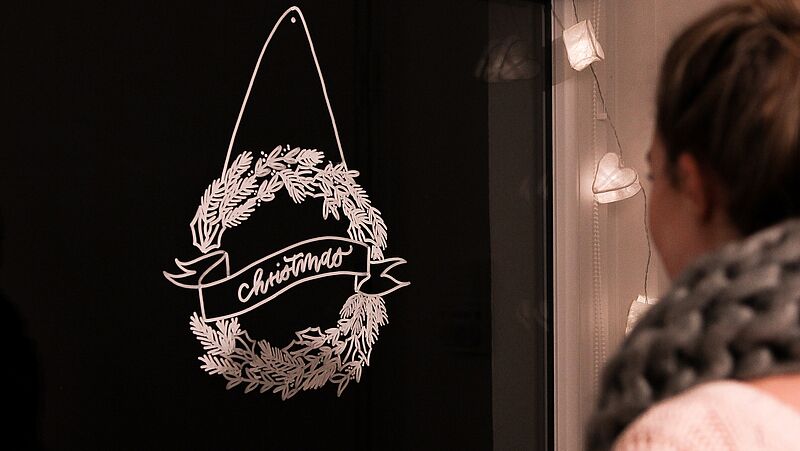
Here you can see another example of a beautiful window picture. Images: @katrinmagin
Products and materials


Other materials
- Window pane


Additional images


Related ideas
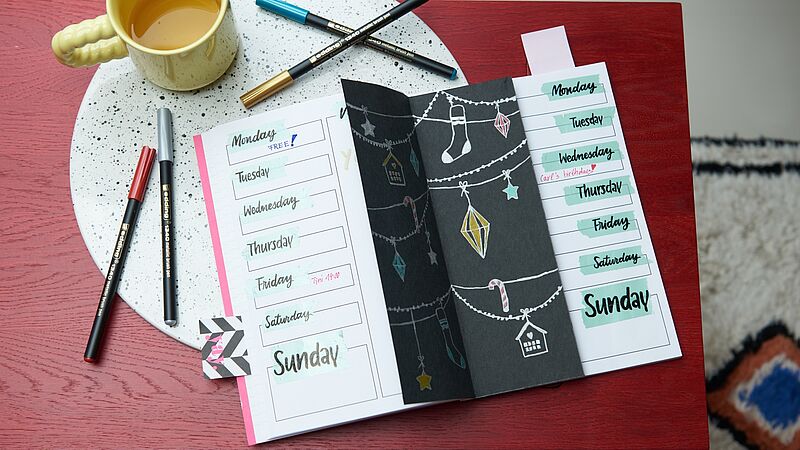
A festive look for your journal
Decorate your weekly planner with this stylish insert
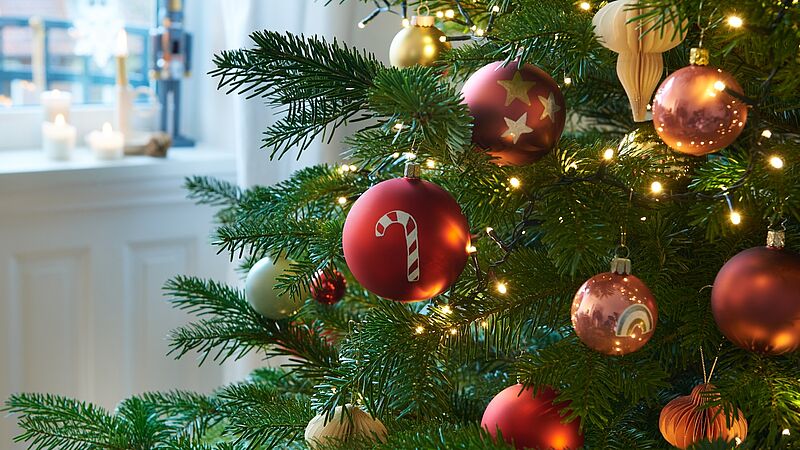
Festive glass baubles
Hand-decorated baubles for the Christmas tree
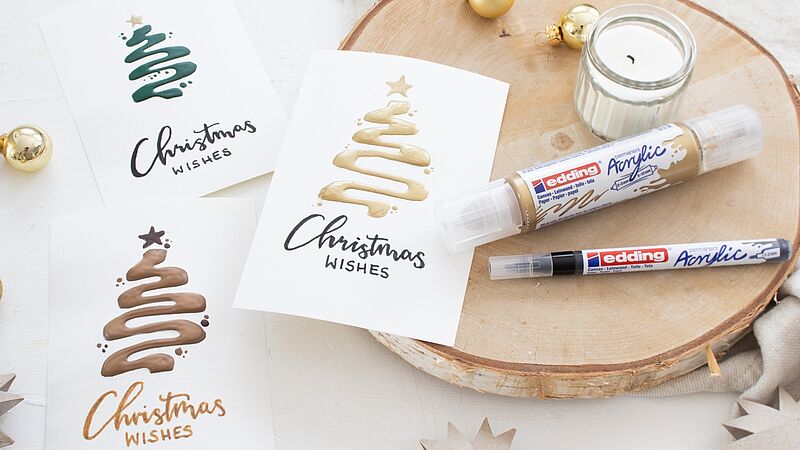
Easy-peasy season’s greetings
Creatively designed Christmas cards

Individual gift jar
Small gifts, beautifully packaged
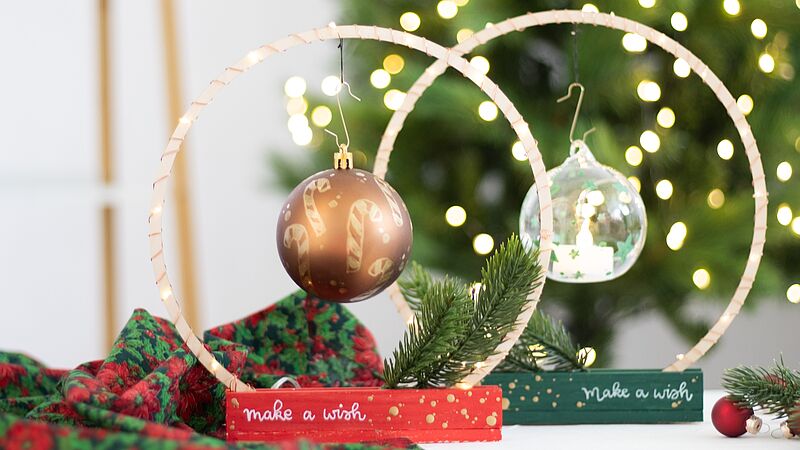
Design your own circle of light
Create a festive atmosphere
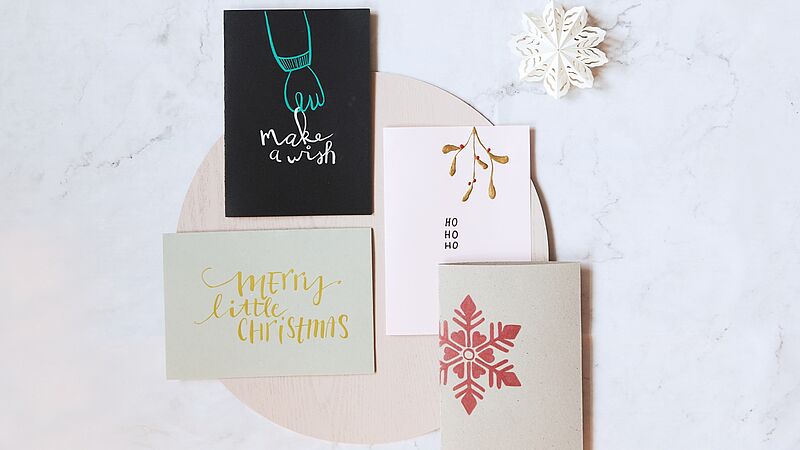
Christmas post with added sparkle
Eye-catching cards for your nearest and dearest
Creative Newsletter
Subscribe to our newsletter, and we’ll send you inspirational and creative DIY ideas, along with details of our latest products and special offers.