
Step-by-step
Step 1
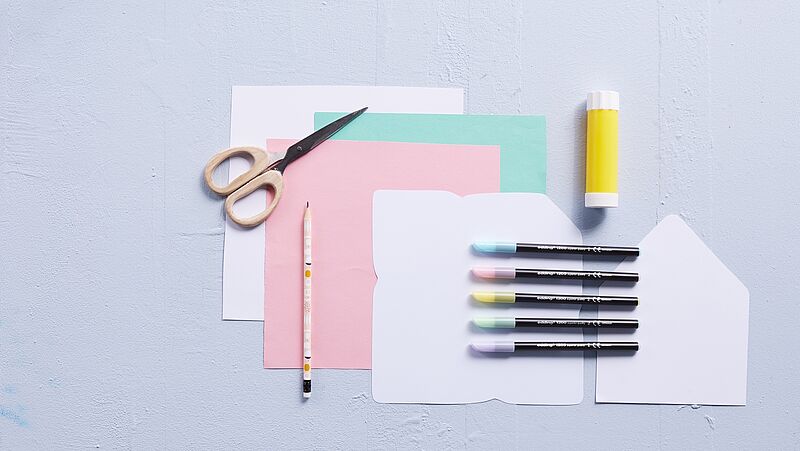
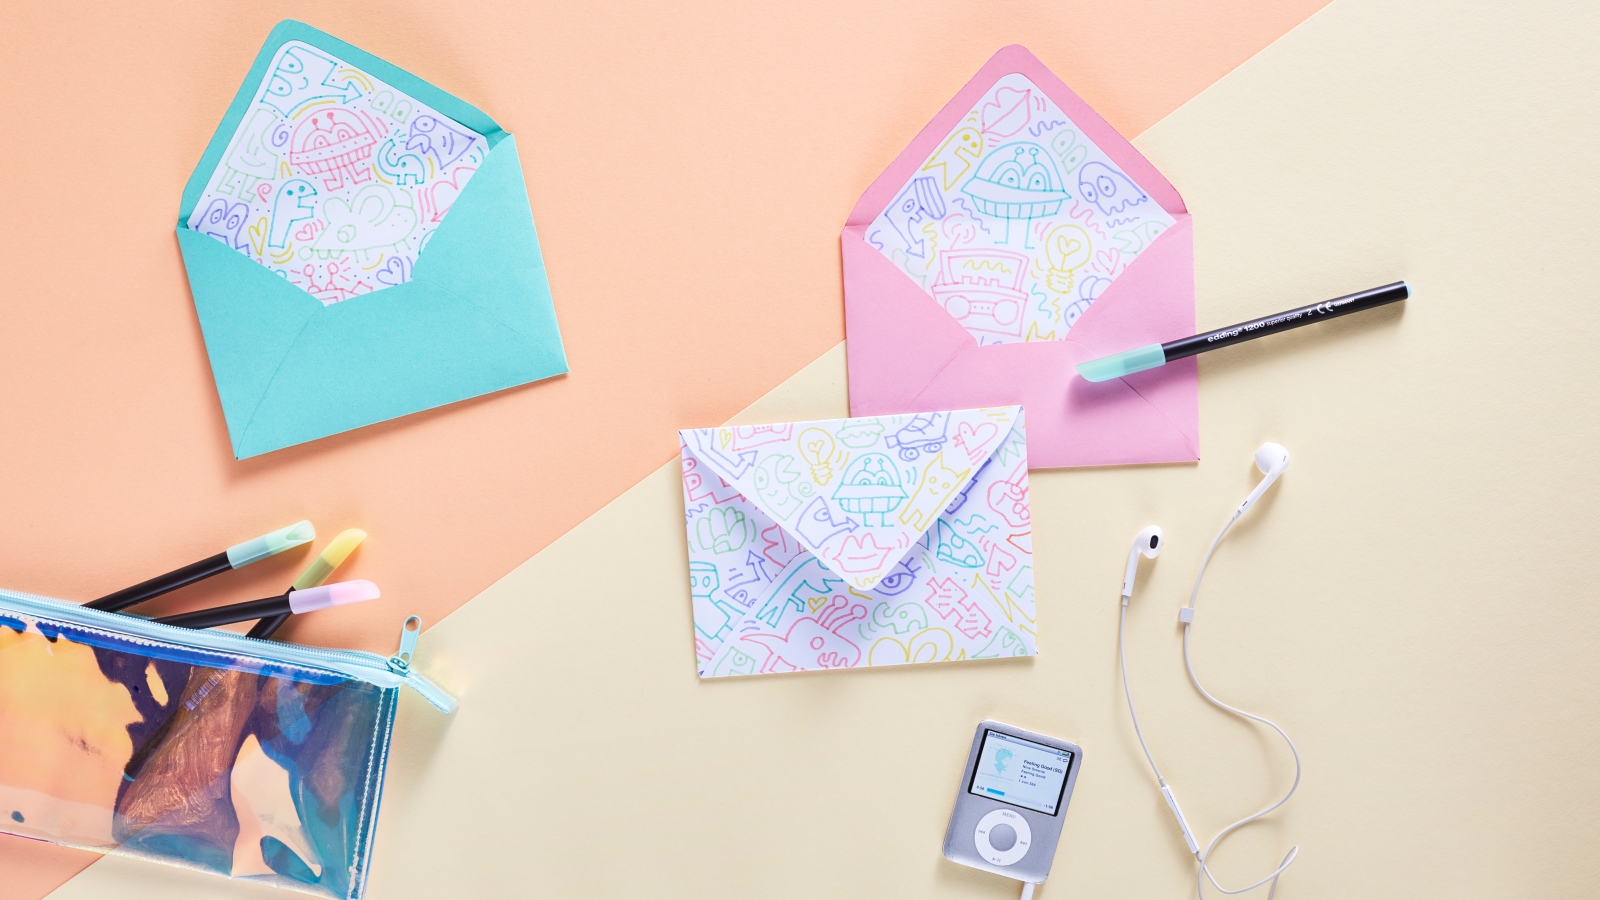
For this idea you’ll need the edding 1200 colour pens. In the photo you, can see at a glance the colours we used. The coloured paper forms the outer layer of the envelope, whereas the white paper is for adding colourful designs and should be slightly smaller in size. First of all, print out the template for the folded envelope.
Step 2
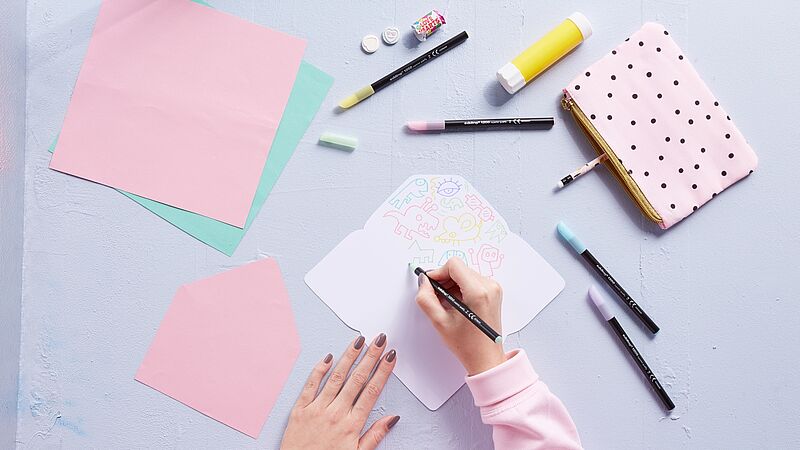
Cut out a notch on all four sides of the white paper and round off the corners. Now think of how you want to lay out your design. We decorated our envelopes with different cartoon characters. The fine nib of the edding 1200 colour pens makes them ideal for drawing fine patterns and motifs.
Step 3
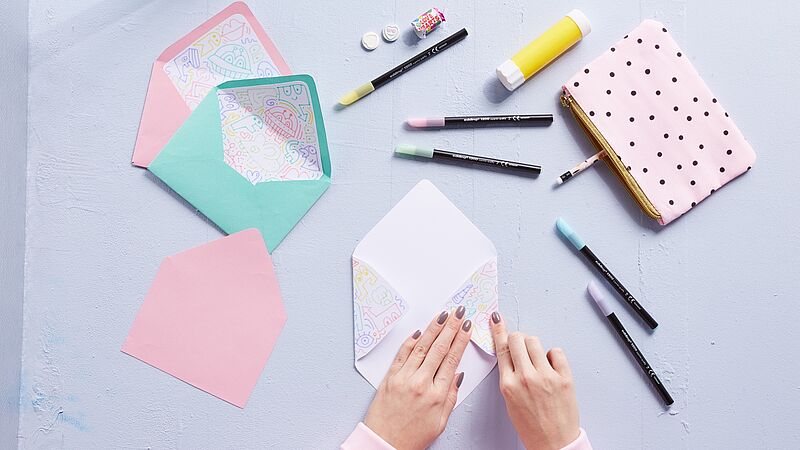
Use the pastel colours to add pretty, delicate touches or highlight motifs. Keep on going until the paper is covered with lots of little drawings. When you’ve finished, fold the paper according to the instructions. Seal the bottom edge with glue. You now have an envelope shape. Fold the coloured paper in the same way. To finish, slide the white envelope inside the coloured one – and you’re done!
Step 4
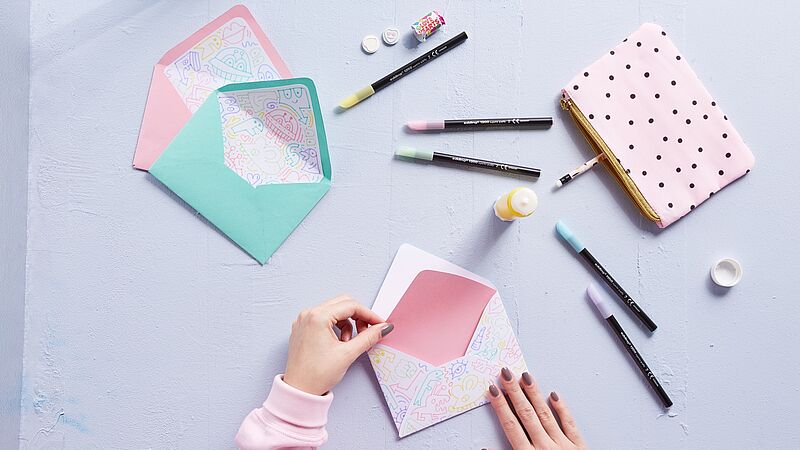
You could switch it round and use the white paper for the outer envelope and the coloured paper on the inside – it’s entirely up to you.
Products and materials

Other materials
- Square paper in pastel colours
- Square white paper
- “Envelope” template
- Pencil
- Scissors
- Glue stick, (e.g. UHU stic)
Additional images
Related ideas
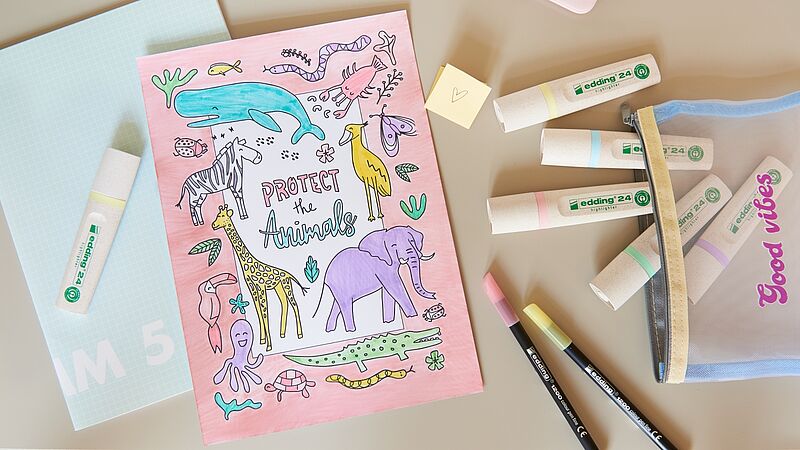
Colouring picture in pastel shades
"Protect the animals” motif

Name tag for children's room
Design idea for young circus artists

Summer gift tags
Ice cream that’s guaranteed not to melt!
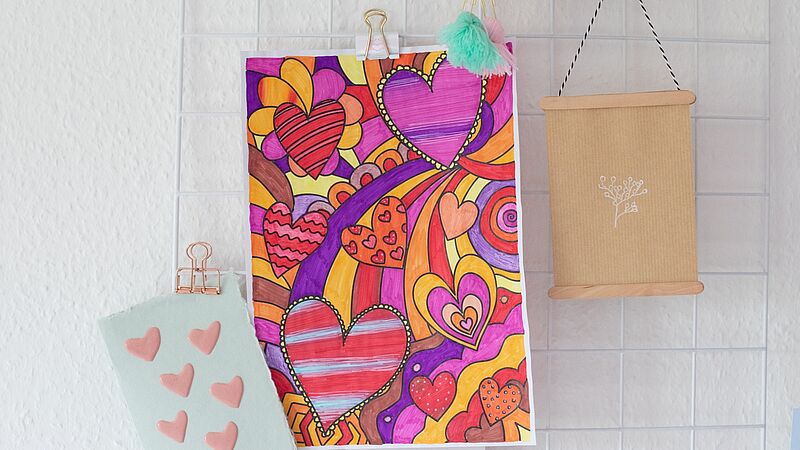
Valentine’s Day template to colour in
A beautiful array of different heart shapes
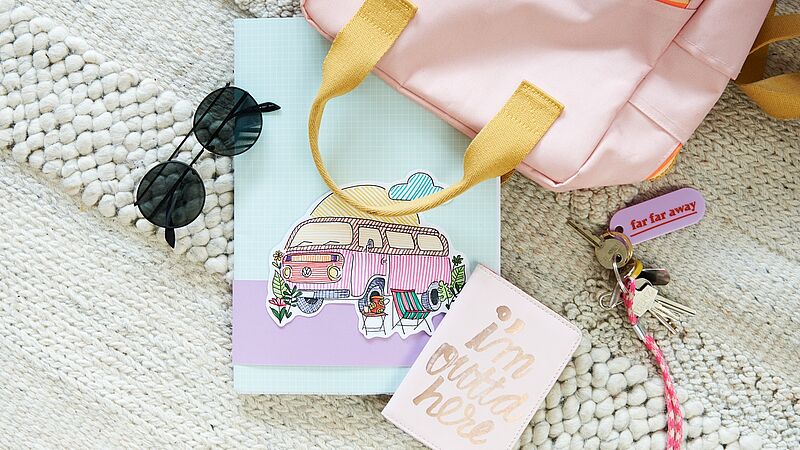
Front cover design
Ideas and inspiration for a journal cover
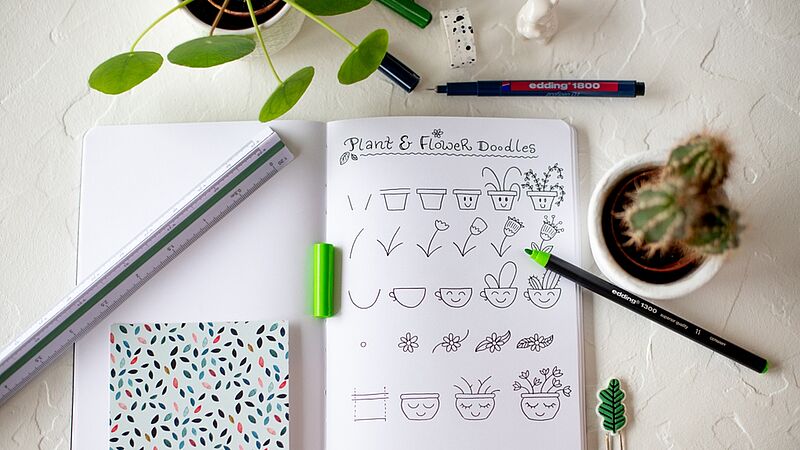
Easy-to-draw plants and flowers
Simple doodle sketches
Creative Newsletter
Subscribe to our newsletter, and we’ll send you inspirational and creative DIY ideas, along with details of our latest products and special offers.