
Step-by-step

Step 1
Our acrylic markers come in a wide array of colours, so feel free to pick your favourites. The broad edding 5000 acrylic marker is ideal for colouring larger areas. For more delicate patterns and small areas, however, we recommend the edding 5300 fine acrylic marker and the medium edding 5100.
Step 2
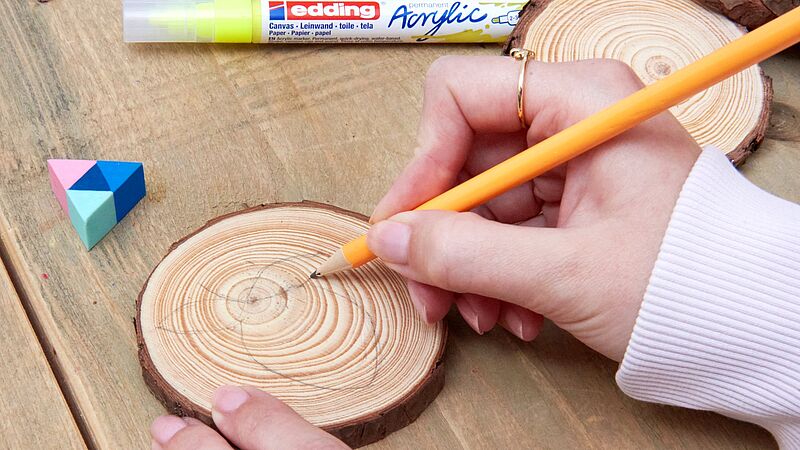
Before you start, wipe the wood slices with a damp cloth to remove any dust. It's a good idea to sketch out the motif in pencil first. That way, when you get to the next step, you can simply colour in the sections.
Step 3
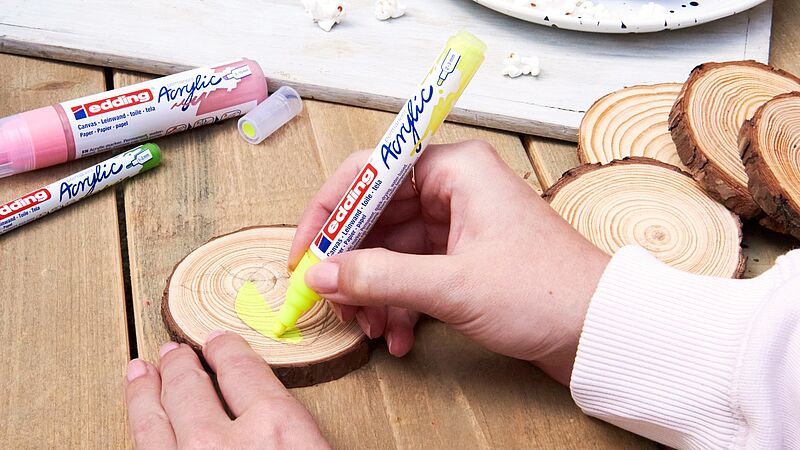
First of all, you need to activate all the markers. Leave the cap on and shake the pen until you can hear the mixing ball rattle inside, then carefully pump up and down until ink appears in the tip. Test the marker on a piece of scrap paper. Now colour in the areas of the sketch as neatly as you can. For this you'll need the medium acrylic marker in neon yellow.
Step 4
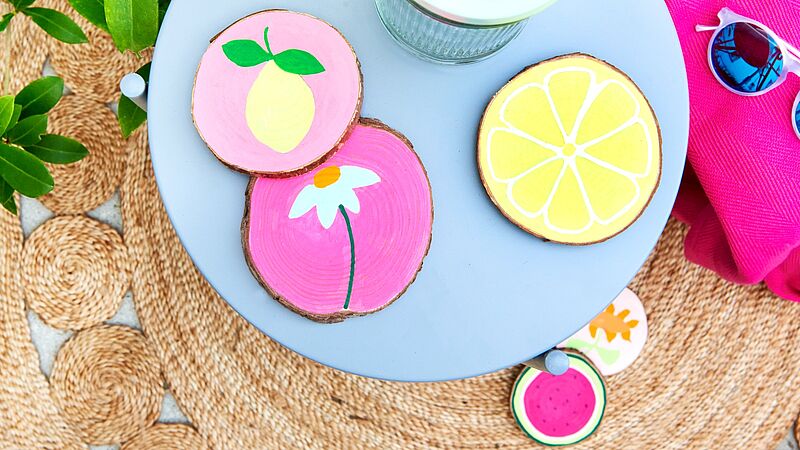
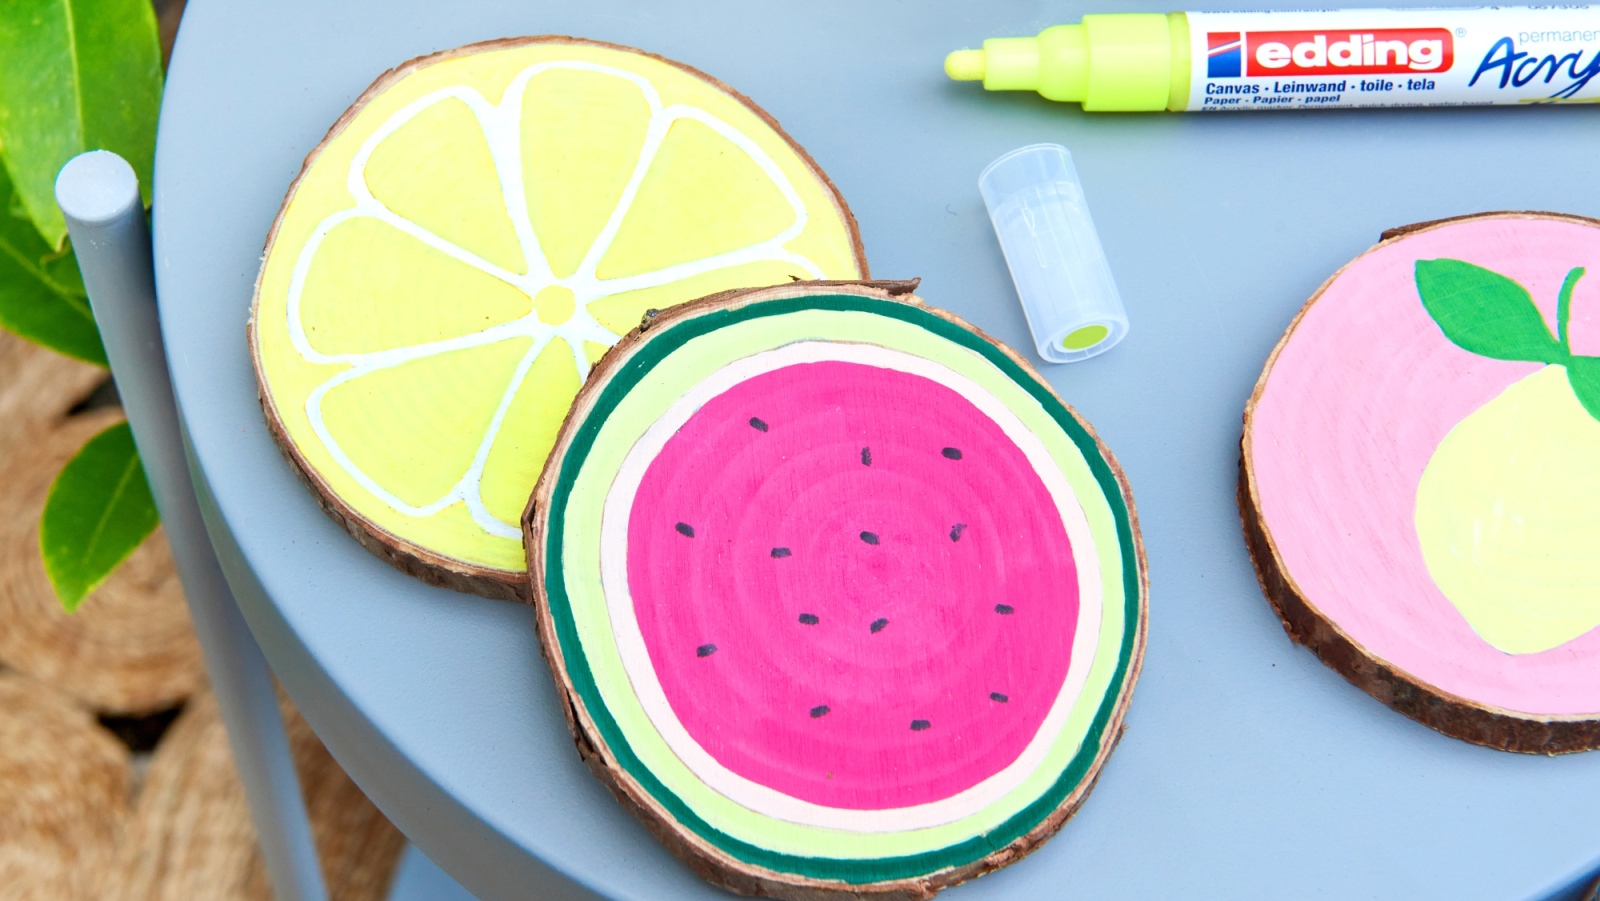
Use yellow green to colour in the leaves of the lemon. Once the paint has dried, it's time to fill in the surrounding area in classy mauve. And there you have it ‒ your first coaster is ready! Repeat this method to decorate the other wood slices with a variety of motifs.
Products and materials



Other materials
- Wood slices (approx. 10-12 cm diameter)
- Pencil
- A damp cloth
Video
Additional images
Related ideas
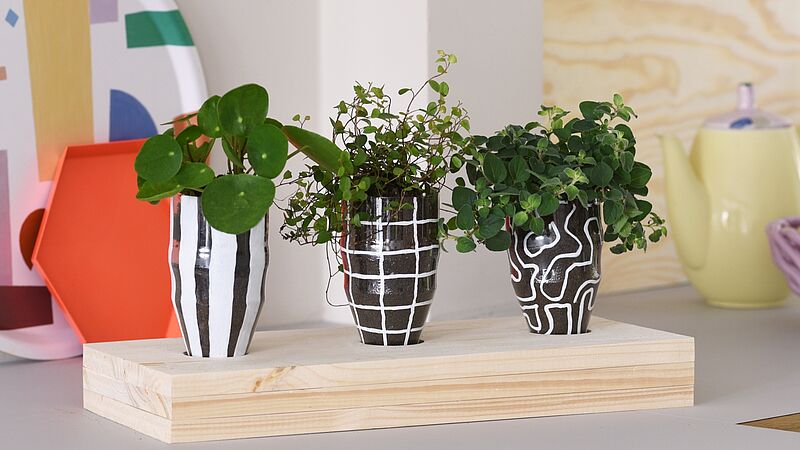
DIY plant pots
Decorative upcycling idea using plastic bottles
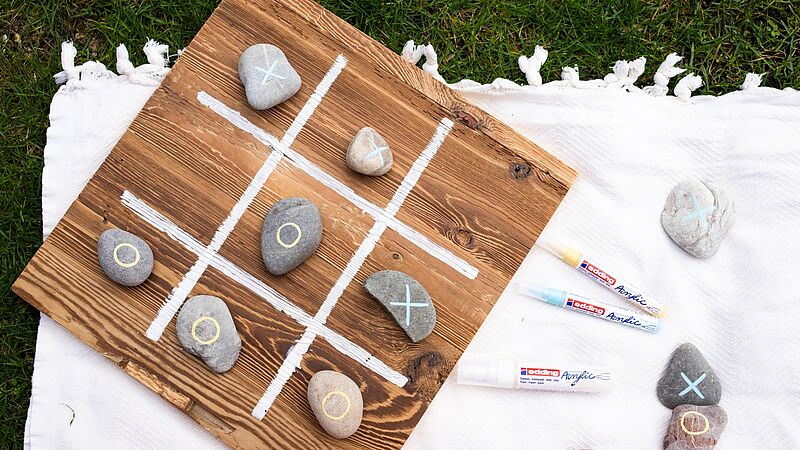
Play Noughts and Crosses
Get that summer feeling with a handmade board game
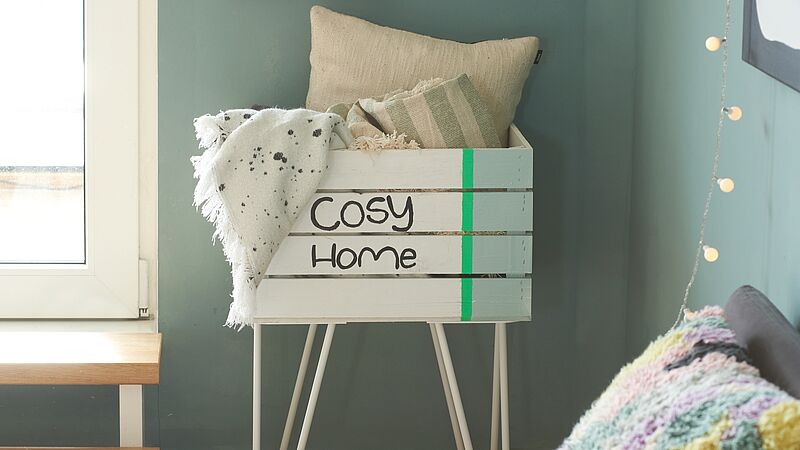
Neat storage idea for your cushions
Upcycling idea for your home
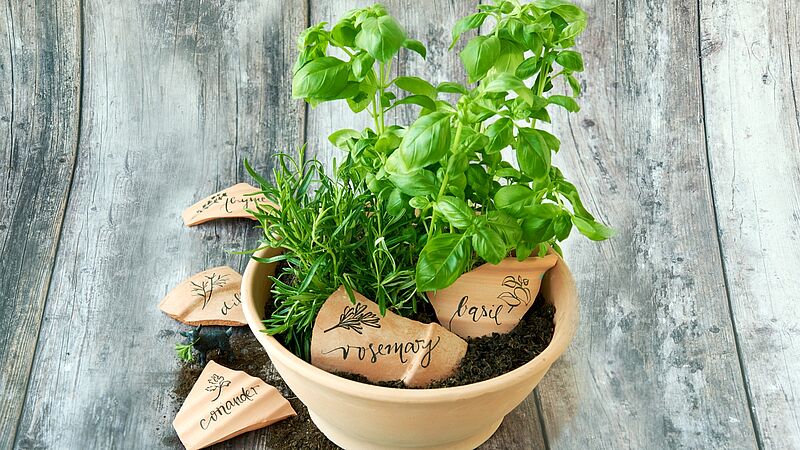
Decorative kitchen herbs
Stylish terracotta plant labels
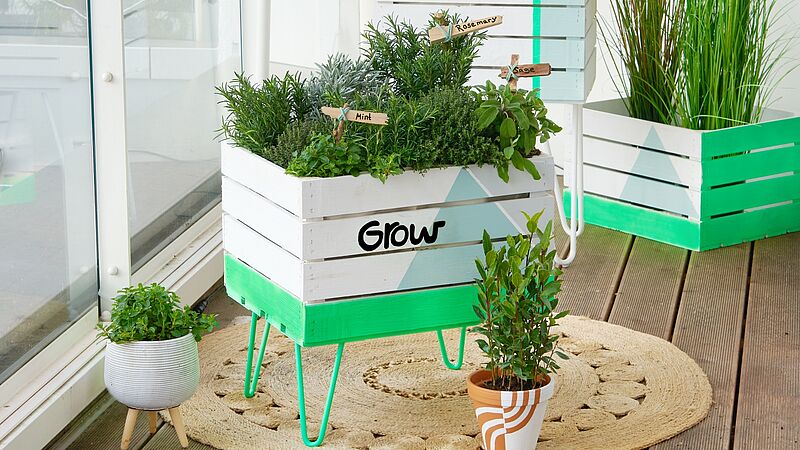
Jazz up crate planters
Attractive upcycling idea for old wooden crates
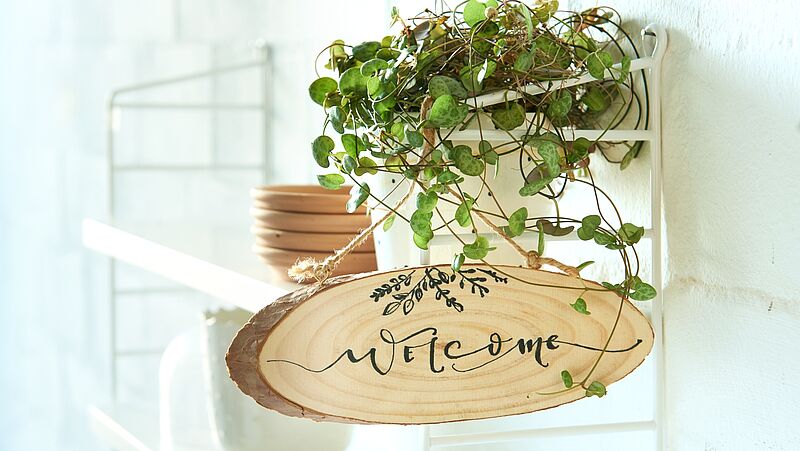
Wooden welcome sign
Stylish greeting sign for your guests
Creative Newsletter
Subscribe to our newsletter, and we’ll send you inspirational and creative DIY ideas, along with details of our latest products and special offers.