
Step-by-step
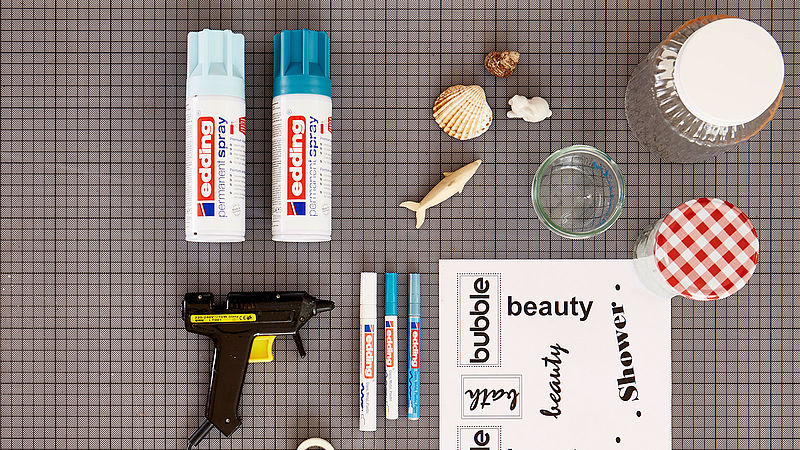
Step 1
Make sure you have all your materials to hand before you start. You can see everything you need at a glance in our photo.

Step 2
We recommend that you prepare the wording on paper first, cut it out and stick it to the jar with adhesive tape to act as a template.
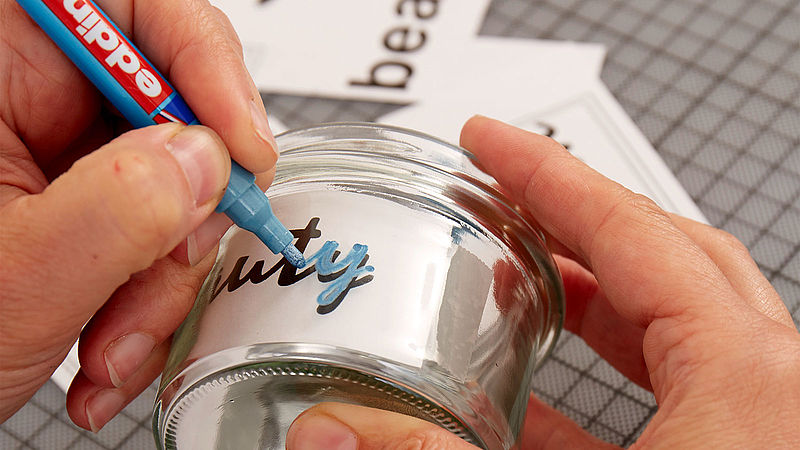
Step 3
Now simply trace over the writing with the metallic blue gloss paint marker. The ink dries very quickly so there’s minimal risk of smudging.
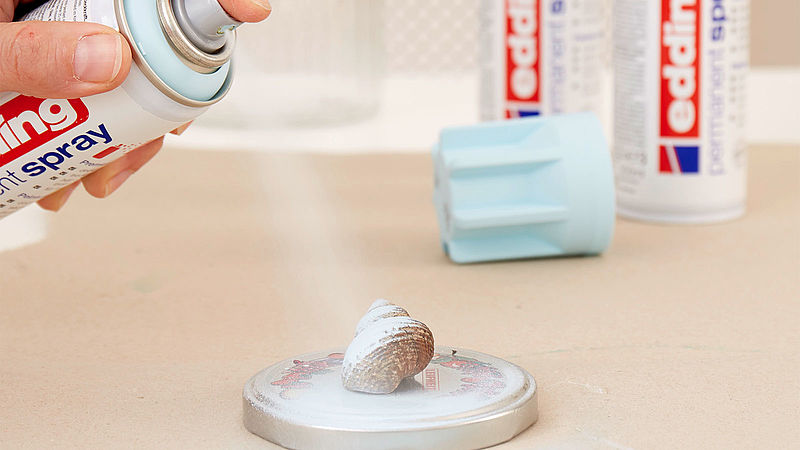
Step 4
Now it’s time to decorate the lid. Using the spray adhesive, stick a shell or some other pretty accessory onto the jar lid. Leave to dry in accordance with the instructions for use. The next step is to continue decorating with the permanent spray. It’s advisable to spray outside in the open air and to cover your working area thoroughly. Our section on permanent spray basics gives useful tips on how to achieve perfect results. To make the shell lid we used pastel blue paint. For the lighthouse we used the colour petrol. Allow the paint to dry thoroughly (approx. 30 minutes). And there you have it – your beautiful new cosmetics jar is finished!
Products and materials


Other materials
- Jam jars with screw lids
- Scissors
- Sticky tape to secure
- Pre-prepared wording for tracing over
- Shells, tiny animals or other accessories to stick on the lid
- Spray adhesive e.g. UHU Spray
- Large protective cover for spraying on
- Plastic film to cover the surrounding work area
Related ideas

Freshen up your grouting
Add sparkle to bathroom and kitchen grouting
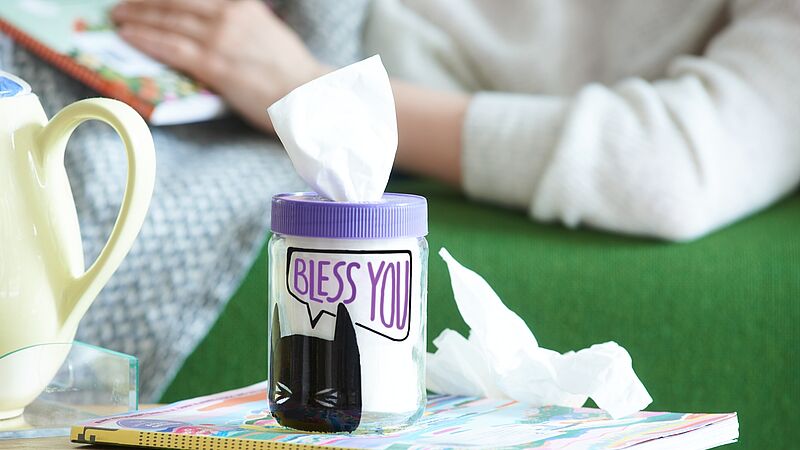
DIY tissue box
Put a smile on your face with this eye-catching tissue dispenser

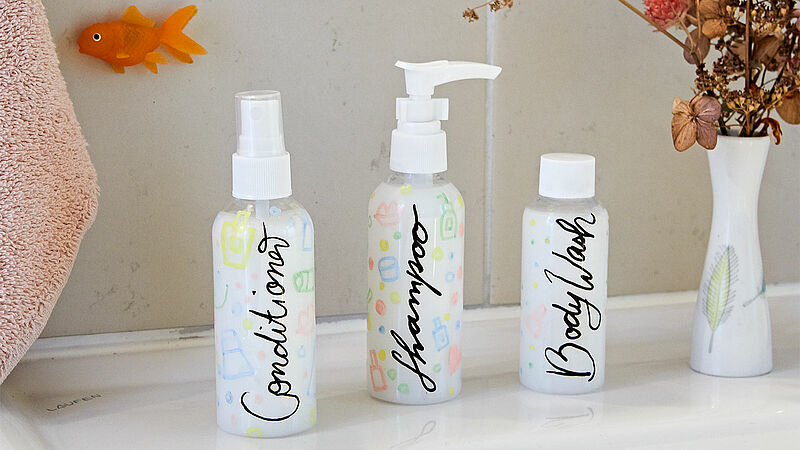
Makeup bag with a cool design
Add a touch of chic to your morning routine
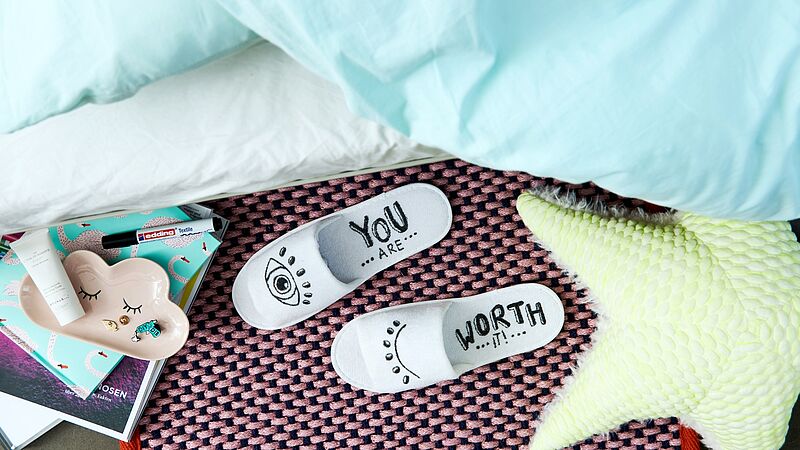
Decorate your spa slippers
The perfect footwear for a relaxing spa
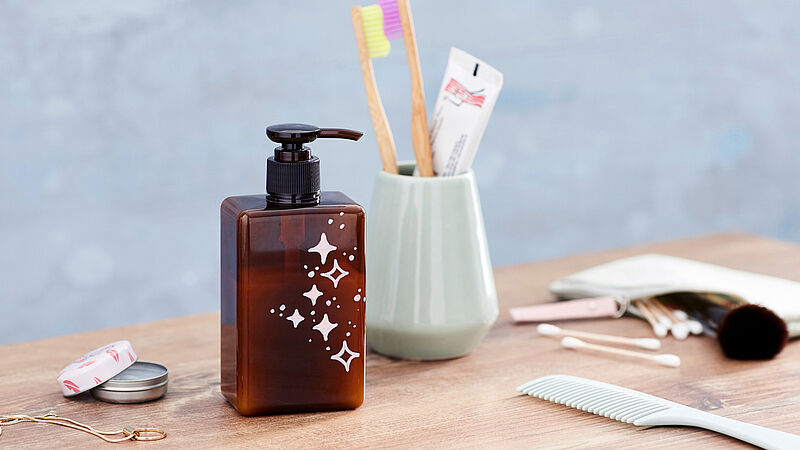
Stylish travel soap dispenser
Get organised for your wellness weekend
Painted soap dispenser
Follow the pastel craze with chic DIY bathroom accessories
Creative Newsletter
Subscribe to our newsletter, and we’ll send you inspirational and creative DIY ideas, along with details of our latest products and special offers.