
Step-by-step
Step 1
You can see everything you need at a glance in our photo. For our design, we used edding 751 gloss paint markers in a range of colours.
Step 2
Start by giving the test tubes a thorough clean to remove fingerprints and any other marks.
Step 3
Before you use a paint marker, activate it as follows: shake the marker vigorously with the cap on, then remove the cap, place the nib on a piece of absorbent paper and pump it up and down gently a few times until ink appears in the nib. Now you’re ready to get started (and, after use, always replace the cap securely and store the marker horizontally.) Think up a couple of nice patterns for your design. You can see in our example that we masked part of the glass surface with Washi tape, leaving a nice flat area free to decorate. Let the ink dry for a short while, then carefully remove the tape.
Step 4
If you want to make the dotted pattern, the edding 751 gloss paint marker in violet metallic works very well. Other graphic patterns or sections in different colours can also look attractive.
Step 5
When you’ve finished designing, hold the individual vases together with elastic bands in funky colours – and there you have it: your vase arrangement is ready!
Products and materials

Other materials
- Test tubes in different heights
- A cloth for cleaning the test tubes
- Washi tape
- Brightly-coloured elastic bands
Additional images
Related ideas

Create your own concrete look
Unique upcycled bedside table

Upcycling idea for an old chest of drawers
A stylish new look for planters

Placemat upcycling idea
A stylish addition for your dinner table

Your very own designer side table
Create an eye-catching piece of furniture with this fun upcycling project
Repair scratches in your wooden floor
DIY hack: the simple way to get rid of dents and scratches
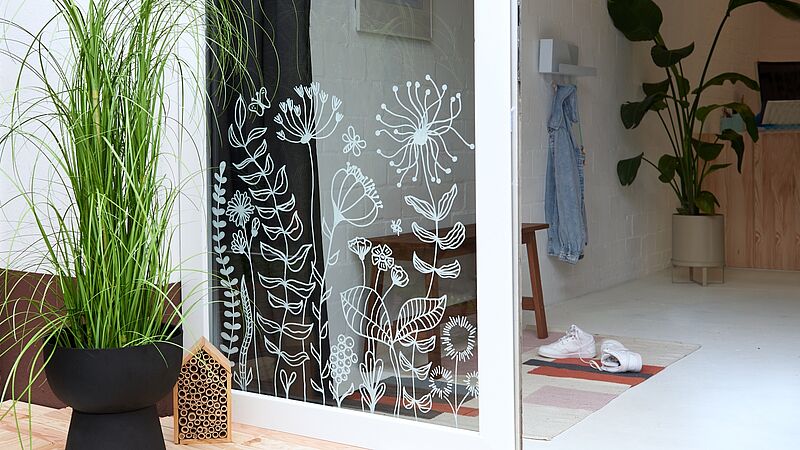
Magical flowers on your window
Decorate your windows and glass doors with striking floral designs
Creative Newsletter
Subscribe to our newsletter, and we’ll send you inspirational and creative DIY ideas, along with details of our latest products and special offers.