
Step-by-step
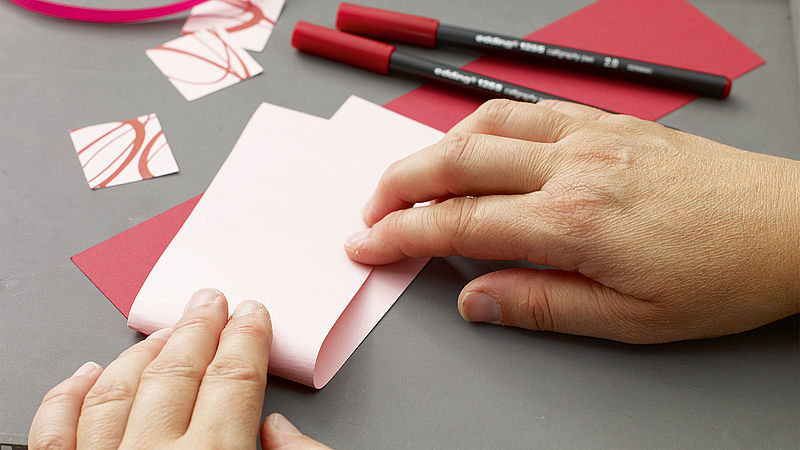
Step 1
Cut a piece of the dark-coloured card to the desired size; this will be used for the card outer. Fold it in half. Cut a piece of the light-coloured card for the insert, but before you fold and place inside, you can try slanting the card when folding. Or cut this layer a little bigger than the outer layer – these effects can be quite impressive.
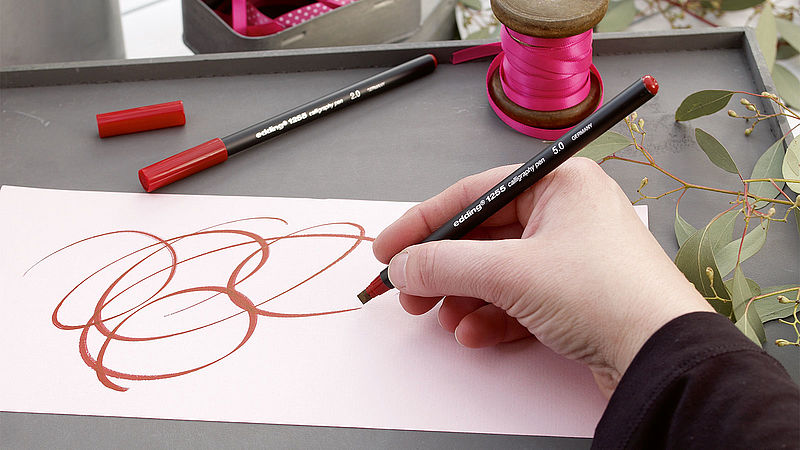
Step 2
To develop the proper sweep, practise the right hold for the edding 1255 calligraphy pen on the light-coloured paper. Try out the different line widths of the calligraphy pens by drawing some squiggles, waves and lines – and bear in mind that it’s not about perfection, it’s all about your creative sweep!
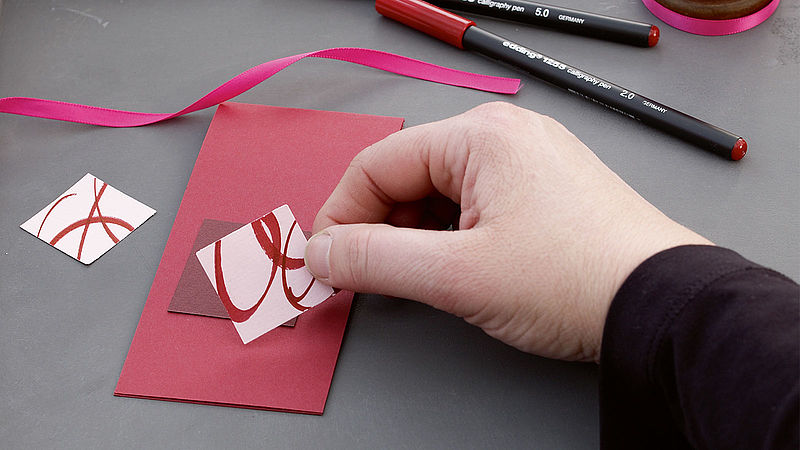
Step 3
Cut out a selection of squares from your sweep designs, then glue these to the card. For an attractive framing effect, place a slightly bigger square cut from darker-coloured card under your paper square.
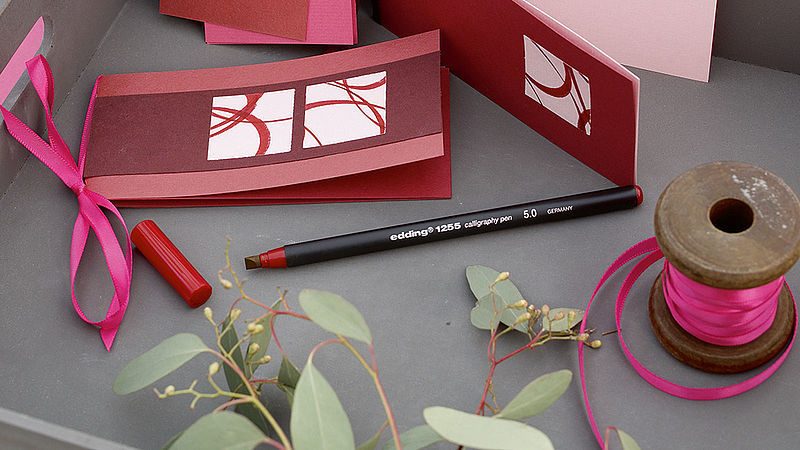
Step 4
Finally, tie the two layers of your card together with a ribbon – and your personalised calligraphy greeting card is ready to be gifted!
Products and materials

Other materials
- Card in various shades of red
- Light-coloured paper (e.g. light pink)
- Ribbon
- Scissors, glue
Related ideas
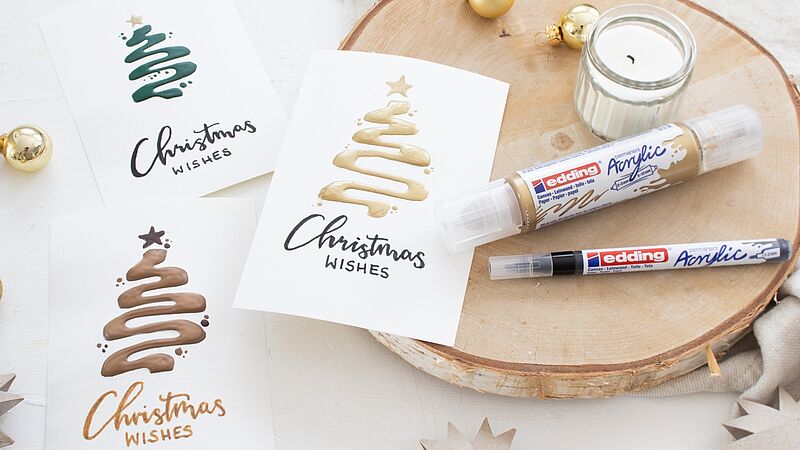
Easy-peasy season’s greetings
Creatively designed Christmas cards
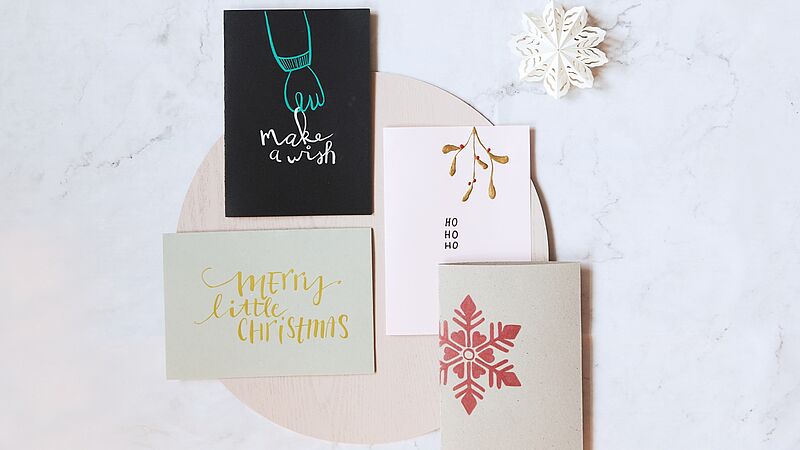
Christmas post with added sparkle
Eye-catching cards for your nearest and dearest
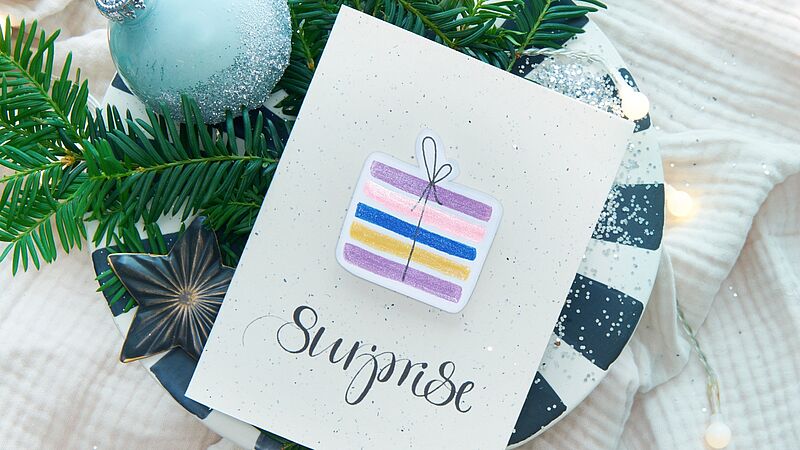
Surprise!
Glitter card with the wow factor
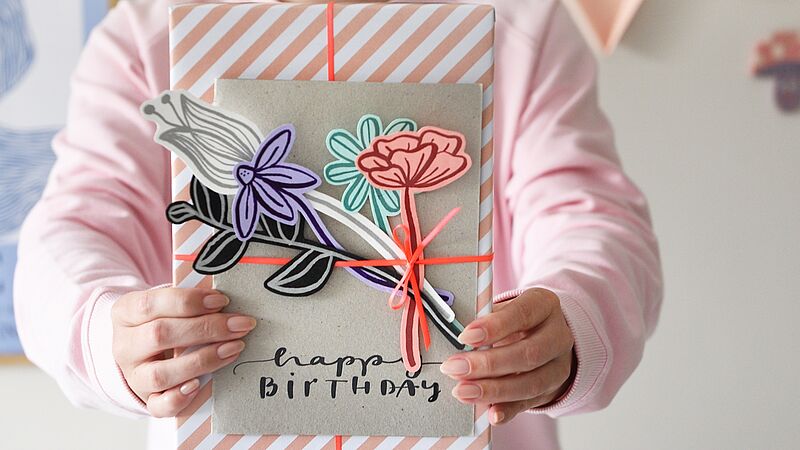
Birthday card
… with a floral decoration guaranteed not to wilt!
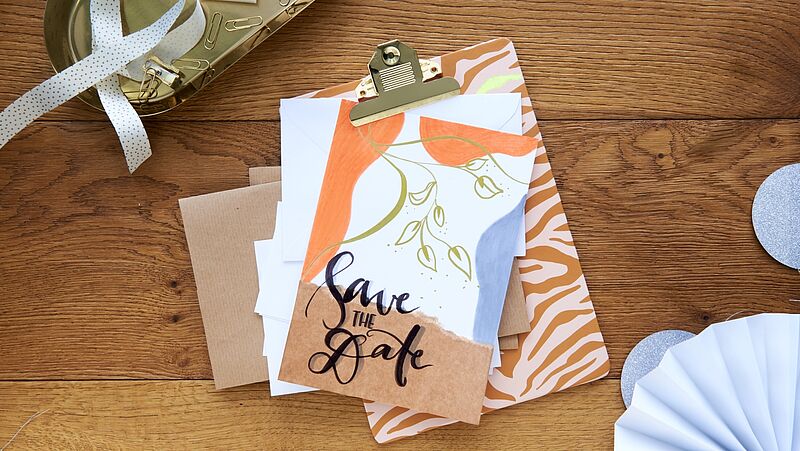
Save-the-date card
Highly effective decoration

Happy Birthday!!
Shiny metallic shades for eye-catching birthday cards
Creative Newsletter
Subscribe to our newsletter, and we’ll send you inspirational and creative DIY ideas, along with details of our latest products and special offers.