
Step-by-step
Step 1
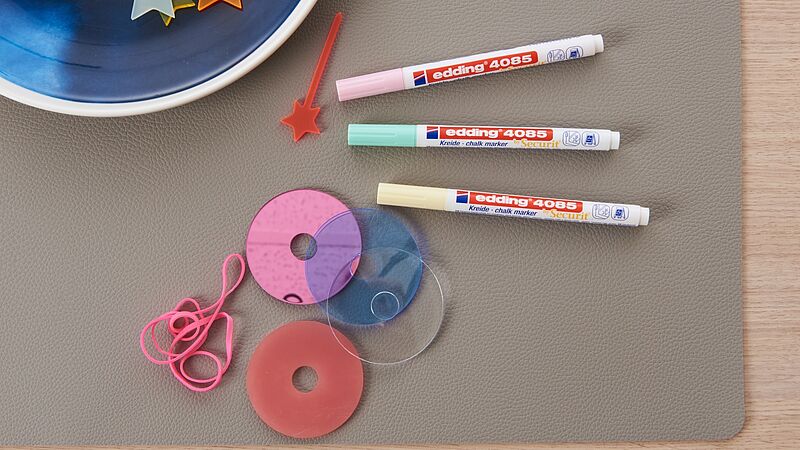
You can see all the materials you need at a glance in our photo. We used the edding 4085 chalk marker by Securit in a variety of pastel colours.
Step 2
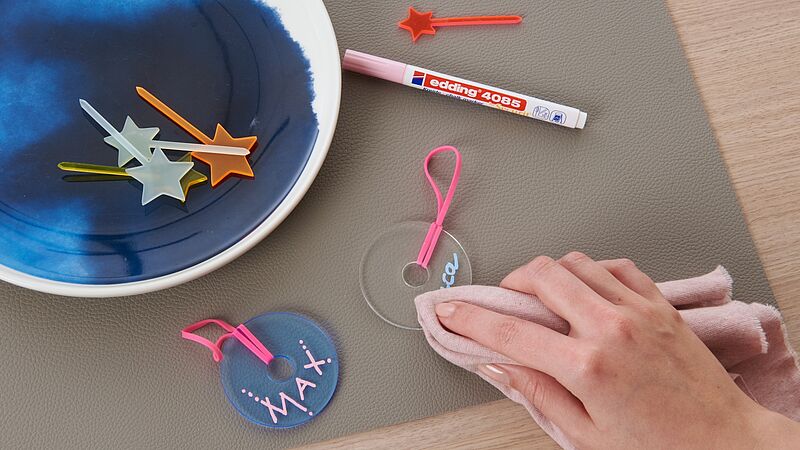
Before you start designing, activate the chalk marker as follows: shake the marker vigorously with the cap on, then remove the cap and pump the marker a few times on the piece of paper until ink appears in the nib. Now you’re ready to get started. Once you've activated the chalk marker, write the name of the guests on the discs. If your design doesn’t work out how you want it, simply wipe it off with a damp cloth and start again. After use, always replace the cap securely and store the marker horizontally.
Step 3
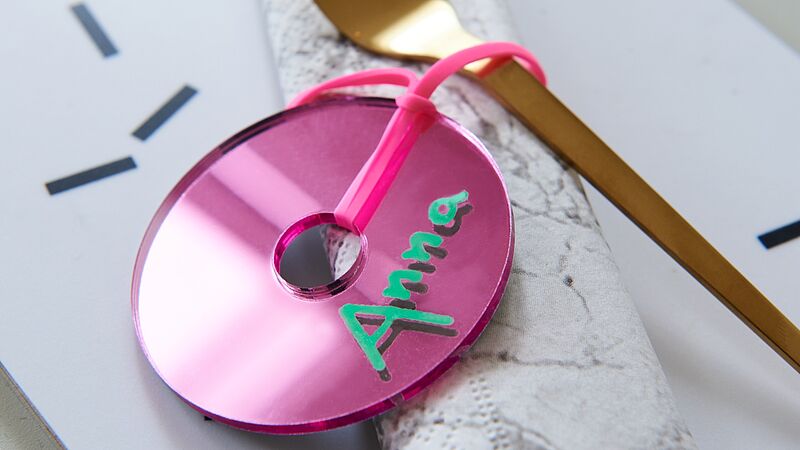
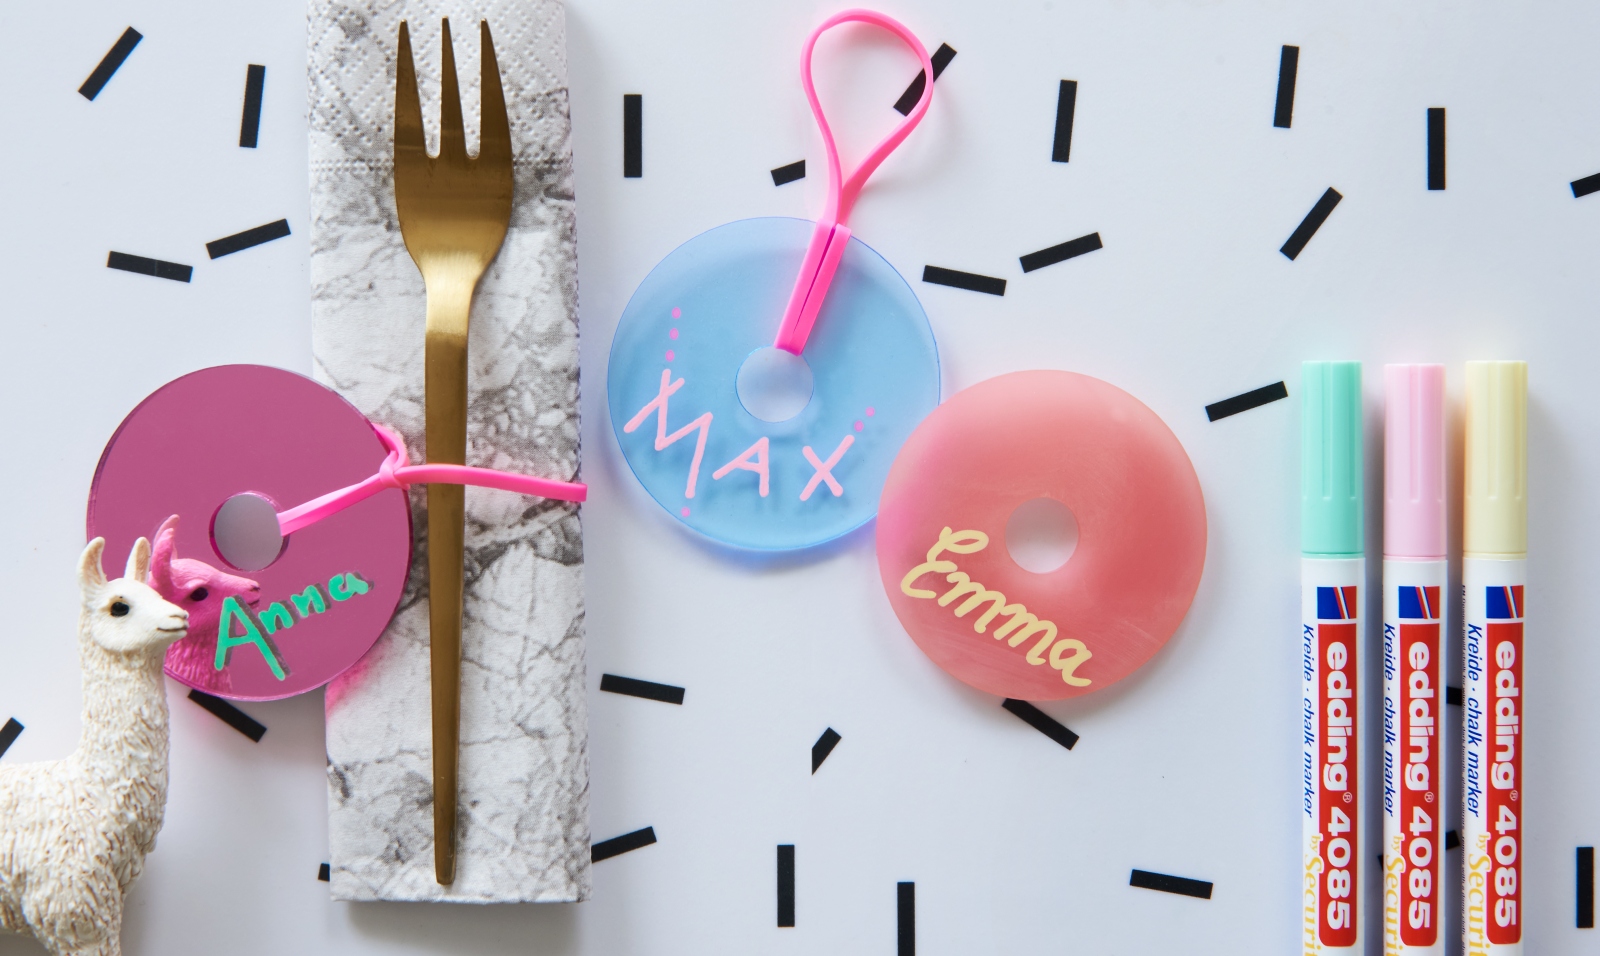
Finally, insert a rubber band in a matching colour into each disc, and loop it round a set of cutlery or serviette for every place setting – and there you have it: your place cards are finished!
Products and materials

Other materials
- Round acrylic discs with a central hole (e.g. doughnut-style drip shields used for candles)
- A piece of absorbent paper for activating the marker
- A damp cloth for making corrections, if needed
- Rubber bands in colours to match
Additional images
Related ideas
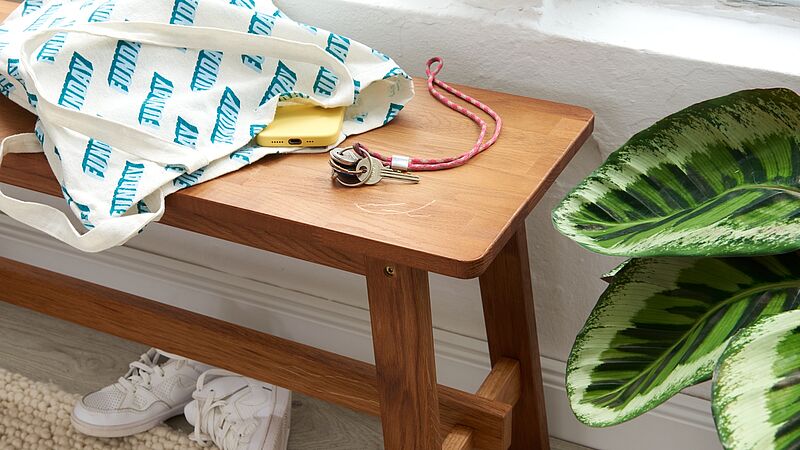
Annoying little scratches
Fix scratches in your wooden furniture
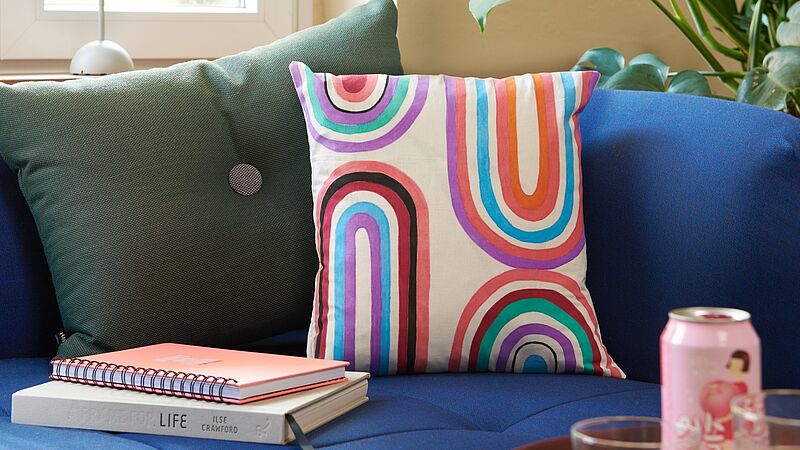
Cushion with graphic patterns
A real eye-catcher for your sofa
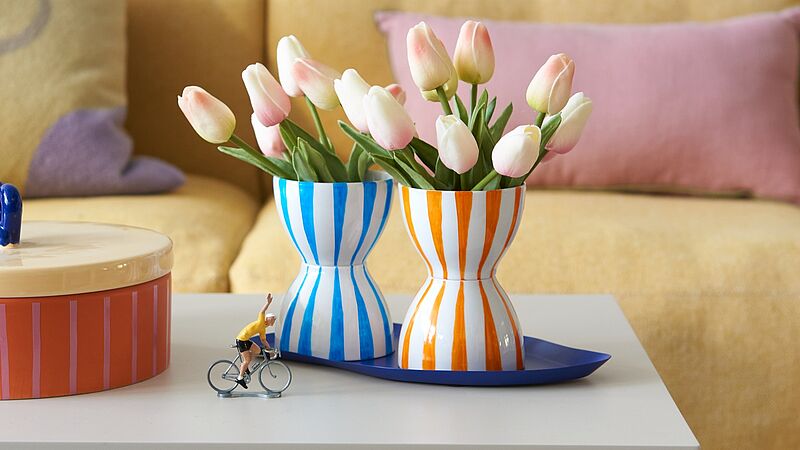
DIY vases made from old cups
Copy this cheerful upcycling idea to make an eye-catching vase
Home decorating ideas without limits
Unique, handmade designs
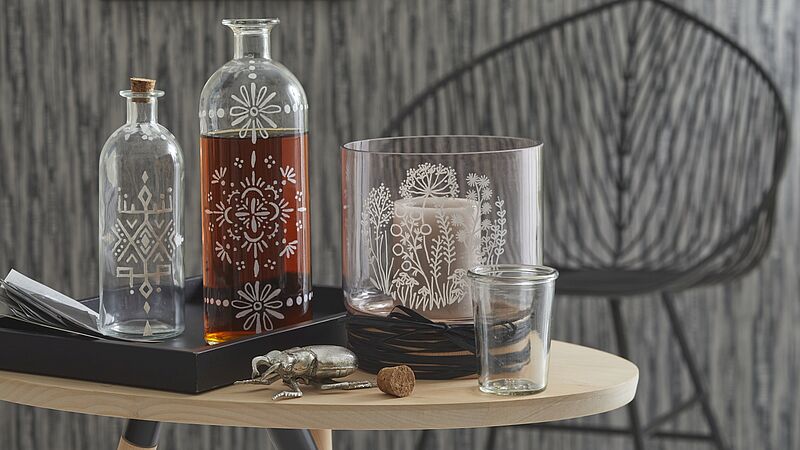
Boho chic décor
Bottles and lanterns decorated with delicate patterns
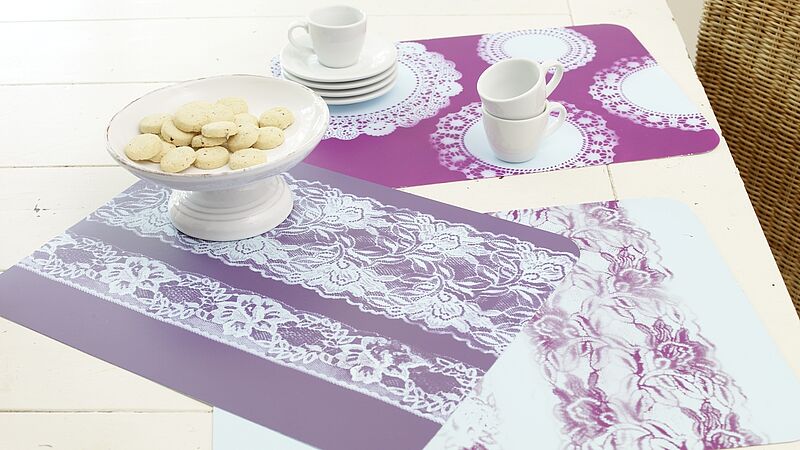
Table mats in shades of lilac
Pretty placemats with delicate lace patterns
Creative Newsletter
Subscribe to our newsletter, and we’ll send you inspirational and creative DIY ideas, along with details of our latest products and special offers.