
Step-by-step
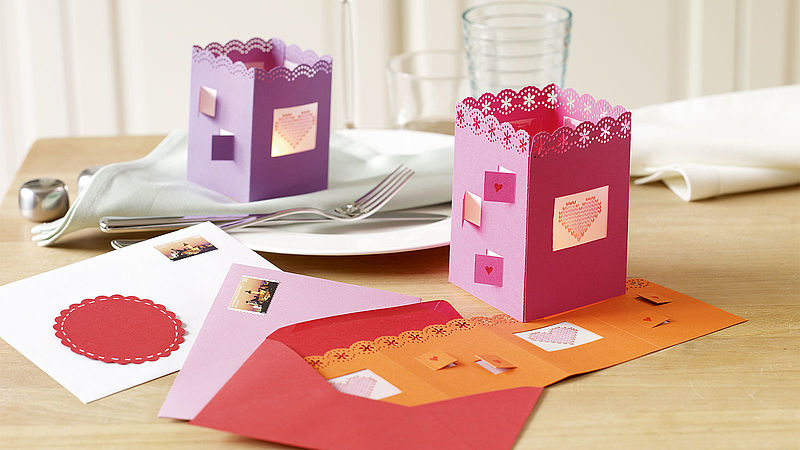
Step 1
Divide and fold the coloured paper into four 8 cm panels and one 3 cm panel. These will be glued together to make the lantern shape.

Step 2
Before assembling, cut out small window shapes into the four panels and stick the translucent paper to the inside. You don’t want to see the glued edges once the card is folded.

Step 3
Next, use the decorative paper punch to create a beautiful border at the top of the card.

Step 4
Use the edding brushpens to decorate the paper lantern with hearts, loving phrases or a stamp design.
Hints and tips for the stamped heart: to colour the stamp, place the nib of the brush pen against the stamp as horizontal as possible. Press the stamp immediately onto the paper and, if you wish, enhance the stamped motif with the pen.

Step 5
Once decorated, fold and stick together using the 3 cm panel, leave it to dry before you flatten it and put it inside the envelope.
Products and materials

Other materials
- Coloured paper cut to size 35 cm x 15 cm (light or pastel colours work best)
- Envelope in a corresponding colour to fit a folded card size 16 cm x 15 cm
- Translucent paper
- Stamps
- Decorative paper punch for the border
- Scissors/knife, metal ruler and paper glue
Related ideas
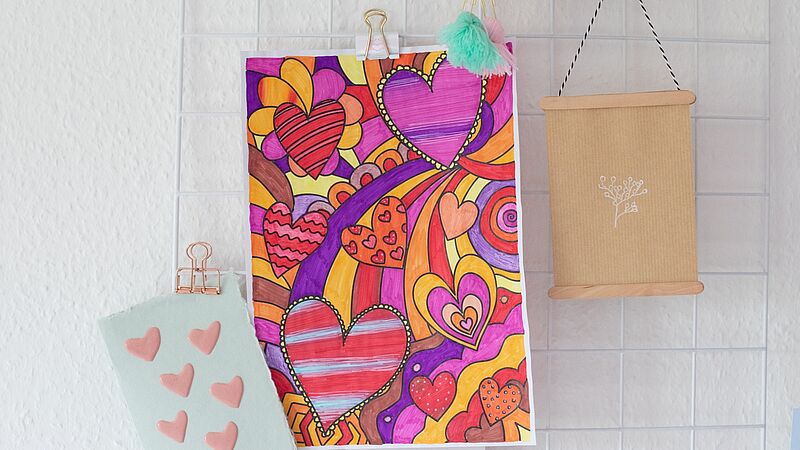
Valentine’s Day template to colour in
A beautiful array of different heart shapes
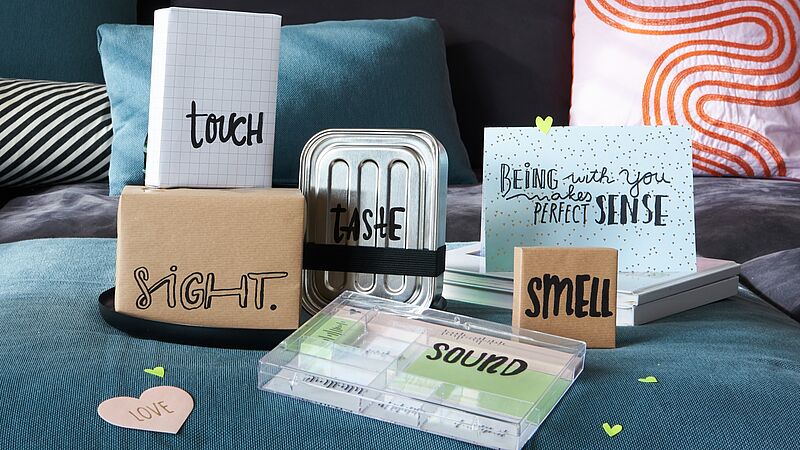
Mood Tracker
Perfect for Valentine’s Day – a charming mood tracker

“I love you” - perfectly packaged
Clothes pegs with a loving message
Valentine’s Day gift for HIM
A romantic present for your loved one
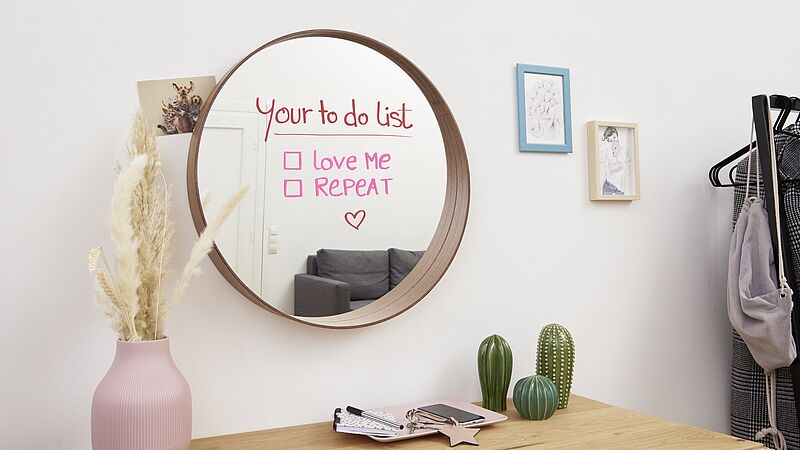
Valentine’s greetings
Simply write your message on a mirror

Creative love coupons
Special Valentine’s Day gifts
Creative Newsletter
Subscribe to our newsletter, and we’ll send you inspirational and creative DIY ideas, along with details of our latest products and special offers.