
Step-by-step
Step 1
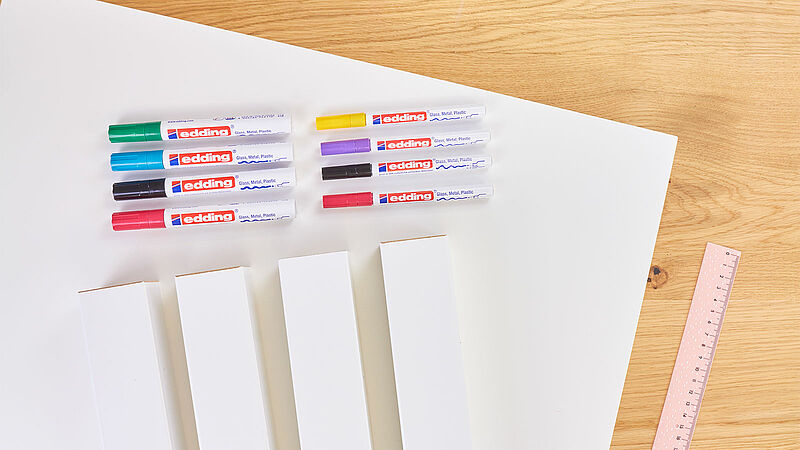
For this project, you’ll need the edding 751 gloss paint markers in black, red, yellow and violet, plus the broader-nibbed edding 750 gloss paint markers in black, red, light blue and green. Before you start, we recommend you unscrew the tabletop from the legs to make designing easier. We’ve got a printable template on our website which is available for you to download.
Before using a gloss paint marker, you need to activate it: Shake the marker vigorously with the cap still on; remove the cap, place the nib on absorbent paper and pump it up and down a few times until ink appears in the nib. Now you’re ready to get started. And after use, always replace the cap securely and store the marker horizontally.
Step 2
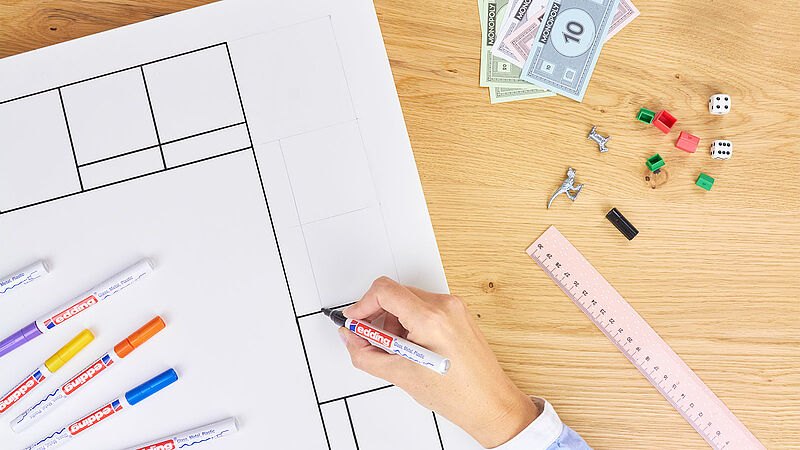
The first step is to draw the outline for the play area with the aid of the ruler and the black edding 751 gloss paint marker. If you wish, you can use a sheet of carbon paper to help you transfer the boxes and pictures. To do this, simply place it under the template and trace over the contours in pencil. Next, go over all the lines using the black gloss paint marker.
Step 3
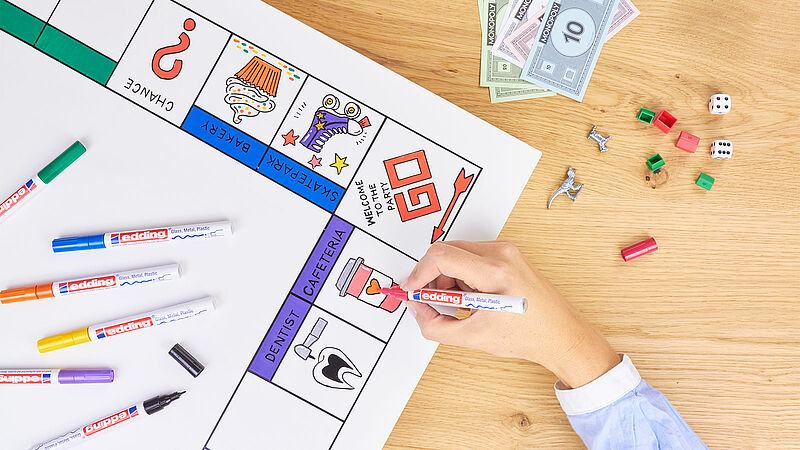
Of course, colour is the name of the game with this idea. With this in mind, use bright gloss paint markers to colour in all the pictures. You can either copy our original template or make it entirely your own. The same goes for the coloured section reserved for the name of each property space (Funfair, Campsite, Sweet Shop, etc.). Pair up spaces by giving two adjacent name fields the same colour. It’s best to write the words first and then let the ink dry for a short while before colouring in the name field.

Step 4
Here you can see the finished game area with its eye-catching, colourful illustrations.
Products and materials


Other materials
- Plain wooden or wood-based table (such as the IKEA “Lack” model), or large white board
- Ruler
- Screwdriver
- Carbon paper (optional)
- Pencil
Related ideas

Create your own concrete look
Unique upcycled bedside table

Upcycling idea for an old chest of drawers
A stylish new look for planters

Placemat upcycling idea
A stylish addition for your dinner table

Your very own designer side table
Create an eye-catching piece of furniture with this fun upcycling project
Repair scratches in your wooden floor
DIY hack: the simple way to get rid of dents and scratches
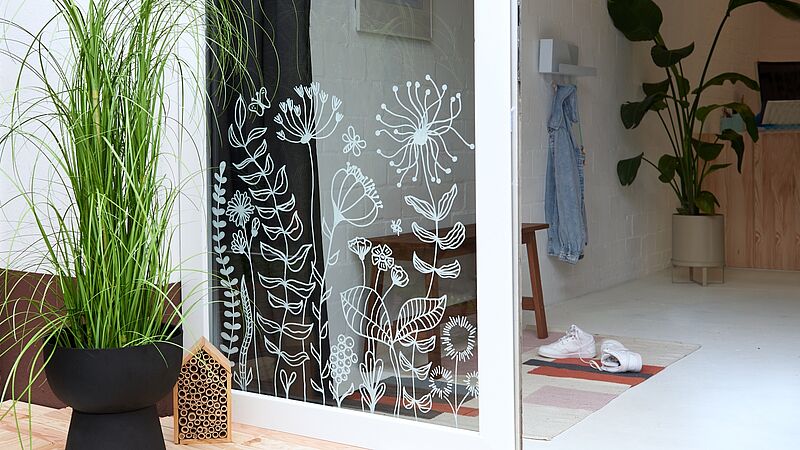
Magical flowers on your window
Decorate your windows and glass doors with striking floral designs
Creative Newsletter
Subscribe to our newsletter, and we’ll send you inspirational and creative DIY ideas, along with details of our latest products and special offers.