Step-by-step
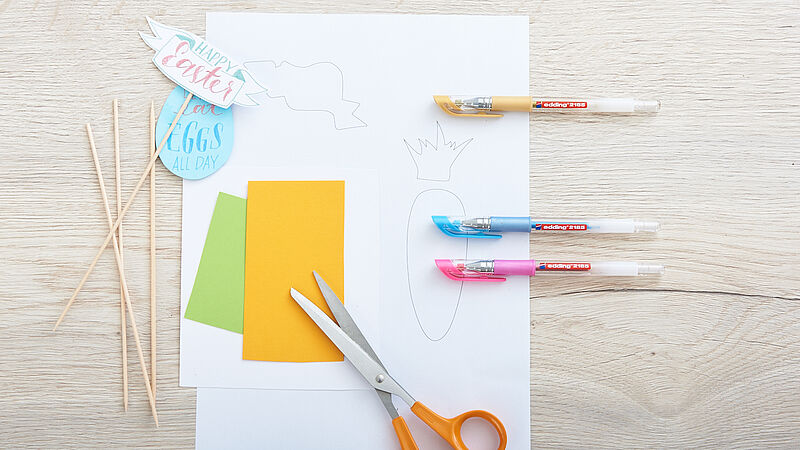
Step 1
Make sure you have all your materials to hand before you start. You can see everything you need at a glance in our photo. First, print out the templates and cut out the shapes. Place the carrot on the orange paper, draw round it and cut out the transferred shape. Take the green paper and repeat the same steps with the carrot top.
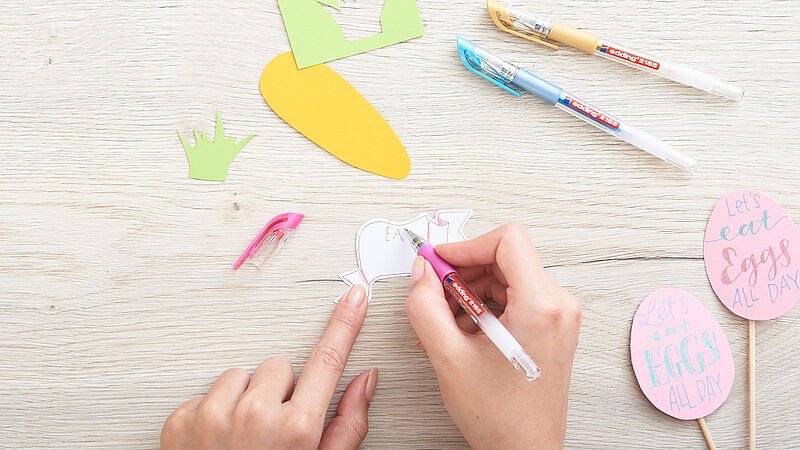
Step 2
Cut the ribbon shapes out of white paper. Decorate them with simple, effective designs and lettering using the gel rollers (we used pink, light blue and gold). The ultra-fine nib is particularly good for drawing fine patterns and fonts with a lot of detail.
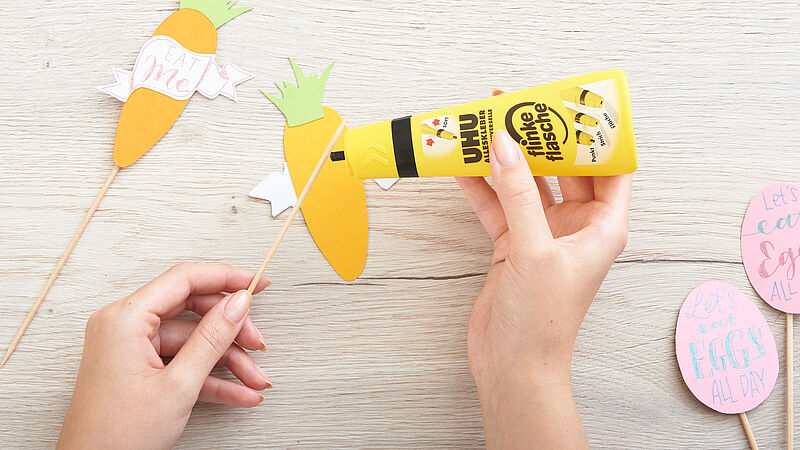
Step 3
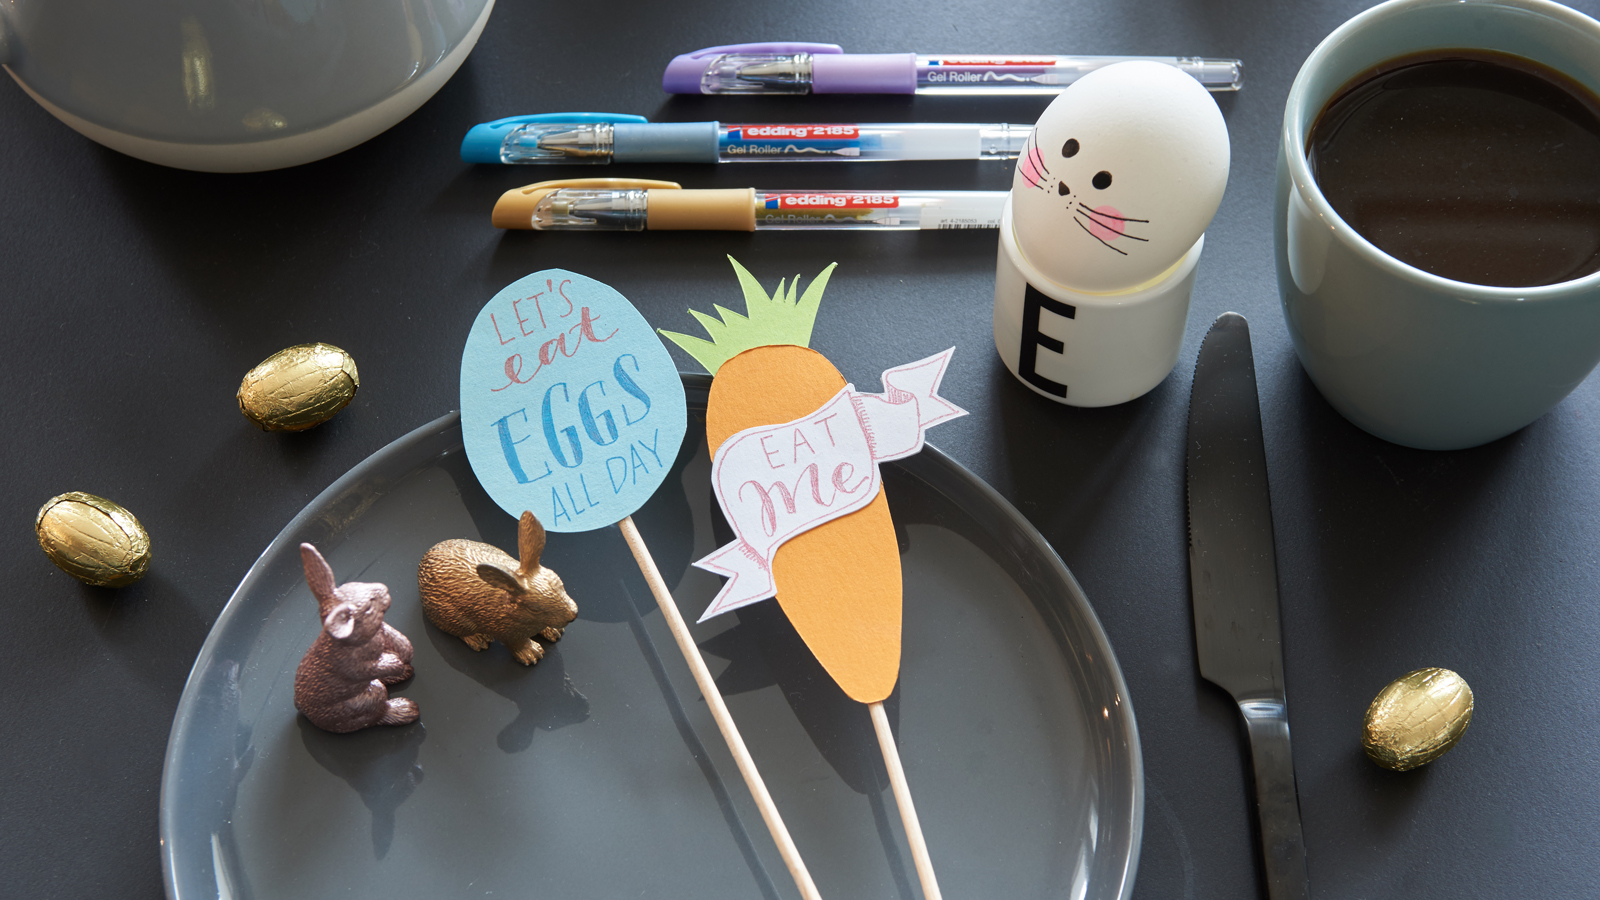
When you’ve finished designing, stick the ribbon in the centre of the carrot and complete the look by adding the carrot top. Finally, attach the wooden skewer to the paper with UHU glue – and there you have it: your Easter table decoration is finished!
Products and materials
Other materials
- Craft paper in various colours (orange, light green, light blue and white)
- Wooden skewers
- Scissors
- Glue (e.g. UHU Twist and Glue)
- Pencil
- Carrot template with ribbon
Additional images
Related ideas
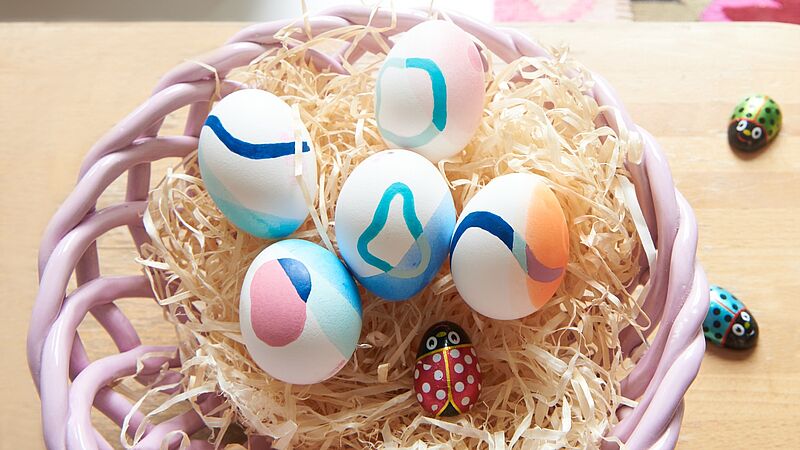
Easter eggs to outshine all the rest!
Easter in bright colours
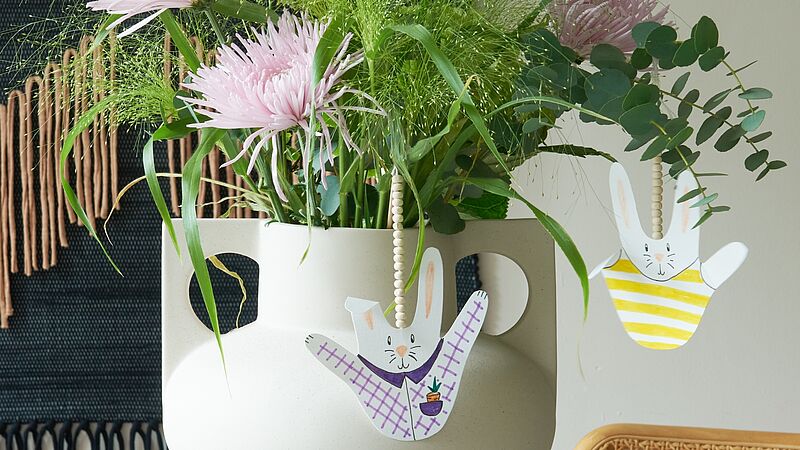
Bunnies abound!
Cute Easter idea for kids
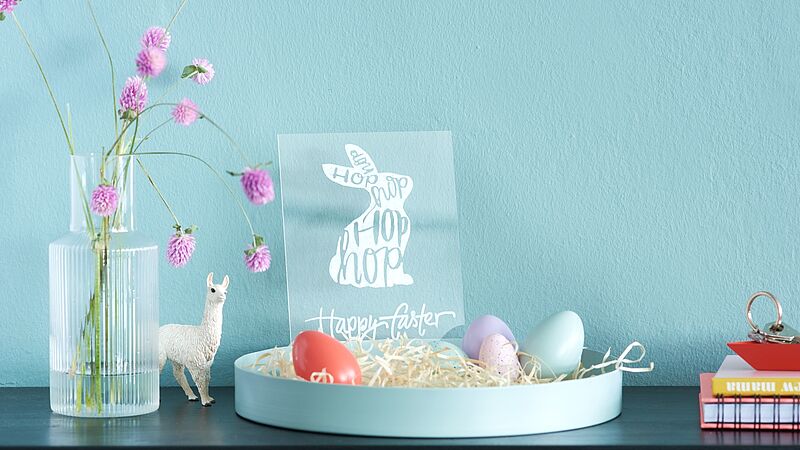
Design an Easter sign
Decorative eye-catcher for Easter
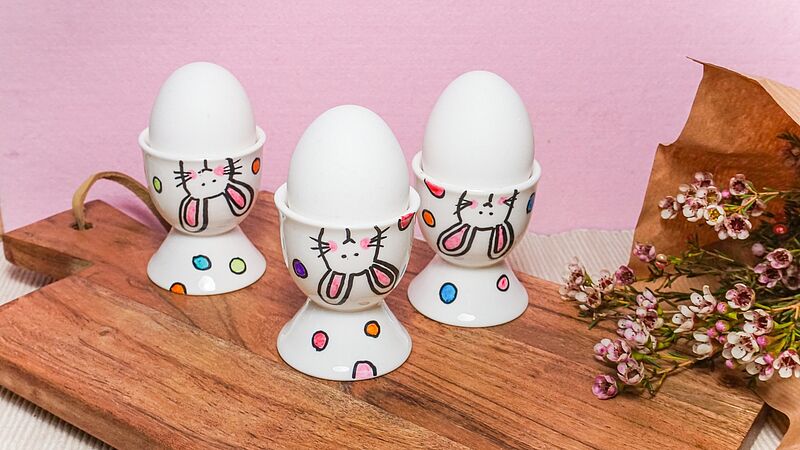
Fun egg cups
Easy-peasy: colourful egg-cup design
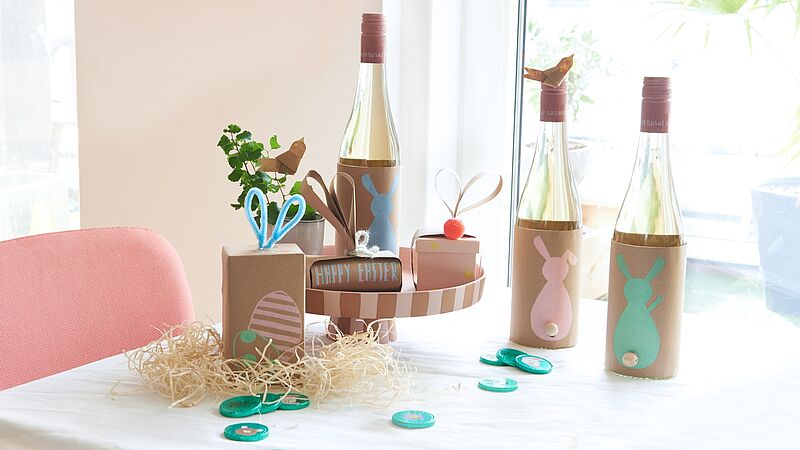
Adorable Easter gifts
Little Easter gifts – quick and easy to make
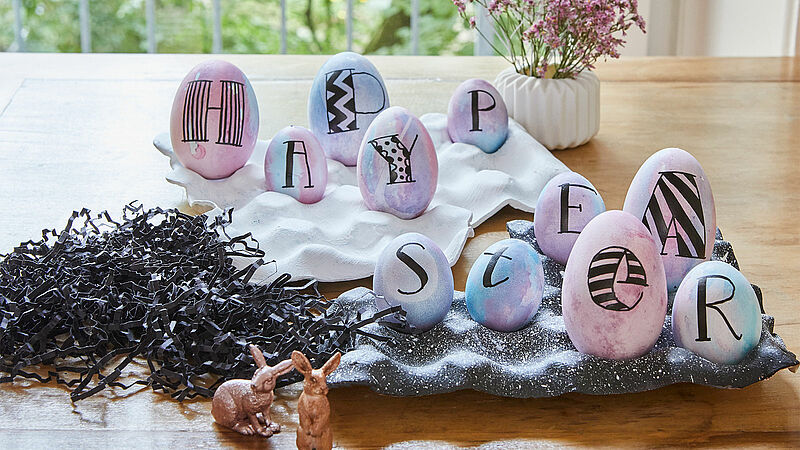
Writing on Easter eggs
“Happy Easter” letter puzzle
Creative Newsletter
Subscribe to our newsletter, and we’ll send you inspirational and creative DIY ideas, along with details of our latest products and special offers.

