
Step-by-step
Step 1
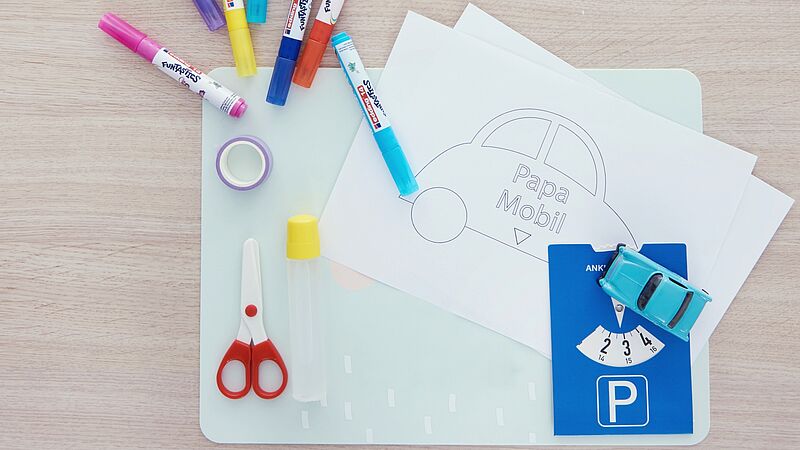
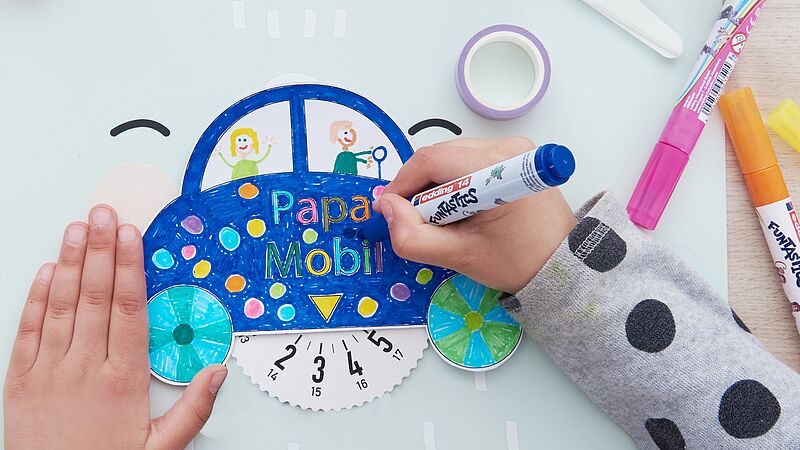
You can see all the materials you need at a glance in our photo. For this project you’ll need the edding 14 Funtastics fibre pens for children, available in a choice of 18 colours. First of all, print out the "Dadmobile" template.
Step 2
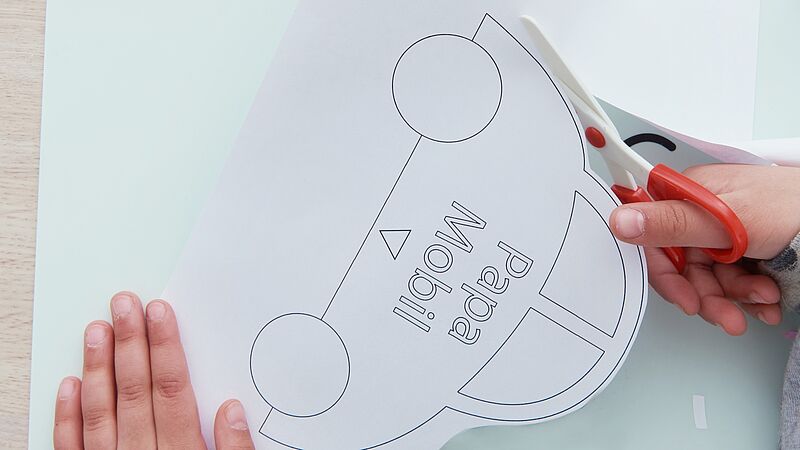
Cut out the car shape along the outer lines.
Step 3
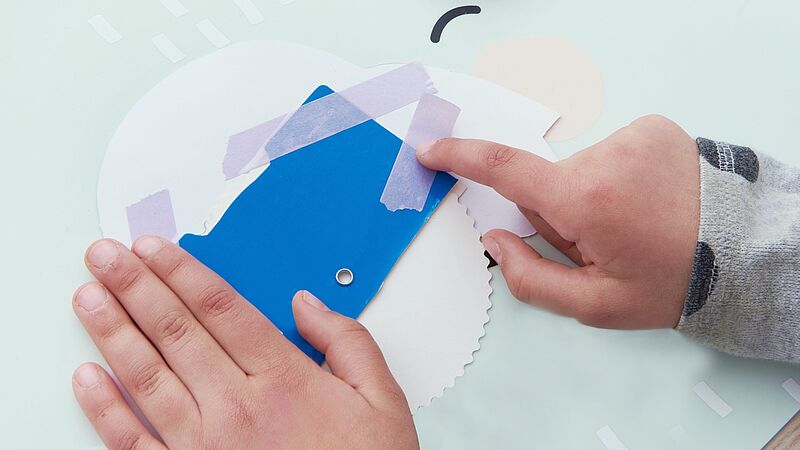
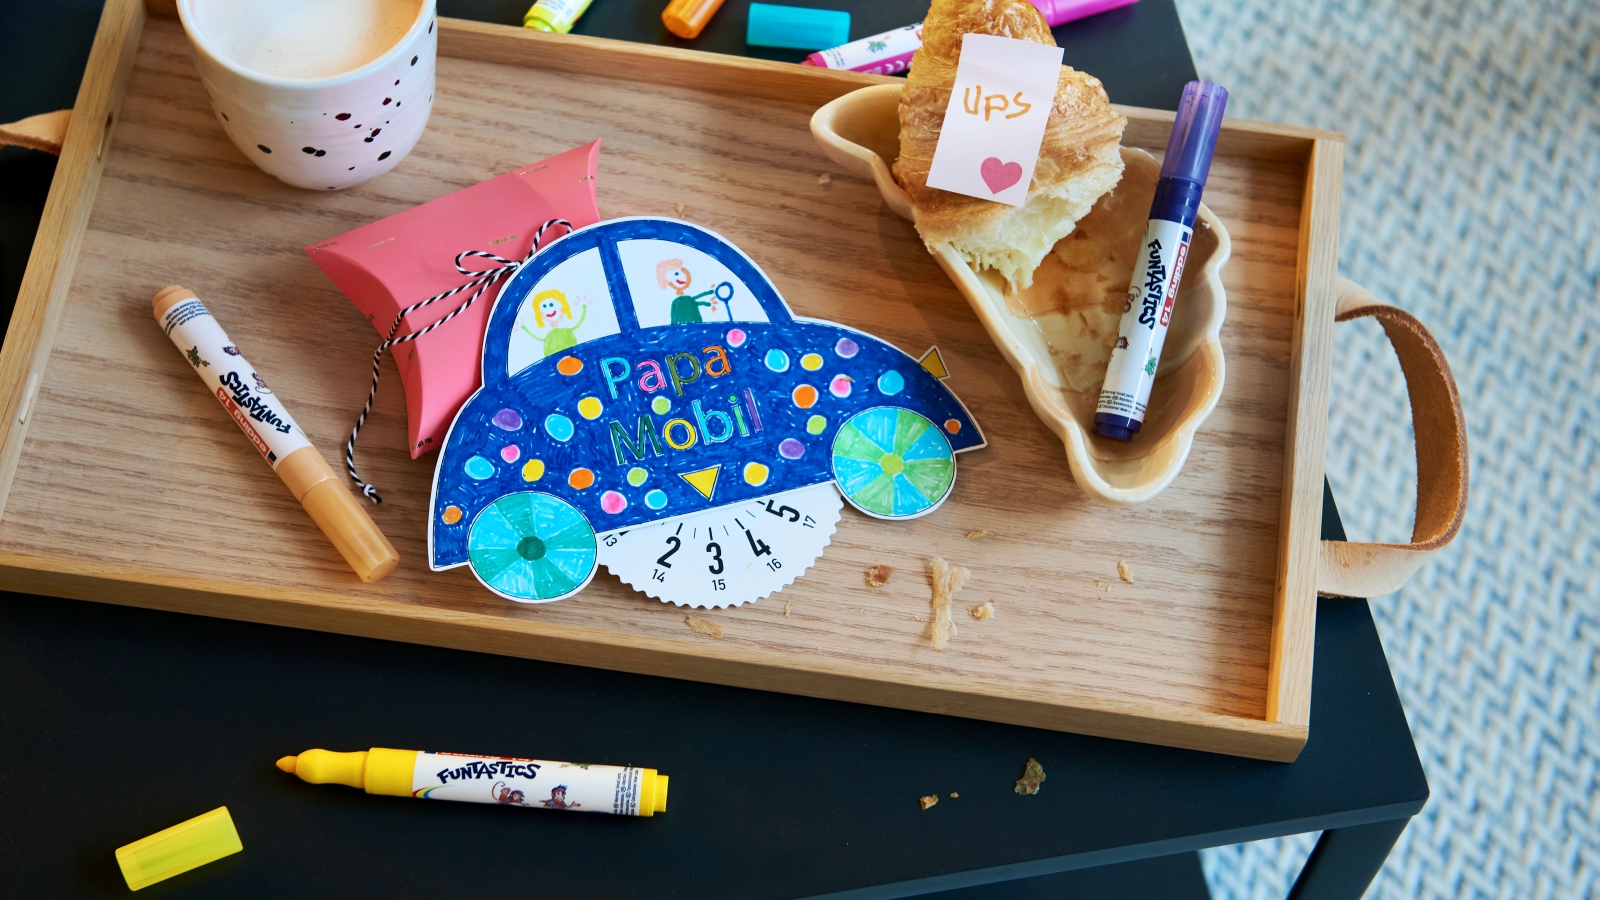
You now need to cut off the bottom of the parking disc cover only (both front and back). Cut in a straight line, just below the rivet holding both sides of the parking disc together. This will leave the timer wheel showing. Next, stick the parking disc onto the back of your car, positioning it so that the numbers on the clock are clearly displayed between the wheels.
Step 4
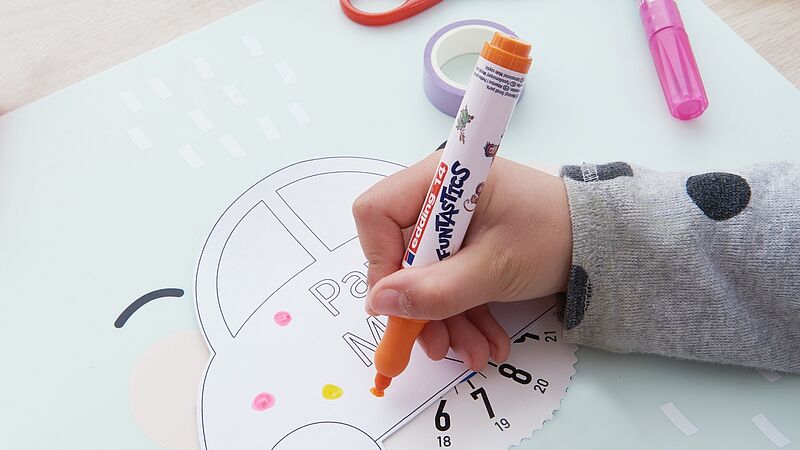
And now for the best part – decorating the car! Choose your favourite colours from the edding Funtastics range and colour away to your heart's content.
Step 5
To colour in with fine lines, use the tip of the fibre pen (without pressing too hard). For larger areas, hold the pen at an angle. And don't forget to include your drawing of the driver.
Products and materials


Other materials
- Scissors
- White paper
- "Dadmobile" template
- Sticky tape
- Parking disc
Templates

Dad's car
Additional images
Related ideas
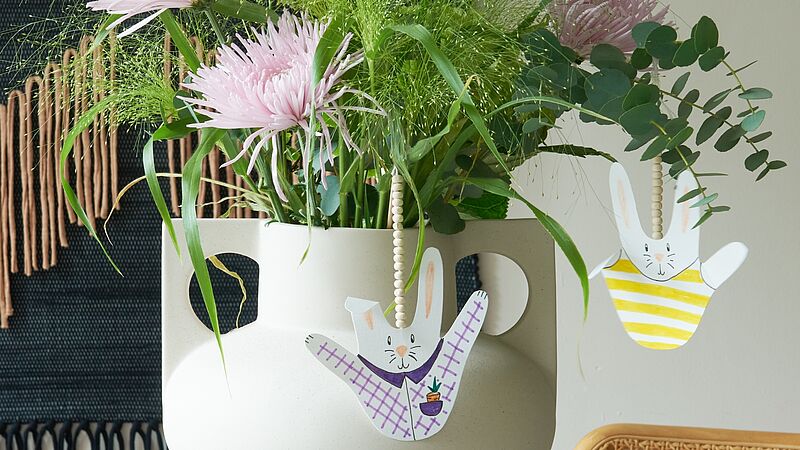
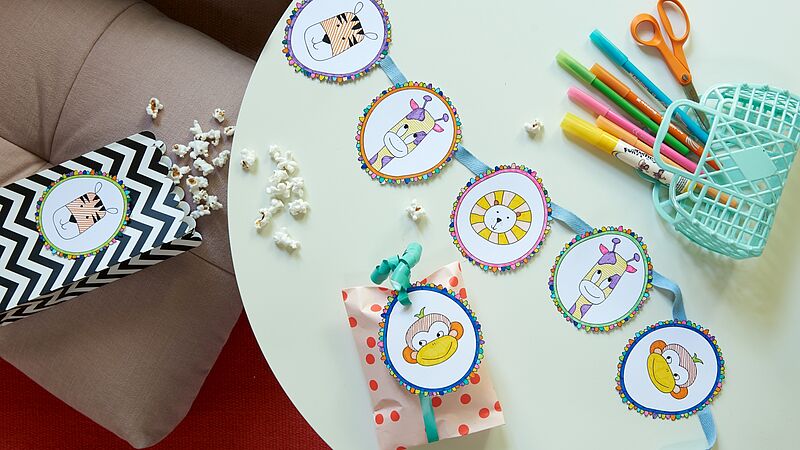
Bunnies abound!
Cute Easter idea for kids
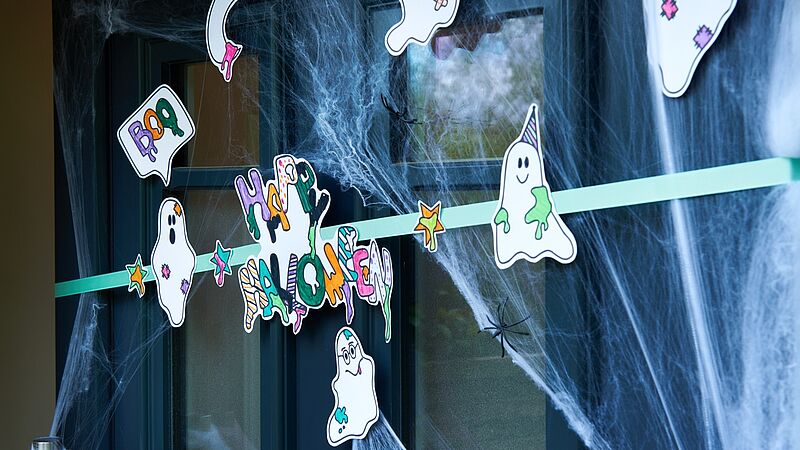
Halloween garland
Mini ghost garland

Creative flower card
Floral greetings for the world’s best mum
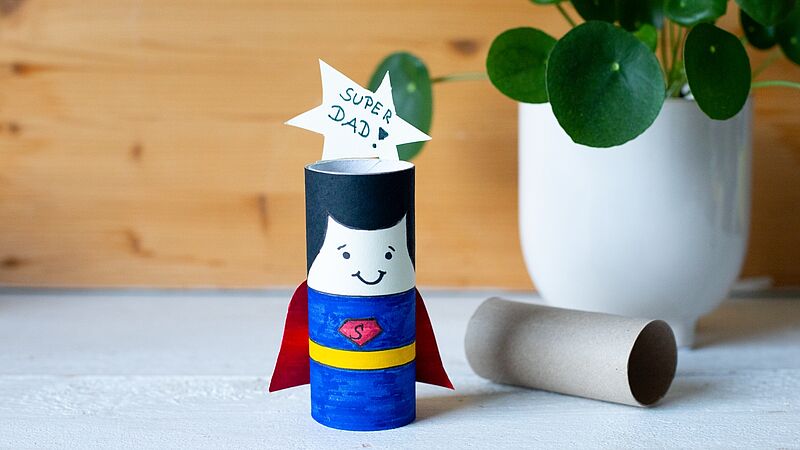
Craft idea for the best dad
Cool Father’s Day present for “Superdad”
Funny animal paintings
It’s so simple – step-by-step animal drawings
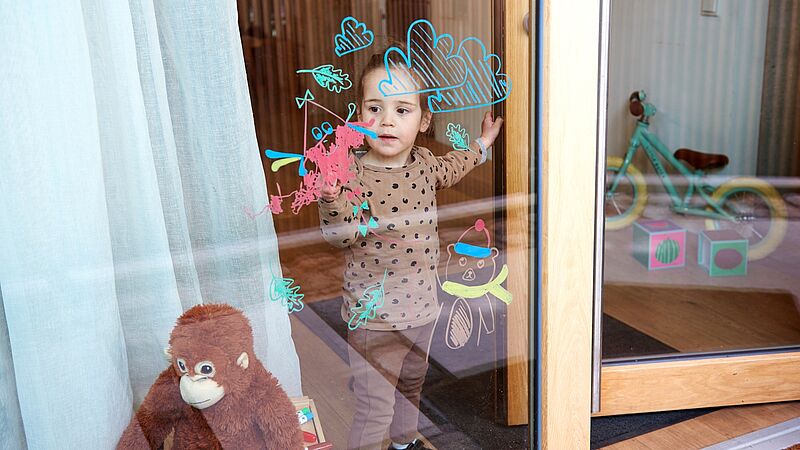
Window decorations with an autumnal theme
An activity children will love!
Creative Newsletter
Subscribe to our newsletter, and we’ll send you inspirational and creative DIY ideas, along with details of our latest products and special offers.