Step-by-step

Step 1
You can see everything that you’ll need in this photo. For the sign, we’ve used the edding 4085 chalk marker with a fine nib and the edding 4095 with a slightly broader nib. Print out the template in the required size.

Step 2
Firstly, wipe any dust from the acrylic sign using a damp cloth. Activate the marker as follows: shake the marker vigorously with the cap still on and pump the marker up and down a few times on a piece of absorbent paper until ink appears in the tip. After using the marker, ensure the cap is firmly closed and store horizontally.

Step 3
Centre the template under the acrylic sign and colour in all of the black areas of the motif with the edding 4095 chalk marker in white. If you make a mistake, simply wipe the ink off at any time using a damp cloth.

Step 4
Next, you can copy the “Happy Easter” greeting using the edding 4085 fine chalk marker. Let the ink dry and display the sign.
Products and materials
Other materials
- Acrylic sign to display
- Cloth
- Printer and paper
Templates
Related ideas
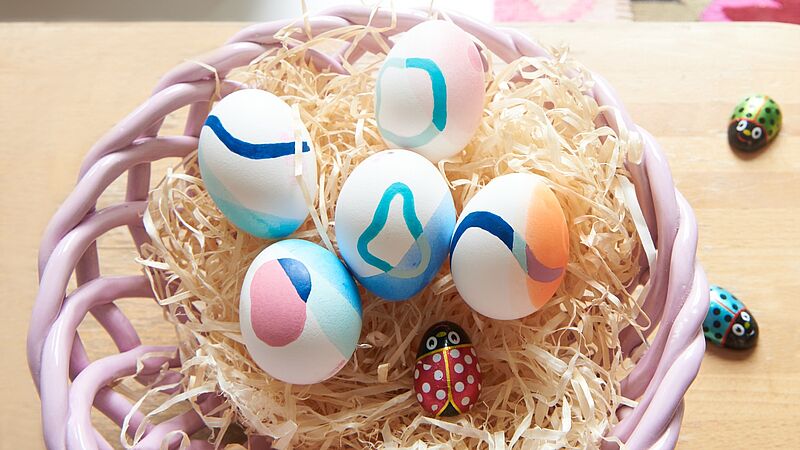
Easter eggs to outshine all the rest!
Easter in bright colours
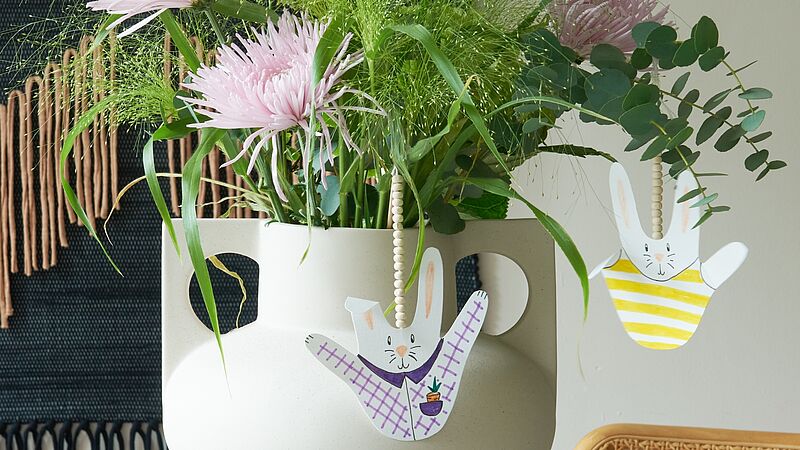
Bunnies abound!
Cute Easter idea for kids
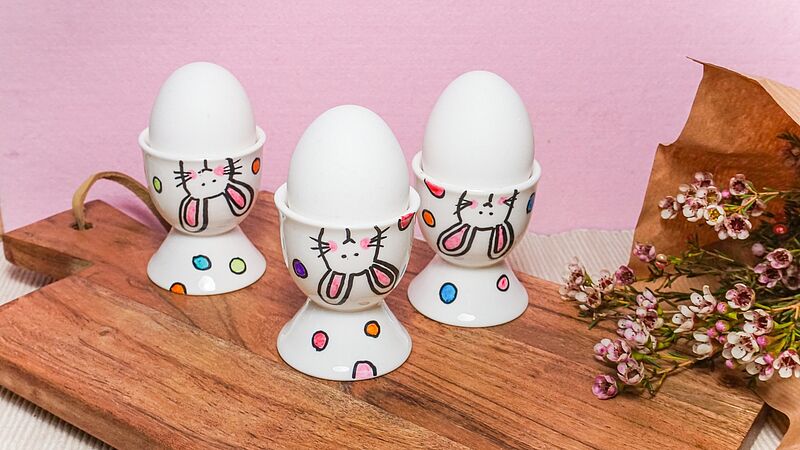
Fun egg cups
Easy-peasy: colourful egg-cup design

Adorable Easter gifts
Little Easter gifts – quick and easy to make
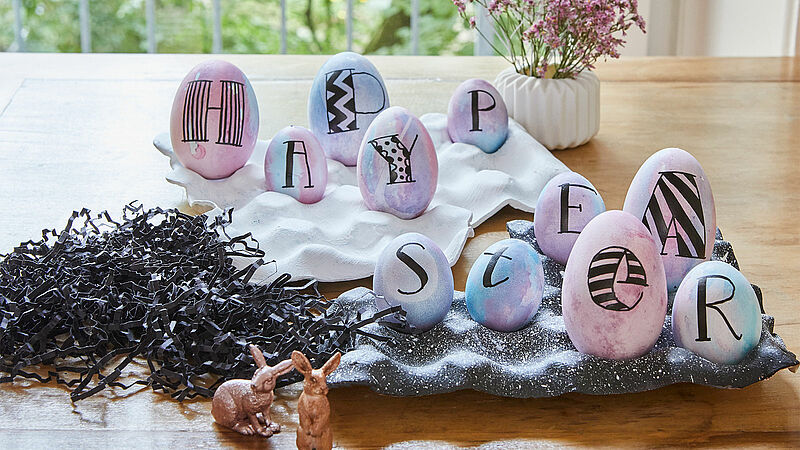
Writing on Easter eggs
“Happy Easter” letter puzzle
Fun Easter garland
Easter crafts for kids
Creative Newsletter
Subscribe to our newsletter, and we’ll send you inspirational and creative DIY ideas, along with details of our latest products and special offers.


