
Step-by-step
Step 1
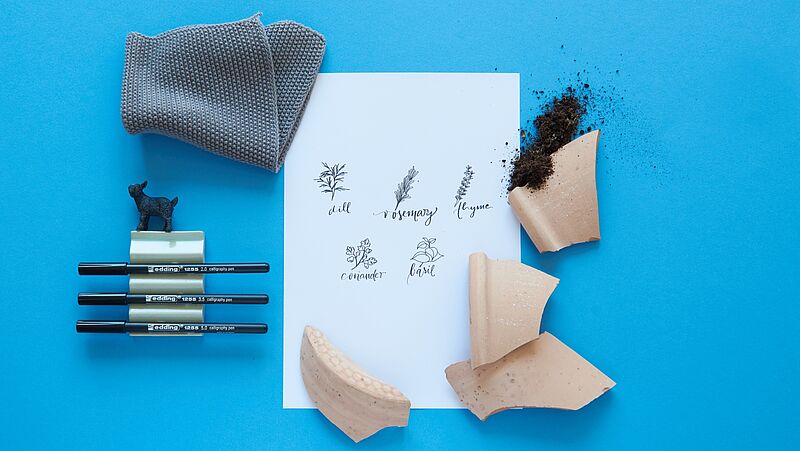
You can see everything you’ll need in this photo. The edding 1255 calligraphy pen comes in three stroke widths and five different colours. Choose your preferred colour and the stroke width you’re most comfortable working with. Print out the template.
Step 2
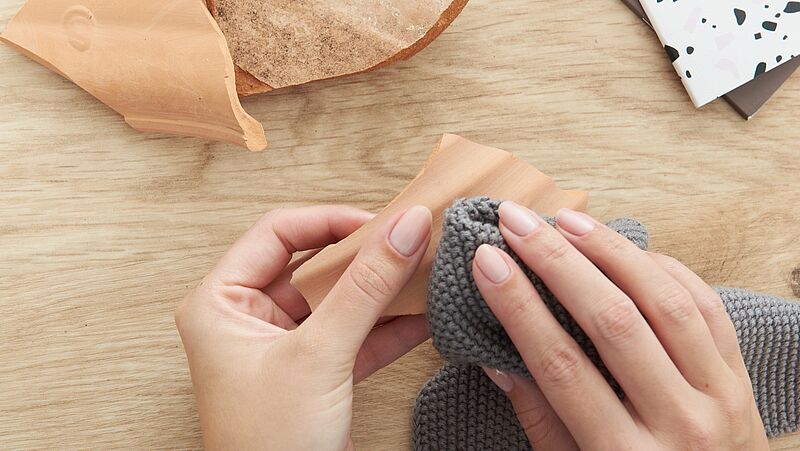
Before you start, wipe the pieces of terracotta with a dry cloth to remove any dust.
Step 3
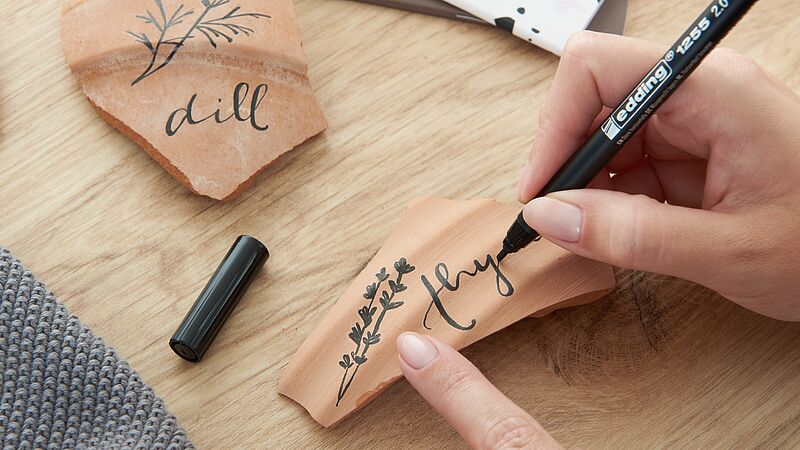
Position the template and copy the motif using the calligraphy pen. Alternatively, you can use the pencil to first sketch out the motif. The calligraphy pen with the 2.0-mm nib is best for the narrow lettering and for the delicate leaves.
Step 4
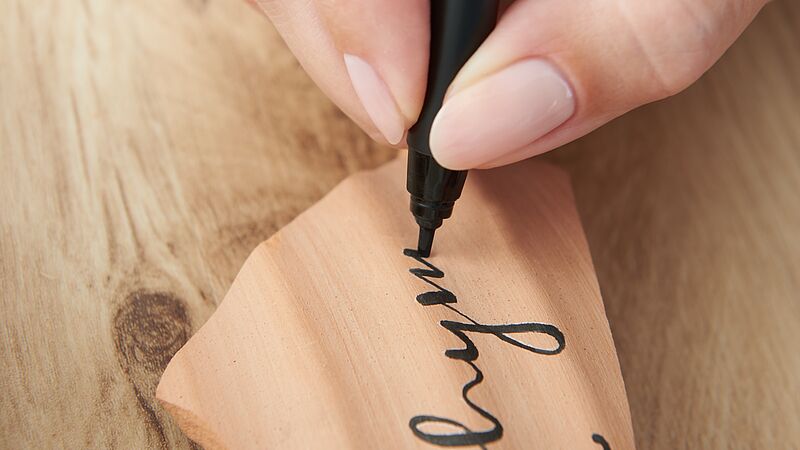
To ensure you achieve a stunning calligraphy effect, it’s important to always hold your pen in the same position. Make sure you don’t turn the pen when you write. If you’d like to find out more about expressive writing using edding calligraphy pens, we recommend our course for beginners.
Products and materials

Other materials
- Fragments from an old terracotta pot
- Template
- Cloth for cleaning
Templates

Herbs
Related ideas

DIY plant pots
Decorative upcycling idea using plastic bottles
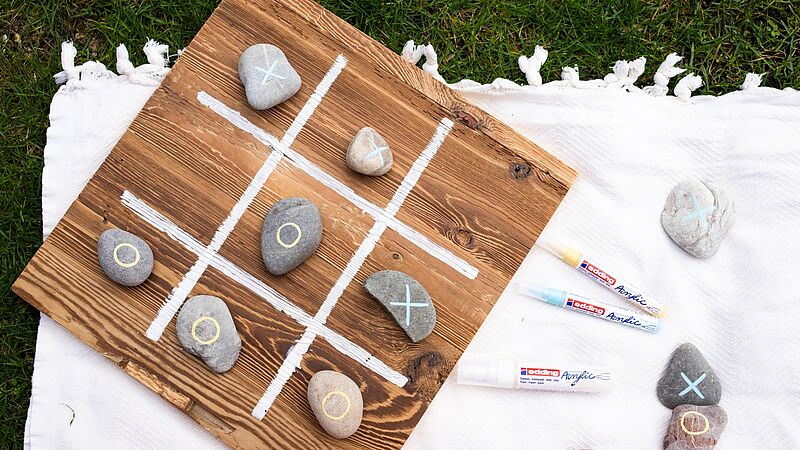
Play Noughts and Crosses
Get that summer feeling with a handmade board game

Neat storage idea for your cushions
Upcycling idea for your home

Jazz up crate planters
Attractive upcycling idea for old wooden crates
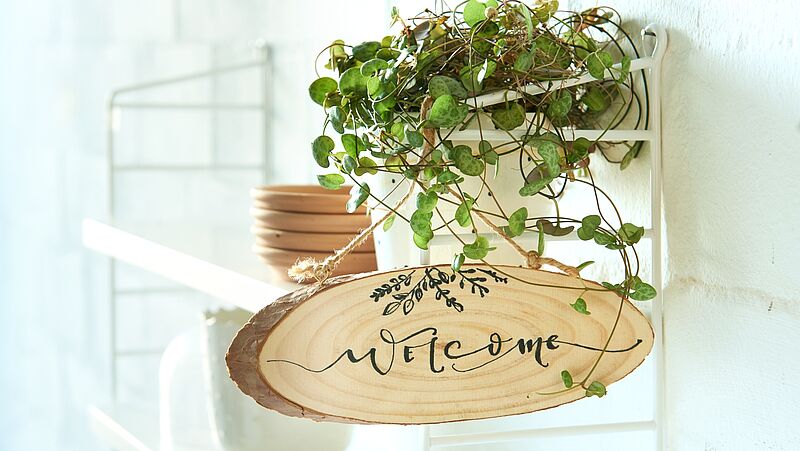
Wooden welcome sign
Stylish greeting sign for your guests
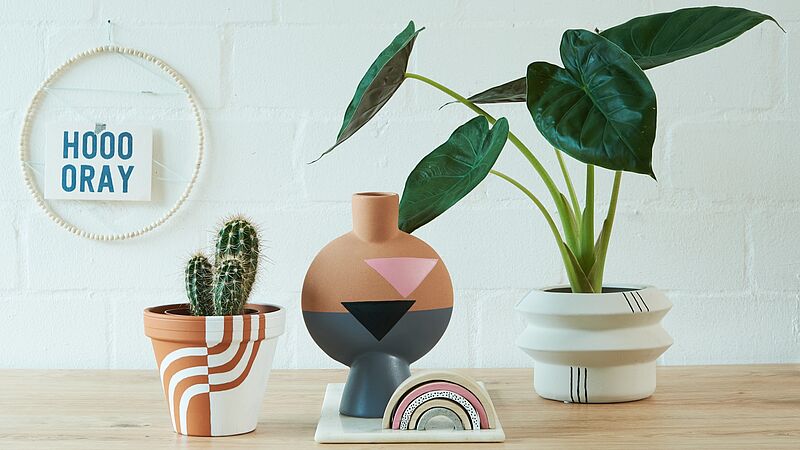
Unique ornaments for your windowsill
Homemade designer objects
Creative Newsletter
Subscribe to our newsletter, and we’ll send you inspirational and creative DIY ideas, along with details of our latest products and special offers.