
Step-by-step
Step 1
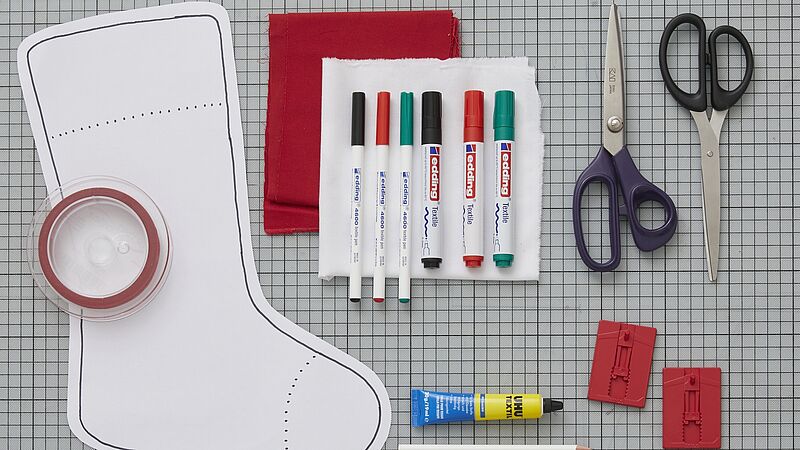
To ensure the ink of the textile pens is absorbed well by the fabric, we recommend that you first wash, dry and iron the material. In this Idea, we’re using edding 4600 textile pens and edding 4500 textile markers in red, green and black.
Step 2
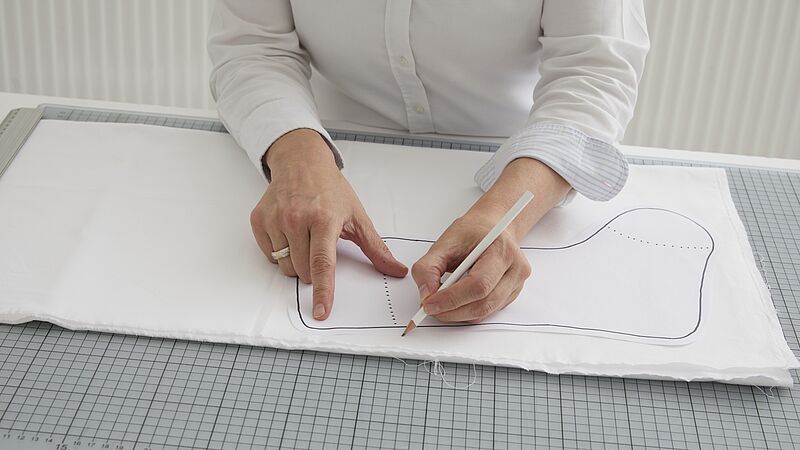
Download the template and transfer the stocking to the material. For each stocking, you’ll need two pieces of material. If you want to use a contrasting colour for the toe and the rim of the stocking, cut out corresponding sections from the red material. Cut the edges with the pinking shears to prevent fraying.

Step 3
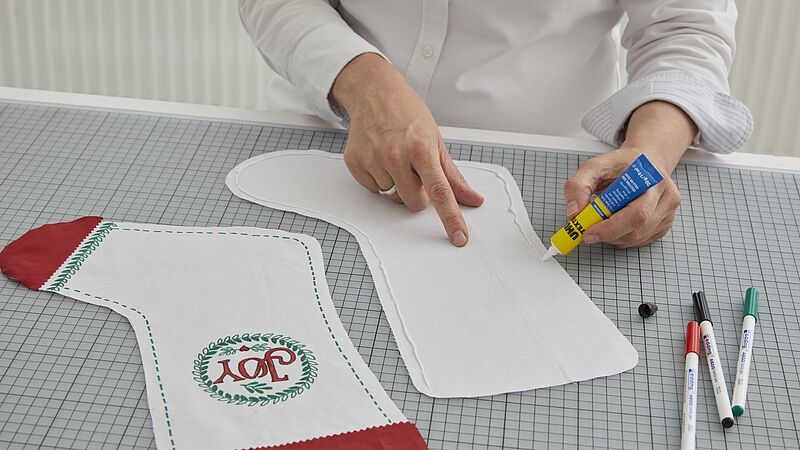
Stick the red pieces of fabric in the appropriate place using fabric glue. Next, decorate the stockings to your heart’s content using the textile pens in red, green and black. We’ve got a template available for the round motif. You can neatly place this under the material before tracing with a pencil and colouring in using the textile pens and textile markers.
Step 4
To fix the colours for future washes up to 60°C, you’ll need to iron the material once more (don’t use steam). Next, glue the stocking parts together: To do this, apply fabric glue on one side all the way round (but not at the opening at the top) at a distance of approx. 0.5cm from the edge. On the back of the rim, insert a piece of string on which the stocking will be suspended. Apply a little bit more glue for a firmer hold.

Step 5
Next, lay out the front of the fabric stocking and press carefully.
Step 6
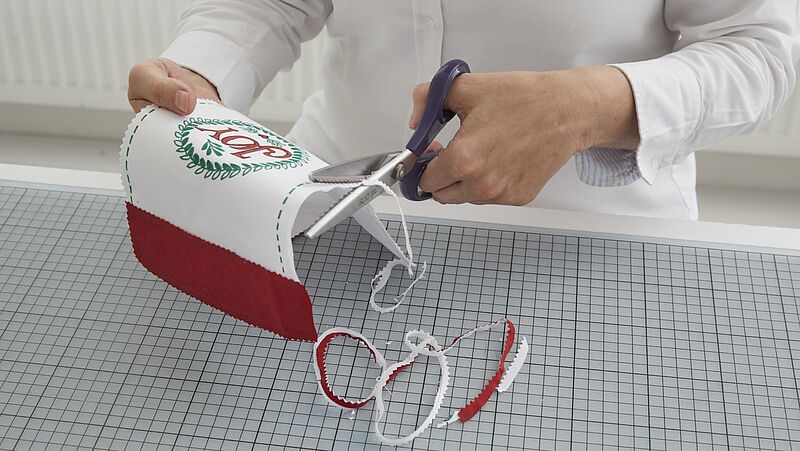
Once everything is dry, neatly cut the edges of the stocking using the pinking shears.
Products and materials


Other materials
- Cotton fabric (red and white)
- “Stocking” template
- Fabric glue
- Pencil
- Scissors and pinking shears
- Cord for hanging up your stocking


Related ideas
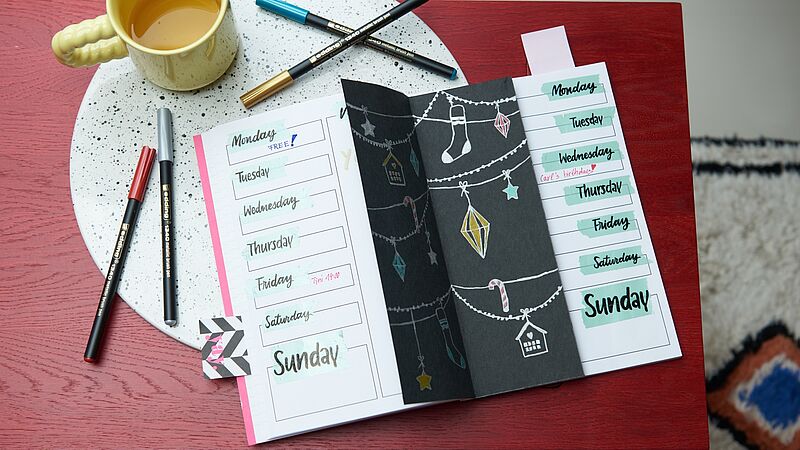
A festive look for your journal
Decorate your weekly planner with this stylish insert
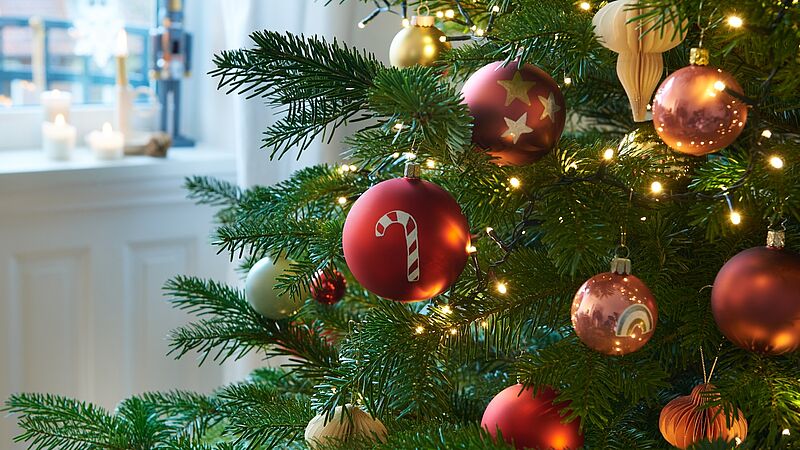
Festive glass baubles
Hand-decorated baubles for the Christmas tree
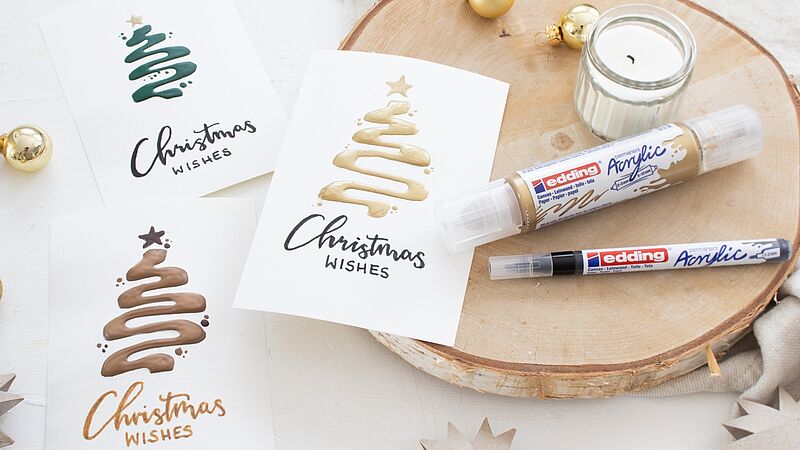
Easy-peasy season’s greetings
Creatively designed Christmas cards

Individual gift jar
Small gifts, beautifully packaged
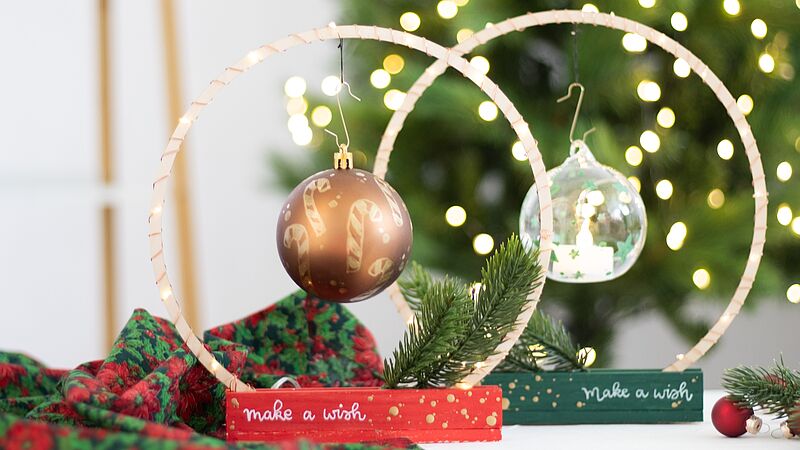
Design your own circle of light
Create a festive atmosphere
Christmas post with added sparkle
Eye-catching cards for your nearest and dearest
Creative Newsletter
Subscribe to our newsletter, and we’ll send you inspirational and creative DIY ideas, along with details of our latest products and special offers.