
Step-by-step
Step 1
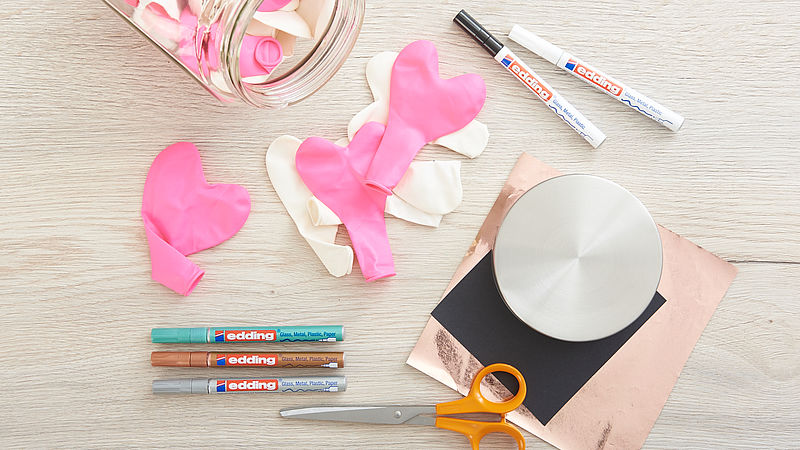
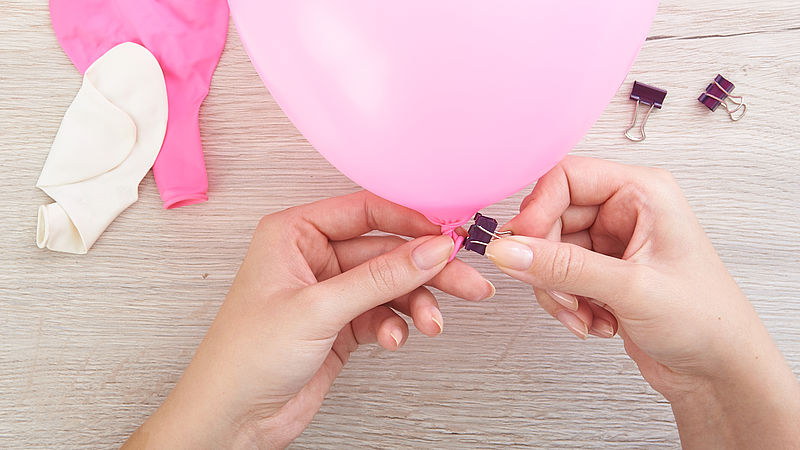
Make sure you have all your materials to hand before you start. You can see everything you need at a glance in our photo.
Step 2
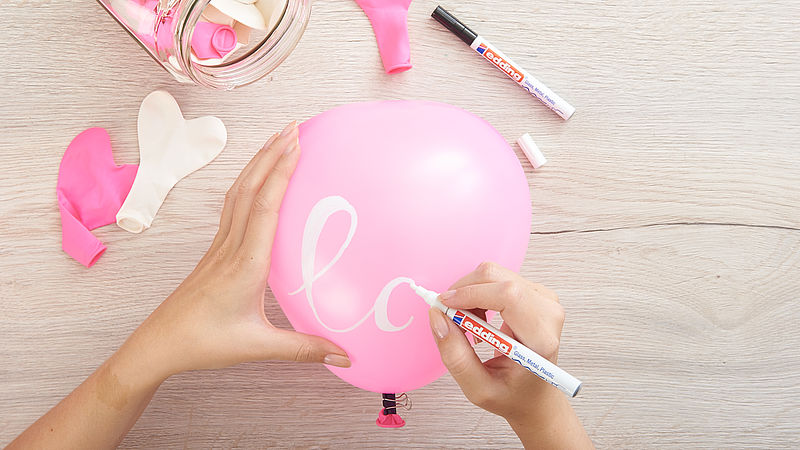
When the balloons are inflated you can decorate them with lovely designs using the edding gloss paint markers. Instead of tying a knot in the balloon, seal it with a bulldog clip. In our example we wrote “love” using the white paint marker.
Step 3
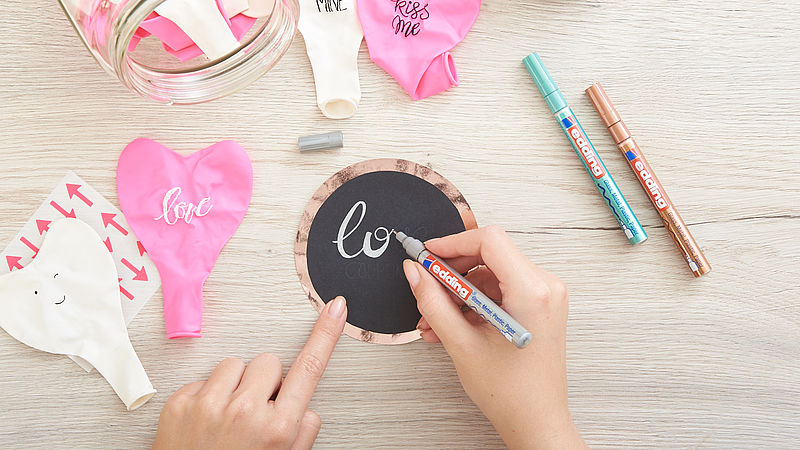
Glue a circle of metallic paper onto the jar lid, followed by a slightly smaller one cut out of the black paper. Before using a gloss paint marker, you must activate it by following these instructions. Start by writing the word “love” on the black paper using the silver gloss paint marker. Alternatively, you can write on the actual lid itself, as the ink adheres perfectly to all smooth materials such as glass or metal.
Step 4
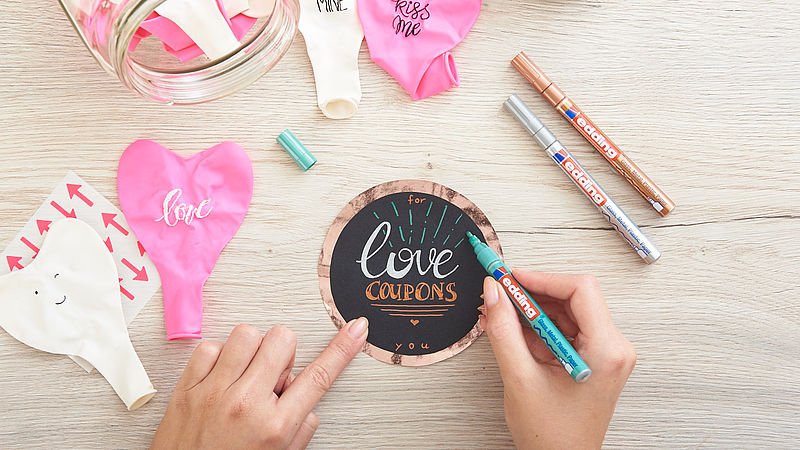
For the word “Coupons” we used the copper-coloured marker. The ink dries very quickly, so there’s minimal risk of smudging. Now you can add additional features in green, such as lines, hearts or dots.
Step 5
The balloon decoration must be completely dry before you let out the air or tie it closed with a knot. Make additional love coupons on white, coloured or dark paper in a flash using edding gloss paint markers to add your own designs.
Products and materials

Other materials
- Large jar with screw lid, or sweet jar
- Scissors, glue
- Compass (optional)
- Circles of metallic paper and black paper the same size as the lid
- Small bulldog clips for sealing the balloon
Related ideas

From old plates to stylish wall art
Upcycling idea for gran’s old porcelain

Handmade wine labels
Beautifully designed wine labels - idea for Father's Day
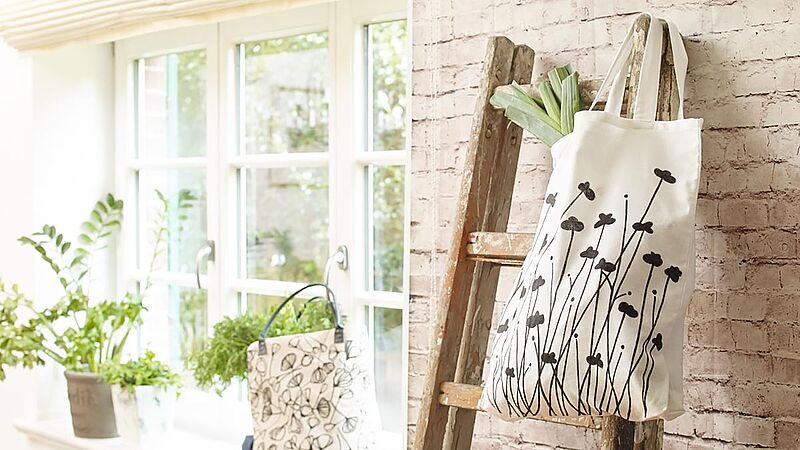
DIY shopping bags
Trendy bag designs – the easy way
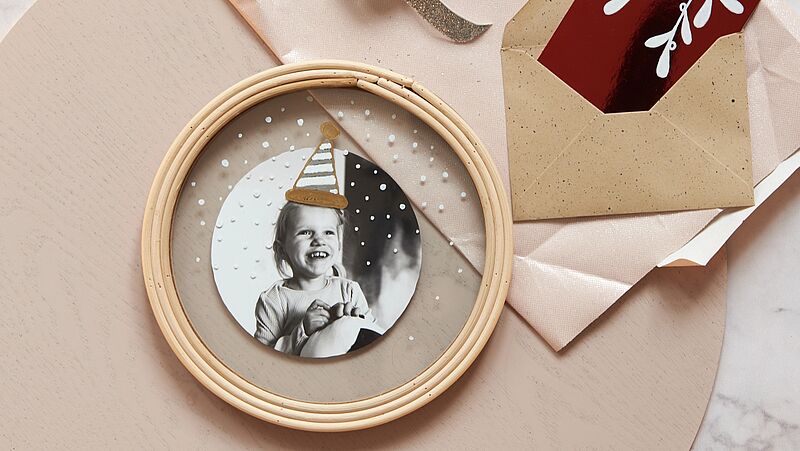
Photo styling
Design your own photo gifts with ease
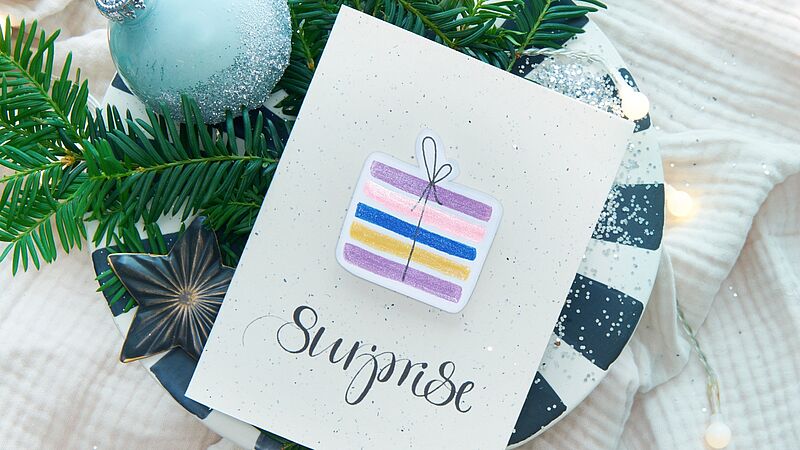
Surprise!
Glitter card with the wow factor
For magical moments
A glittery look for your party
Creative Newsletter
Subscribe to our newsletter, and we’ll send you inspirational and creative DIY ideas, along with details of our latest products and special offers.