
Step-by-step
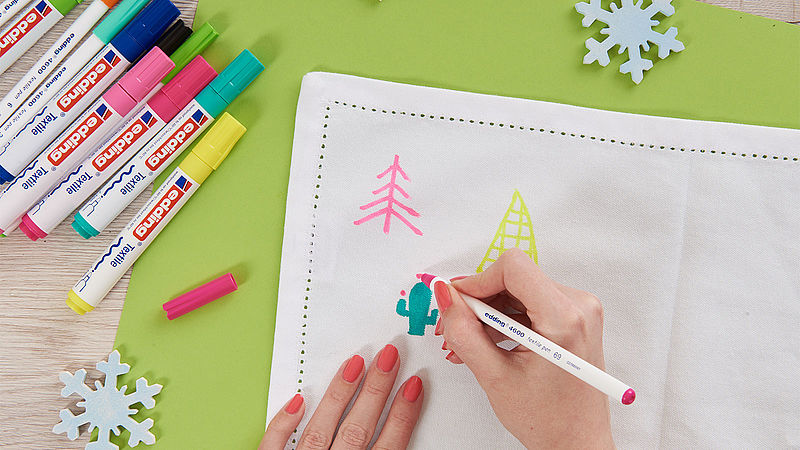
Step 1
We recommend that you wash out any fabric finish from the napkins before you start decorating. Leave until dry. It’s best to work on a large, firm protective surface as the ink can bleed through the fabric. Now start designing in whatever way takes your fancy. For the small Christmas tree in the top left-hand corner use the edding 4600 textile pen in neon pink (colour 069). For the cactus you’ll need the green pen (colour 004).
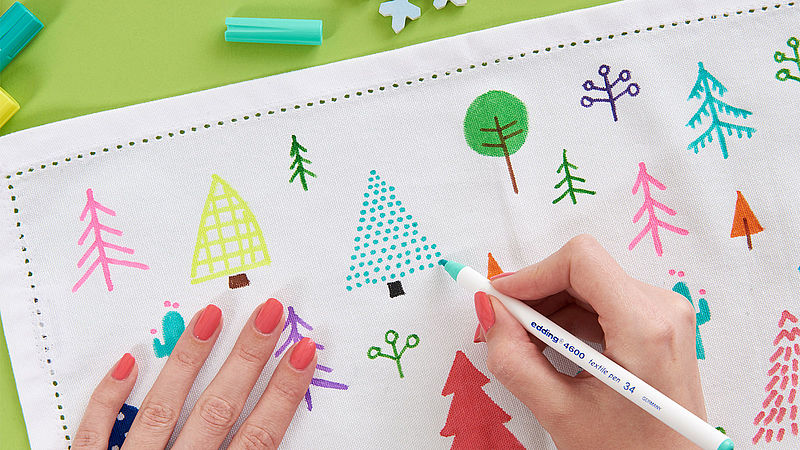
Step 2
Trees made up of dainty little dots look very decorative. Start at the tip with a single dot and continue downwards, adding more and more dots for each row. To do this, we chose the textile pen in light green (colour 034). If you want to use multiple colours in the same motif, always let one colour dry before continuing with the next.

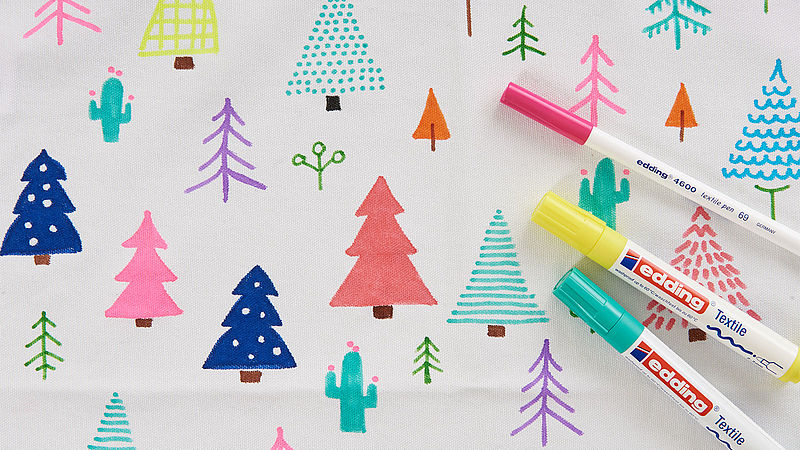
Step 3
The dark brown textile pen (colour 007) is good for drawing tree trunks. Gradually, you’ll see a colourful collection of Christmas tree motifs take shape. If you prefer something a little plainer, you can always go for a more modest look by sticking to tonal colours.
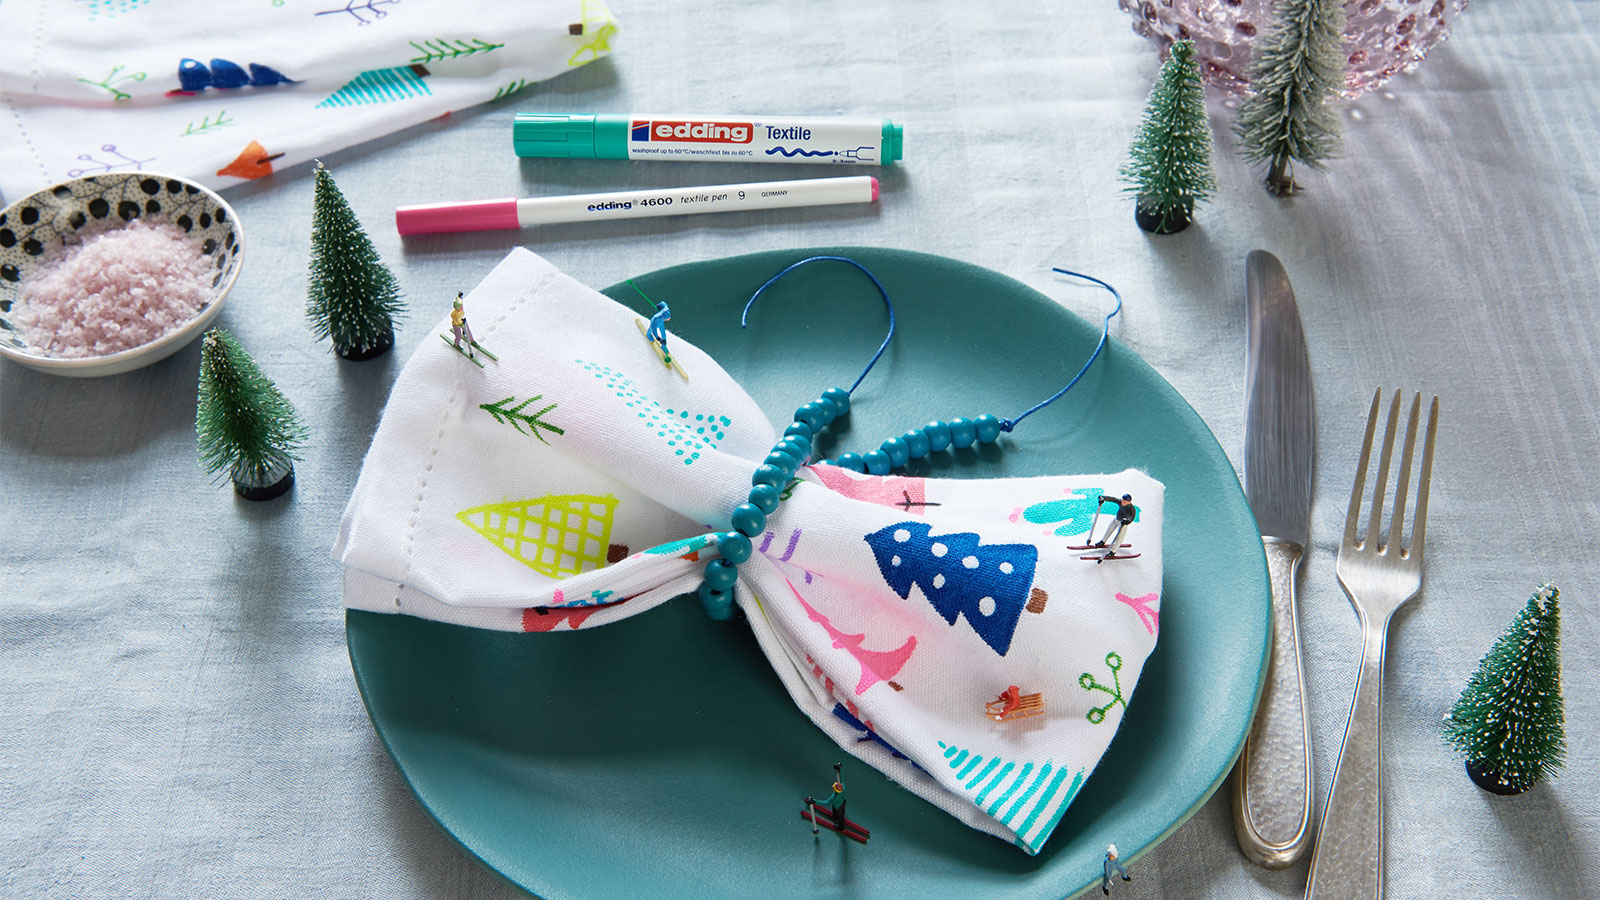
Step 4
When the design is finished, leave your artwork to dry and fix the design by ironing it without steam. Your napkins will then be wash-resistant up to 60°C.
Products and materials


Other materials
- Light-coloured cloth napkins made of cotton or linen
- A piece of cardboard to use as a protective backing
- An iron
Video
Additional images
Related ideas
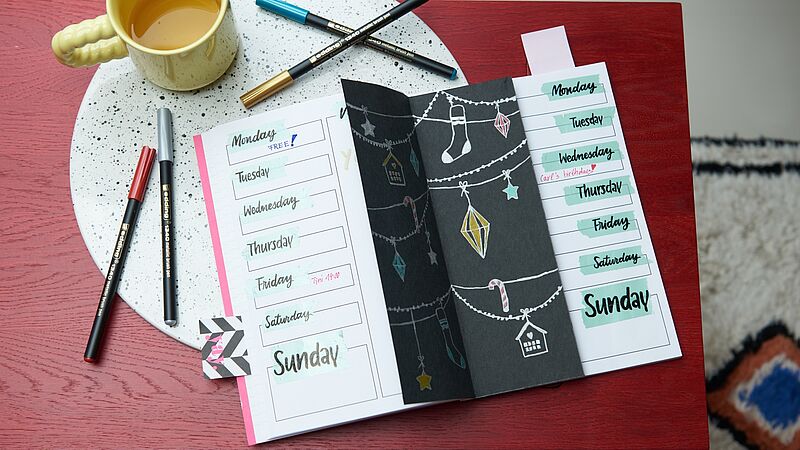
A festive look for your journal
Decorate your weekly planner with this stylish insert

Festive glass baubles
Hand-decorated baubles for the Christmas tree
Easy-peasy season’s greetings
Creatively designed Christmas cards

Individual gift jar
Small gifts, beautifully packaged

Design your own circle of light
Create a festive atmosphere
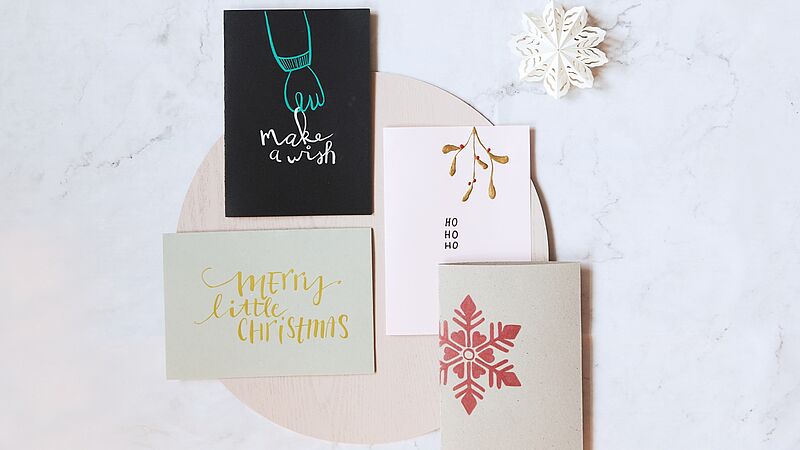
Christmas post with added sparkle
Eye-catching cards for your nearest and dearest
Creative Newsletter
Subscribe to our newsletter, and we’ll send you inspirational and creative DIY ideas, along with details of our latest products and special offers.