
Step-by-step

Step 1
You can see everything you need at a glance in our photo.
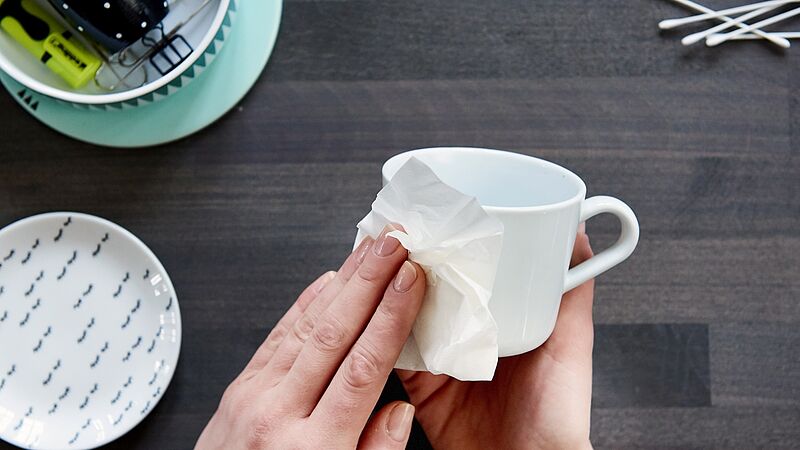
Step 2
For best results, clean the mugs with water first (ideally in the dishwasher) and wipe them over with methylated spirits.

Step 3
Cut out the cloud shape in the size you want and stick it onto the mug in the centre. We recommend that you only decorate the outside of the mugs, leaving the inner surfaces and rim free.

Step 4
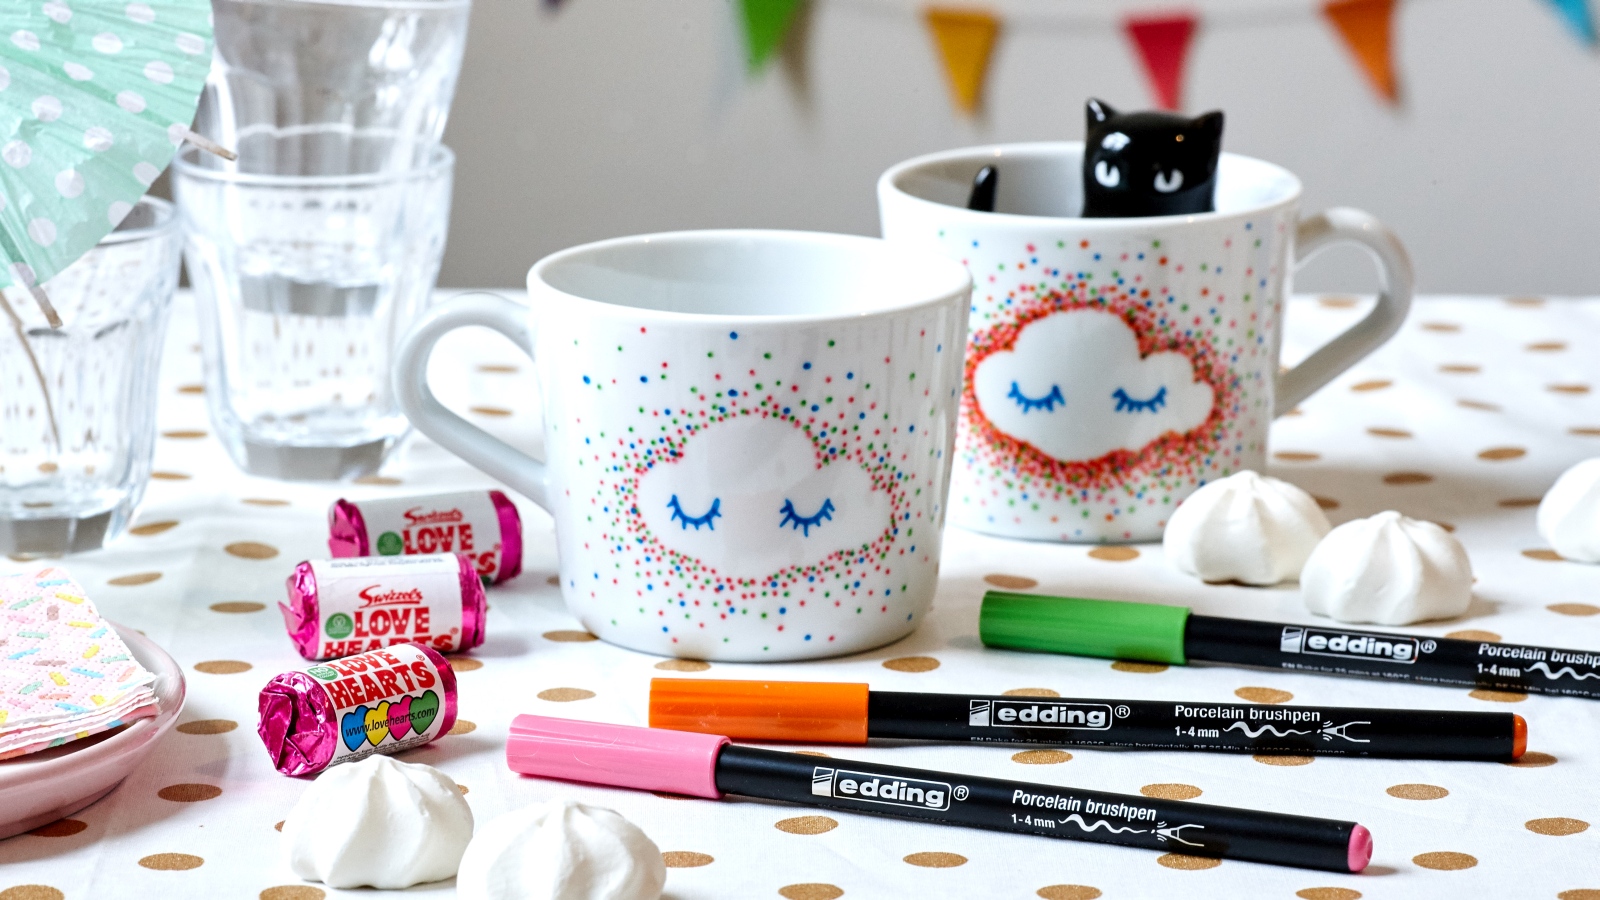
The highly flexible nib of the porcelain brush pen allows you to create fine strokes and dots (using the tip), as well as broader strokes (by holding the pen flatter). Using the pink pen (colour code 009), draw lots of little dots close together around the cloud. If you make a mistake, it’s no problem – simply wipe it off with a damp cloth or cotton bud.

Step 5
Next, add some dots in blue (colour 003) and green (004). Make sure they are tightly-packed so the cloud shape stands out and is easily recognisable. Finally, draw two sleeping eyes on the cloud. When the design is ready, leave it to dry for 15 minutes. Pre-heat the oven to 160°C, place the mugs on a cold oven rack, slide into the oven and bake for 25 minutes. Leave in the oven to cool afterwards.
Products and materials

Other materials
- White cups or mugs made of porcelain or ovenproof ceramic
- Water and methylated spirits for initial cleaning
- Cotton buds and a damp cloth for making corrections
- “Cloud” stencil
- Paper for making the stencil
- Adhesive tape
- A conventional oven
Templates

Sunny day
Additional images
Related ideas

Creative flower card
Floral greetings for the world’s best mum
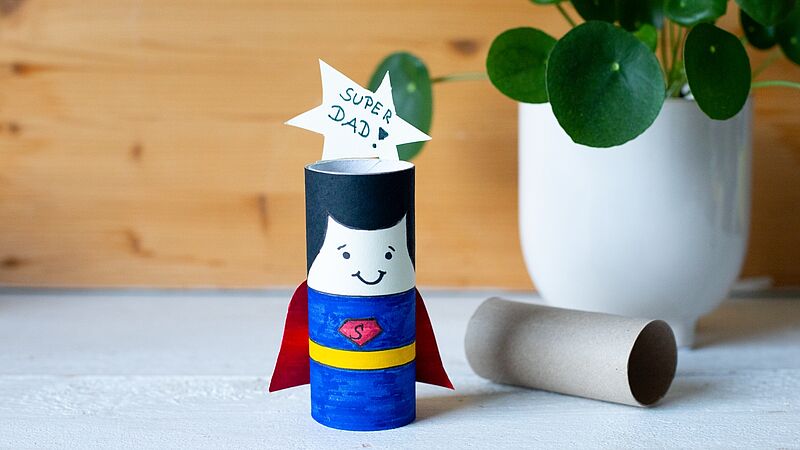
Craft idea for the best dad
Cool Father’s Day present for “Superdad”
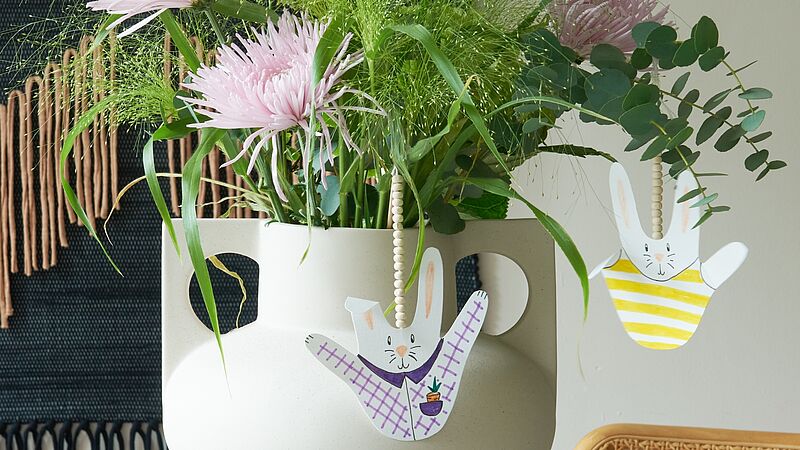
Bunnies abound!
Cute Easter idea for kids
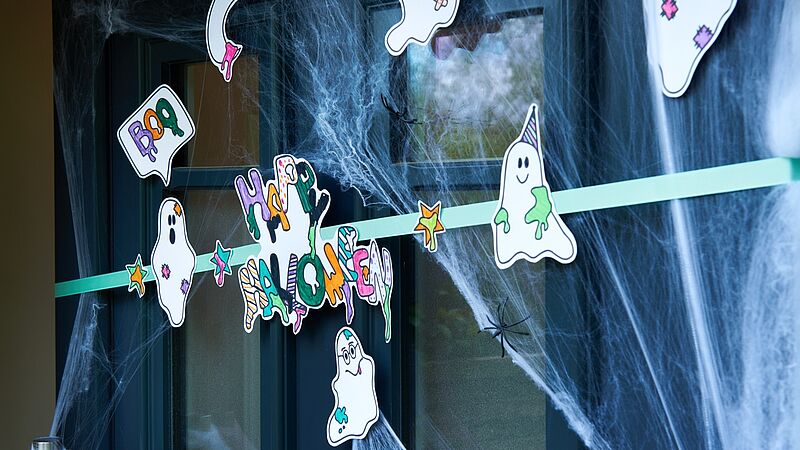
Halloween garland
Mini ghost garland
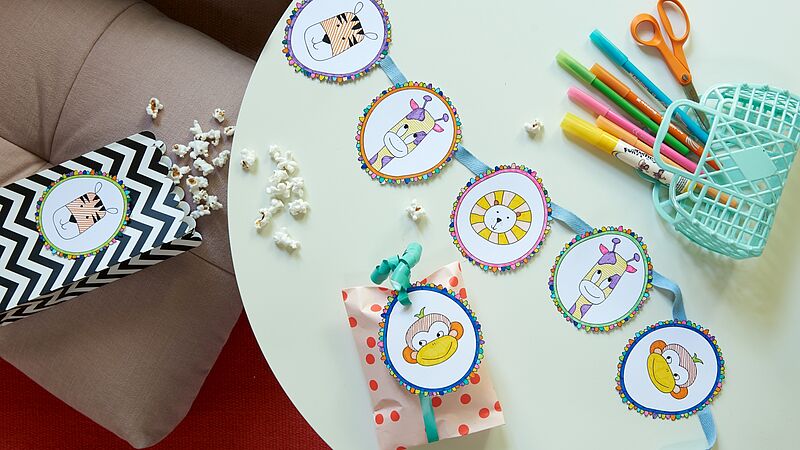
Funny animal paintings
It’s so simple – step-by-step animal drawings
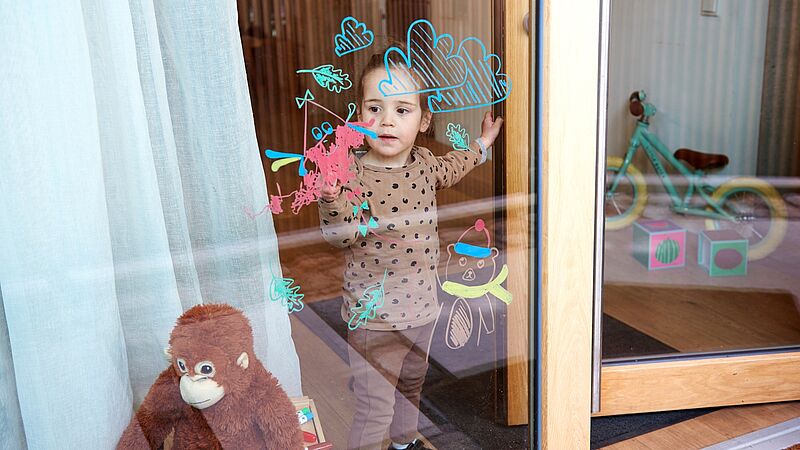
Window decorations with an autumnal theme
An activity children will love!
Creative Newsletter
Subscribe to our newsletter, and we’ll send you inspirational and creative DIY ideas, along with details of our latest products and special offers.