
Step-by-step

Step 1
The acrylic products needed for this design are the edding 5000 broad acrylic marker, the edding 5100 medium acrylic marker and the acrylic 3D double liner in a variety of colours. In our example, we used the following colours: classy mauve (935), anthracite (926), traffic white (922), telemagenta (909), berry (910), rich gold (924) and chocolate brown (907). You can also use our template generator to make a template from one of your own portrait photos.
Step 2
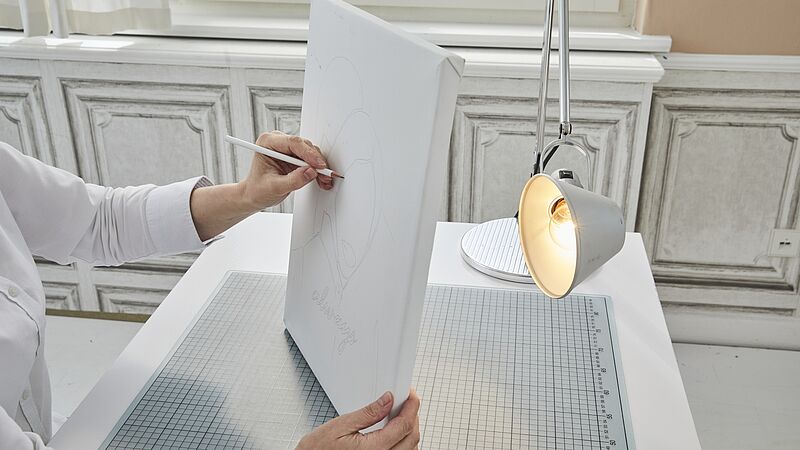
Position the template behind the canvas and place them in front of a light source. This makes it really easy to trace over the motif in pencil.

Step 3
Before you start painting, activate the marker as follows: shake the marker with the cap on until you can hear the mixing balls rattle inside, then carefully pump the nib up and down until ink appears in the tip. It's important to hold the marker at a slight angle as you pump so you don’t damage the chisel nib. Test the marker first on a piece of scrap paper.
Step 4
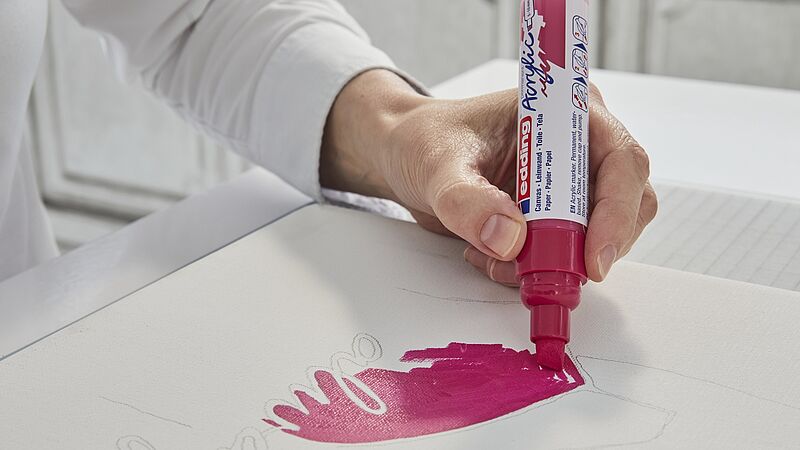
First of all, colour in the individual areas using a broad marker in your chosen colour. With such vibrant and opaque colours, this is a quick and easy process.

Step 5
To draw with accuracy around the lines of text, use the narrow edge of the broad acrylic marker.
Step 6
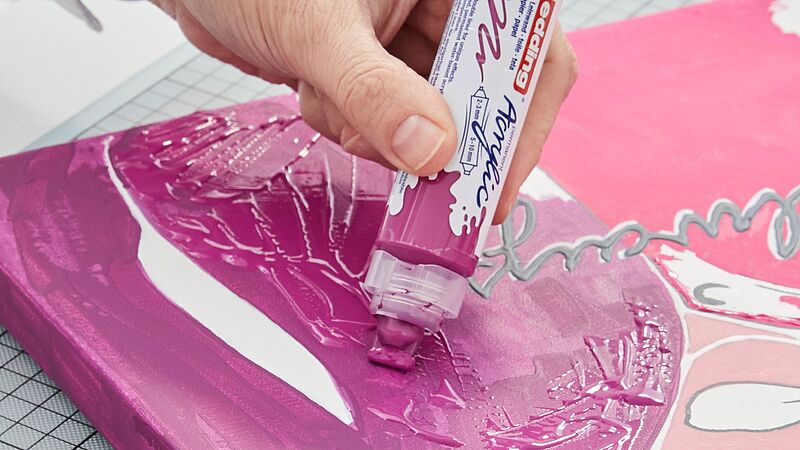
Once the first coat has dried, add texture to the coloured sections using the 3D double liner. We chose the same colour for this, but you can use contrasting colours if you wish. When filling in areas of colour, it's best to use the wide applicator. As long as the paint is still wet, blending the colours is easy and effective.

Step 7
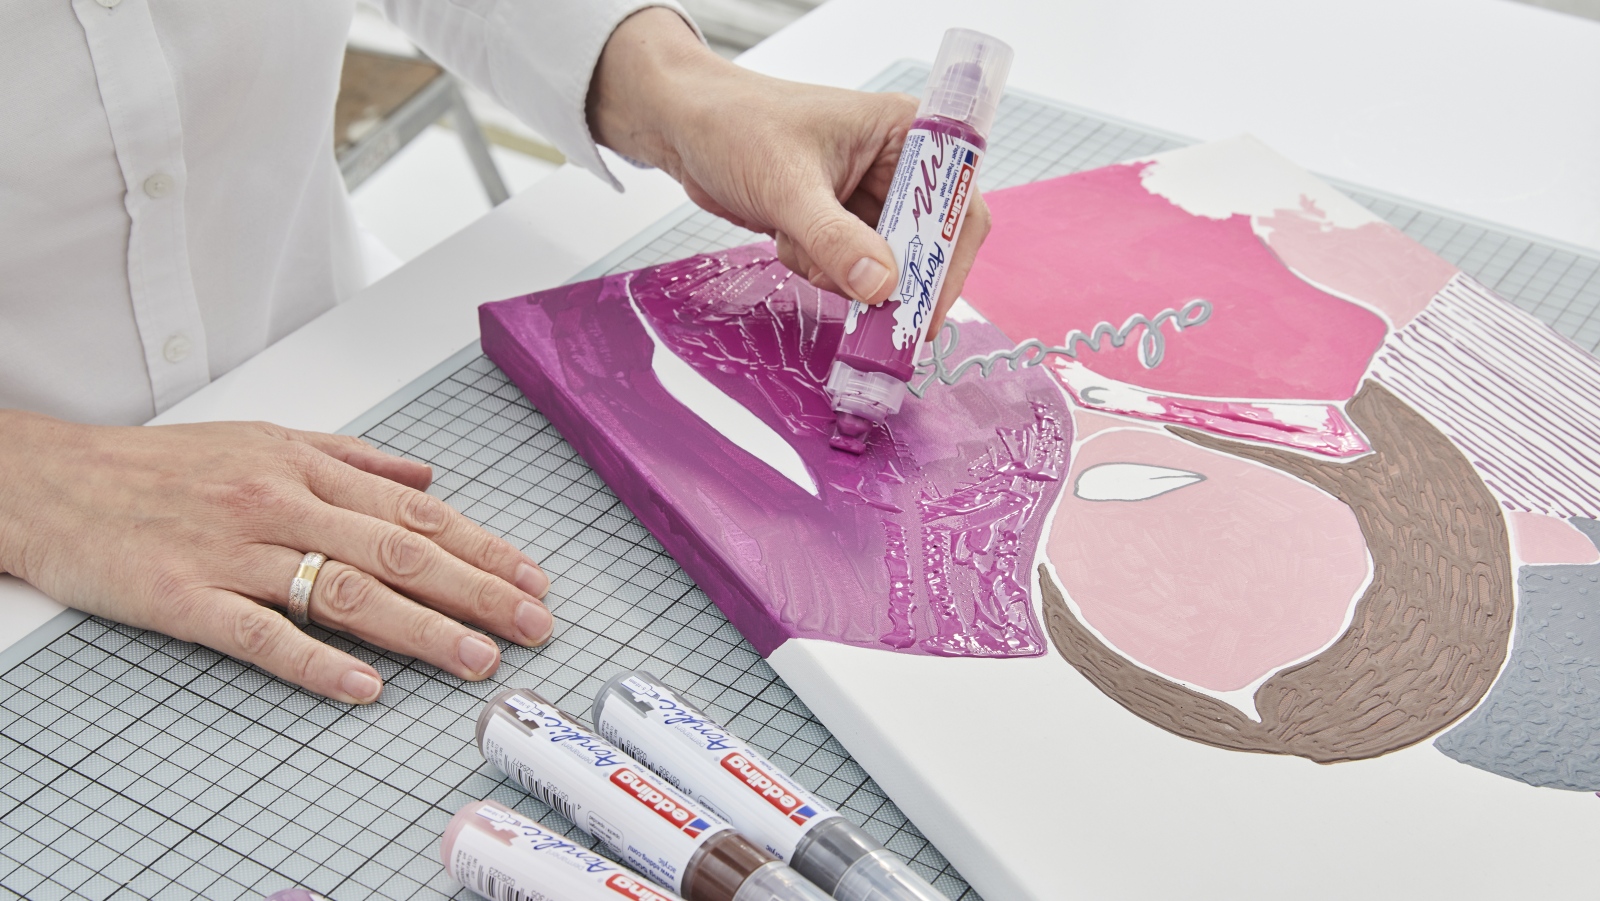
When colouring in the lettering, choose a fine nib. Once the textures are dry, grab the medium acrylic marker and go over some of the edges using fine strokes, adding extra touches such as the lines you can see in the background.
Products and materials


Additional images
Related ideas

Wedding mugs
3 mugs, 3 letters – YES
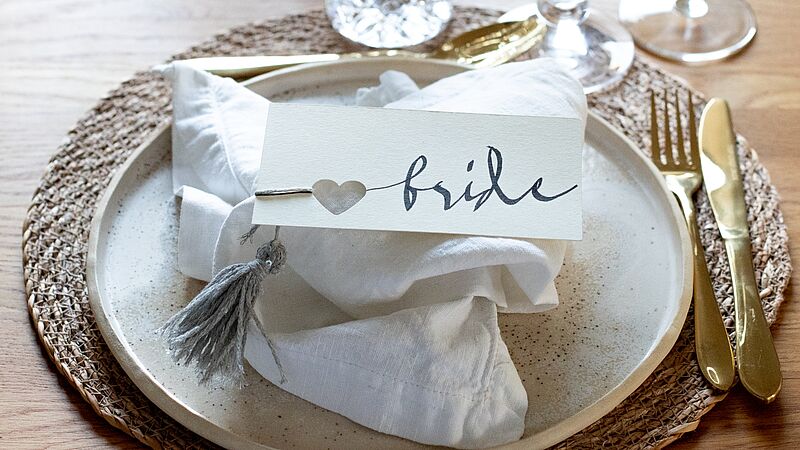
Place cards for the wedding table
Simple yet effective table decoration

Chalkboard welcome sign for your wedding
The perfect welcome for your guests

Wedding drop box
Wedding congratulations in a picture frame
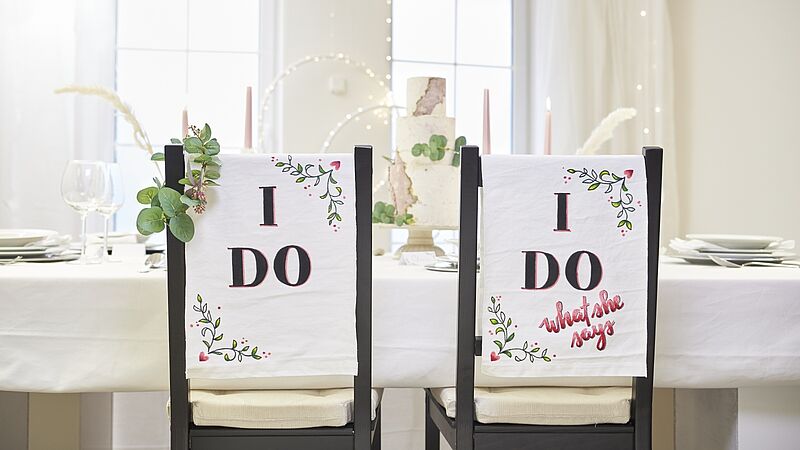
DIY wedding chair signs
Beautiful chair décor for the happy couple

Wedding globe gift
The perfect money gift box for a wedding
Creative Newsletter
Subscribe to our newsletter, and we’ll send you inspirational and creative DIY ideas, along with details of our latest products and special offers.