
Step-by-step
Step 1
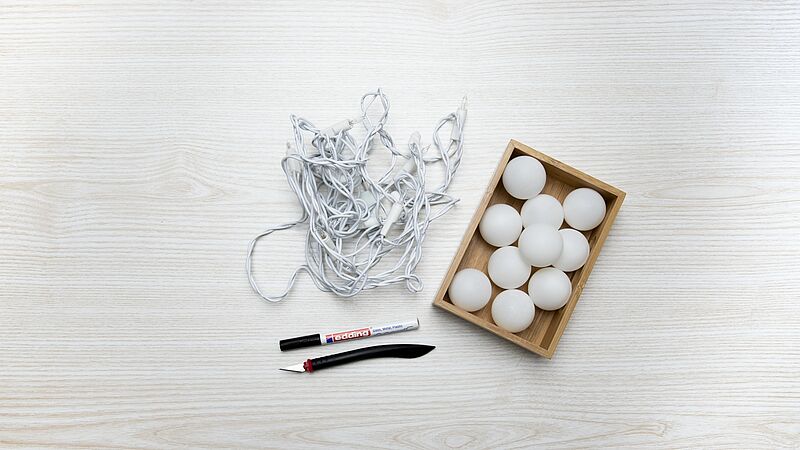
You can see everything you need at a glance in our photo. In our example, we’ve used an edding 751 gloss paint marker in black (we love black-and-white designs as they always look classy!).
Step 2
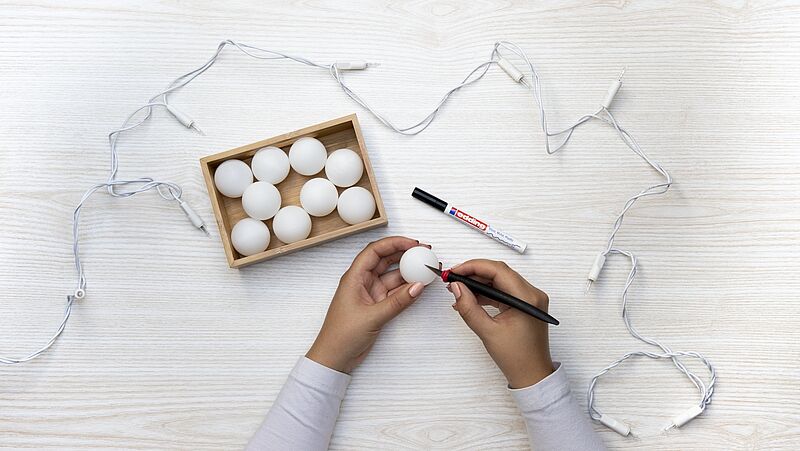
First, cut a slot 1-2 cm long in each ping pong ball – a sharp knife or a craft knife is best for this.
Step 3
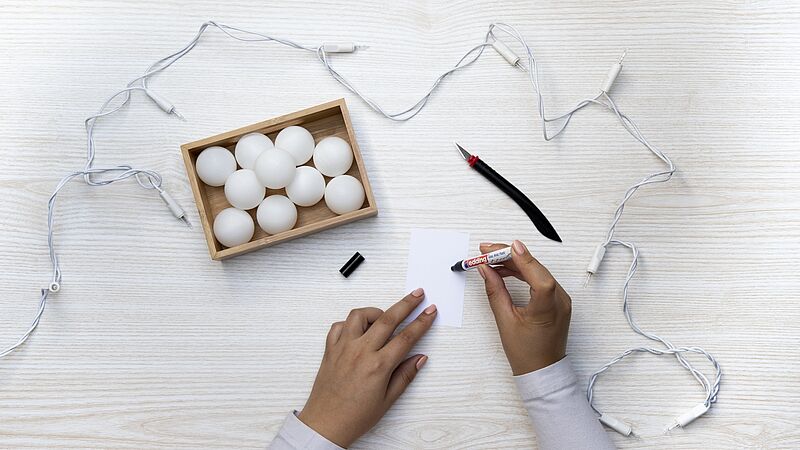
Before using a gloss paint marker, you need to activate it: shake the marker vigorously with the cap on, then remove the cap, place the nib on absorbent paper and pump it up and down gently a few times until ink appears in the nib. Now you’re ready to get started. (And don’t forget to always store the marker horizontally after use.)

Step 4
Decorate the balls however you like – stars, snowflakes, hearts or any other favourite design. When you’ve finished, slide the ping pong balls onto the bulbs one by one. Always read the safety instructions supplied by the manufacturer of the string lights. The bulbs mustn’t get too hot for the ping pong ball covers.
Products and materials

Other materials
- Ping pong balls, one for each bulb (ideally with nothing printed on them)
- LED string lights
- Craft knife
Additional images

Related ideas
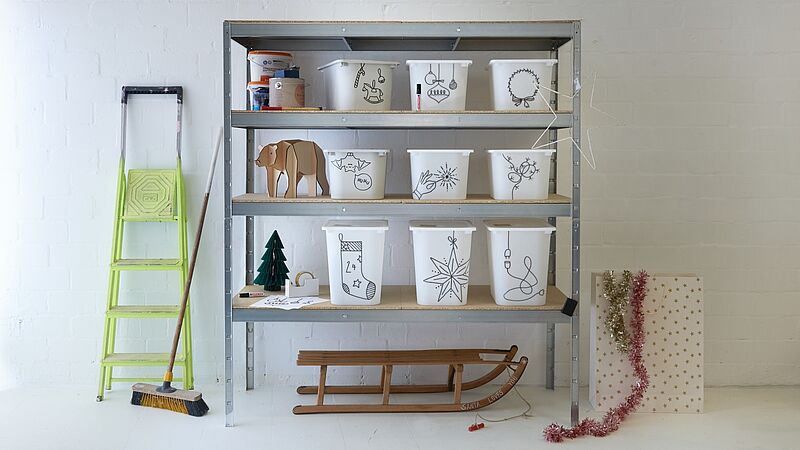
A place for everything
Practical storage box solution that’s really neat!
For magical moments
A glittery look for your party
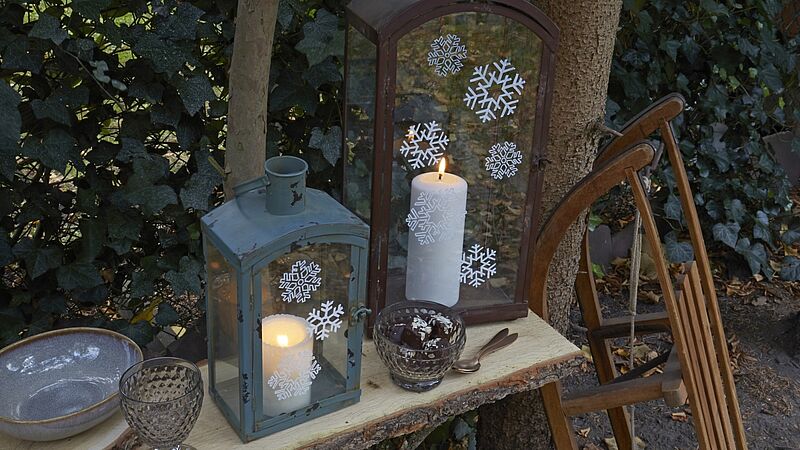
Decorative designs on glass
Create designs on glass and smooth surfaces for any season or occasion
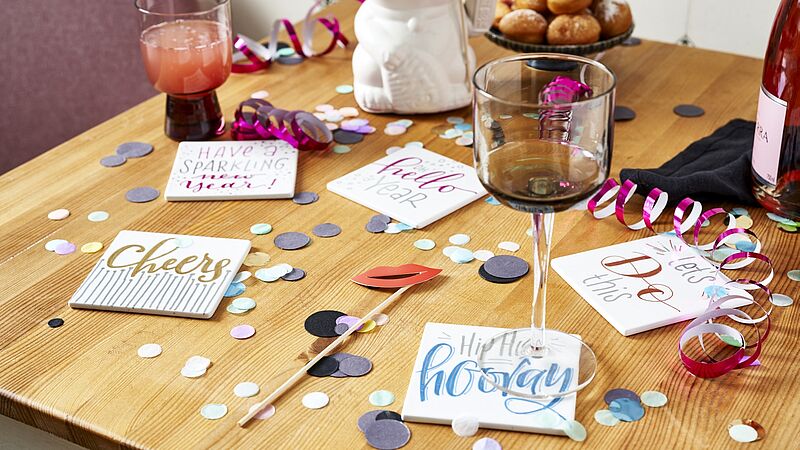
DIY tile coasters
Custom table décor: painted ceramic coasters
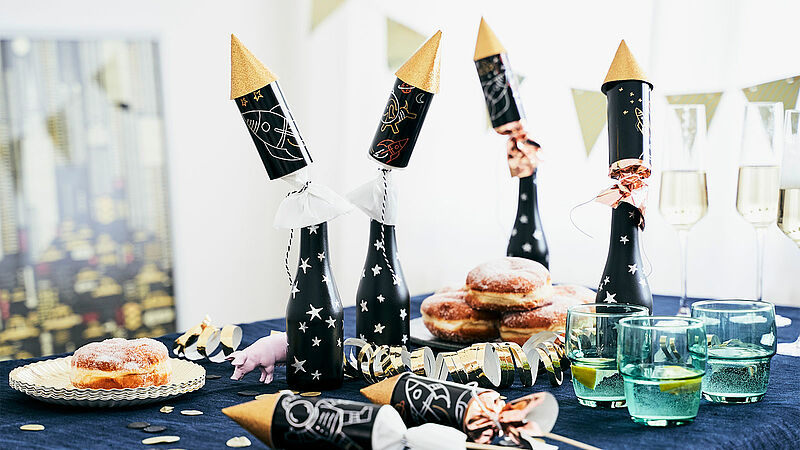
DIY New Year’s Eve rocket crackers
Make your party go with a bang!
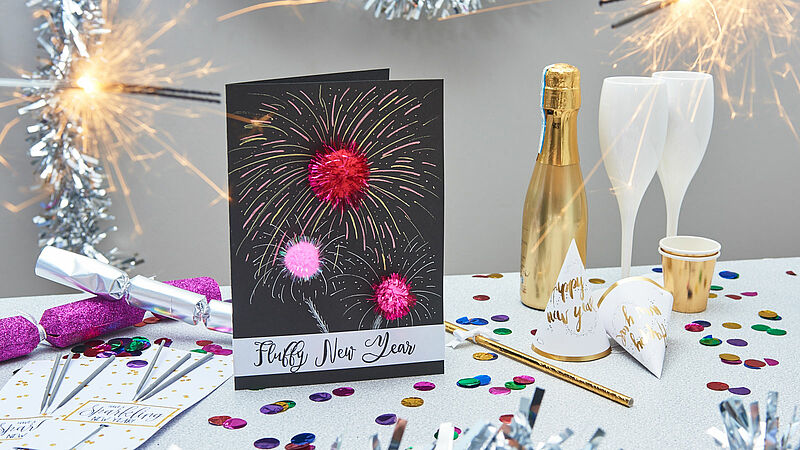
New Year’s pom pom card
Welcome in the New Year with fireworks
Creative Newsletter
Subscribe to our newsletter, and we’ll send you inspirational and creative DIY ideas, along with details of our latest products and special offers.