
Step-by-step
Step 1
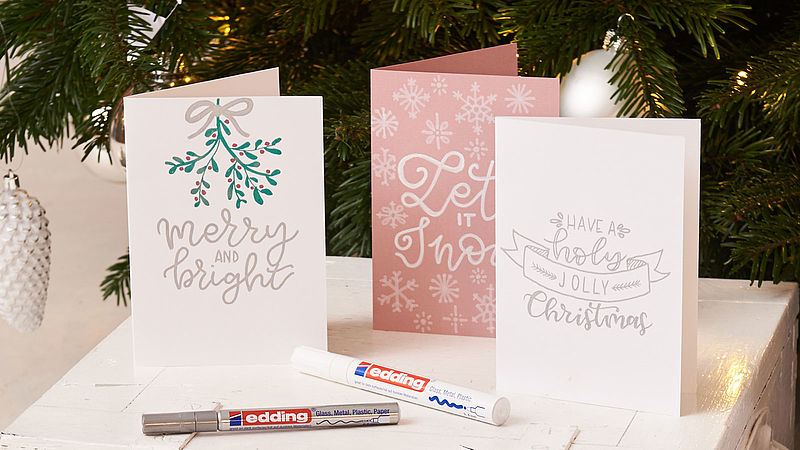
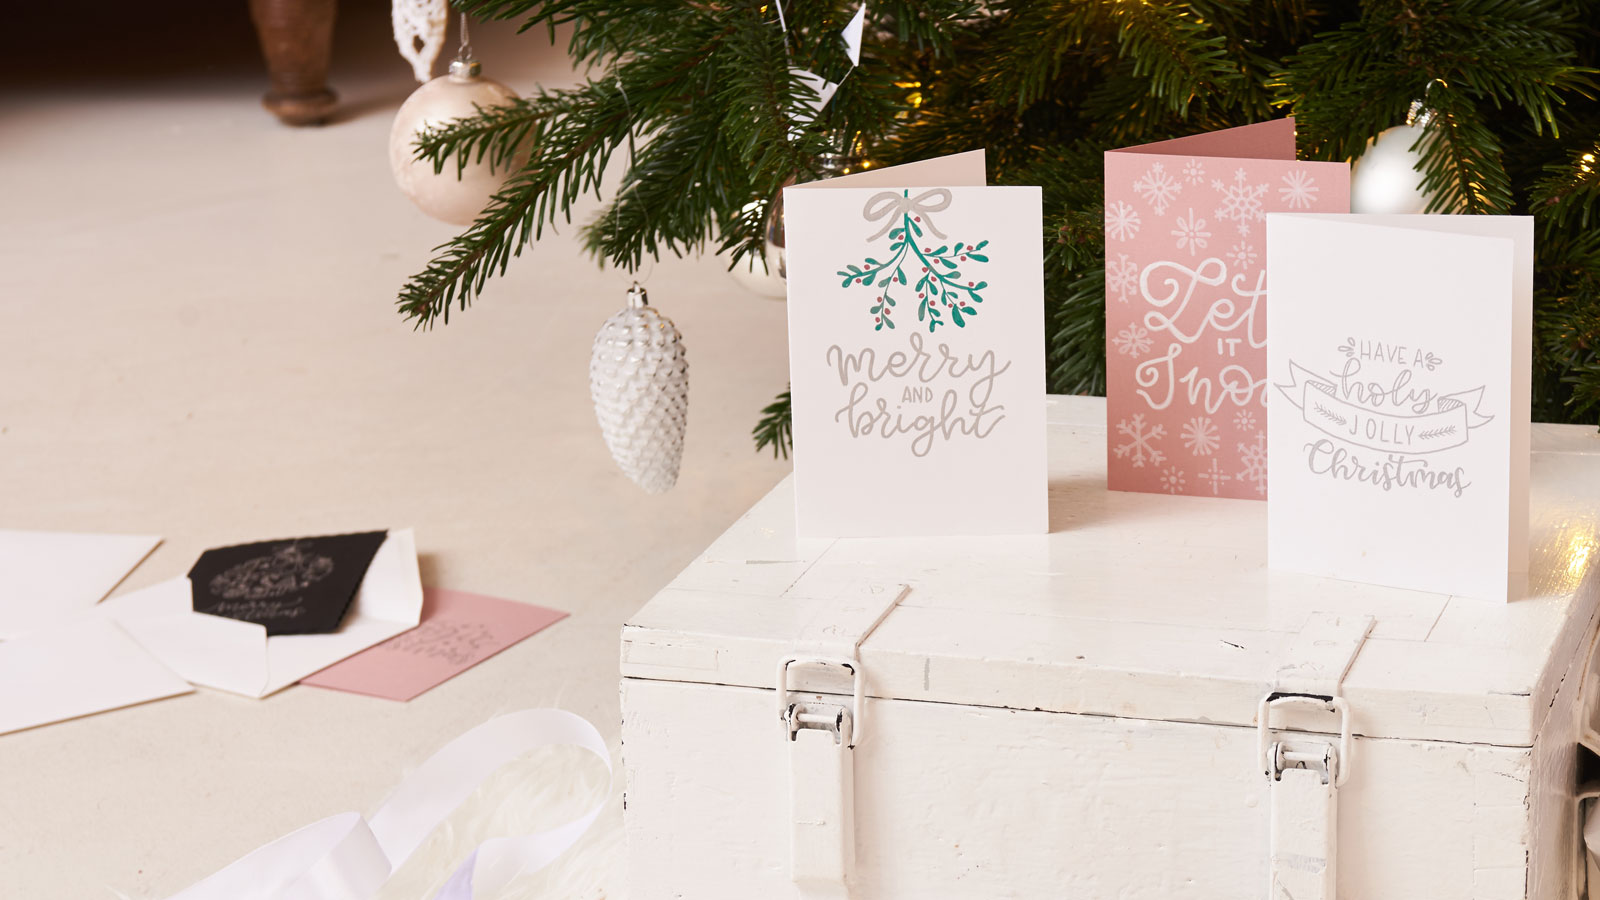
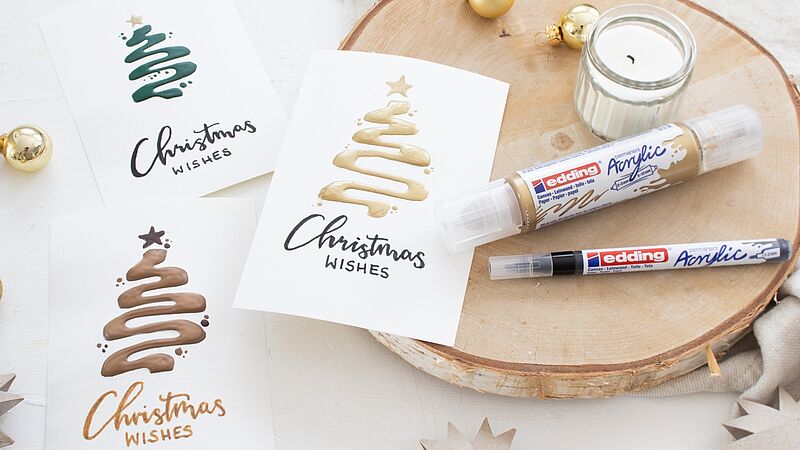
Before you start designing, activate the edding gloss paint marker by following our instructions. Start by trying out your chosen wording and lettering. There are no set rules (anything goes!). Let your imagination run free: try combining different writing styles (rounded and angular lettering, for example), and finish off with a matching border. In our example, we chose a pink card. We first wrote “Let it snow” using the white edding 751, before decorating it with snowflakes in different shapes and sizes.
Step 2
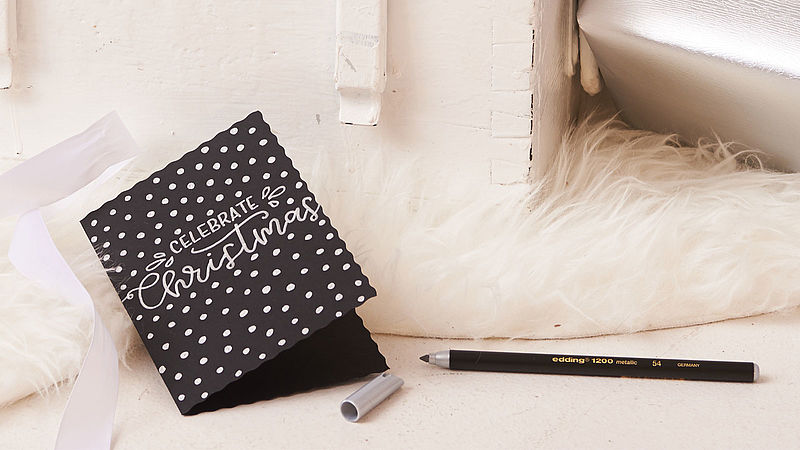
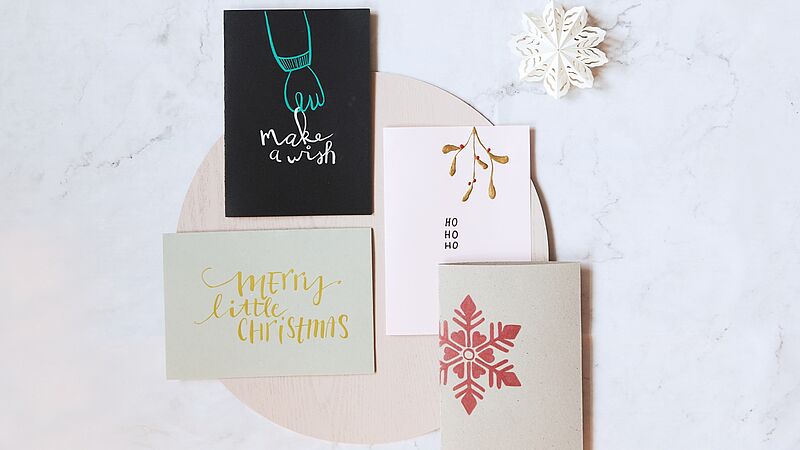
For the black card, we used the silver-coloured edding 1200 metallic; its soft nib means you can draw beautiful designs, especially on dark paper. This pen is ready to use straight away – simply remove the cap and off you go. We wrote “CELEBRATE Christmas” in the middle of the card using the tip of the pen and then decorated it all over by adding large dots.
Products and materials


Other materials
- Plain folding cards in various colours
Additional images
Related ideas
A festive look for your journal
Decorate your weekly planner with this stylish insert

Festive glass baubles
Hand-decorated baubles for the Christmas tree
Easy-peasy season’s greetings
Creatively designed Christmas cards

Individual gift jar
Small gifts, beautifully packaged

Design your own circle of light
Create a festive atmosphere
Christmas post with added sparkle
Eye-catching cards for your nearest and dearest
Creative Newsletter
Subscribe to our newsletter, and we’ll send you inspirational and creative DIY ideas, along with details of our latest products and special offers.