
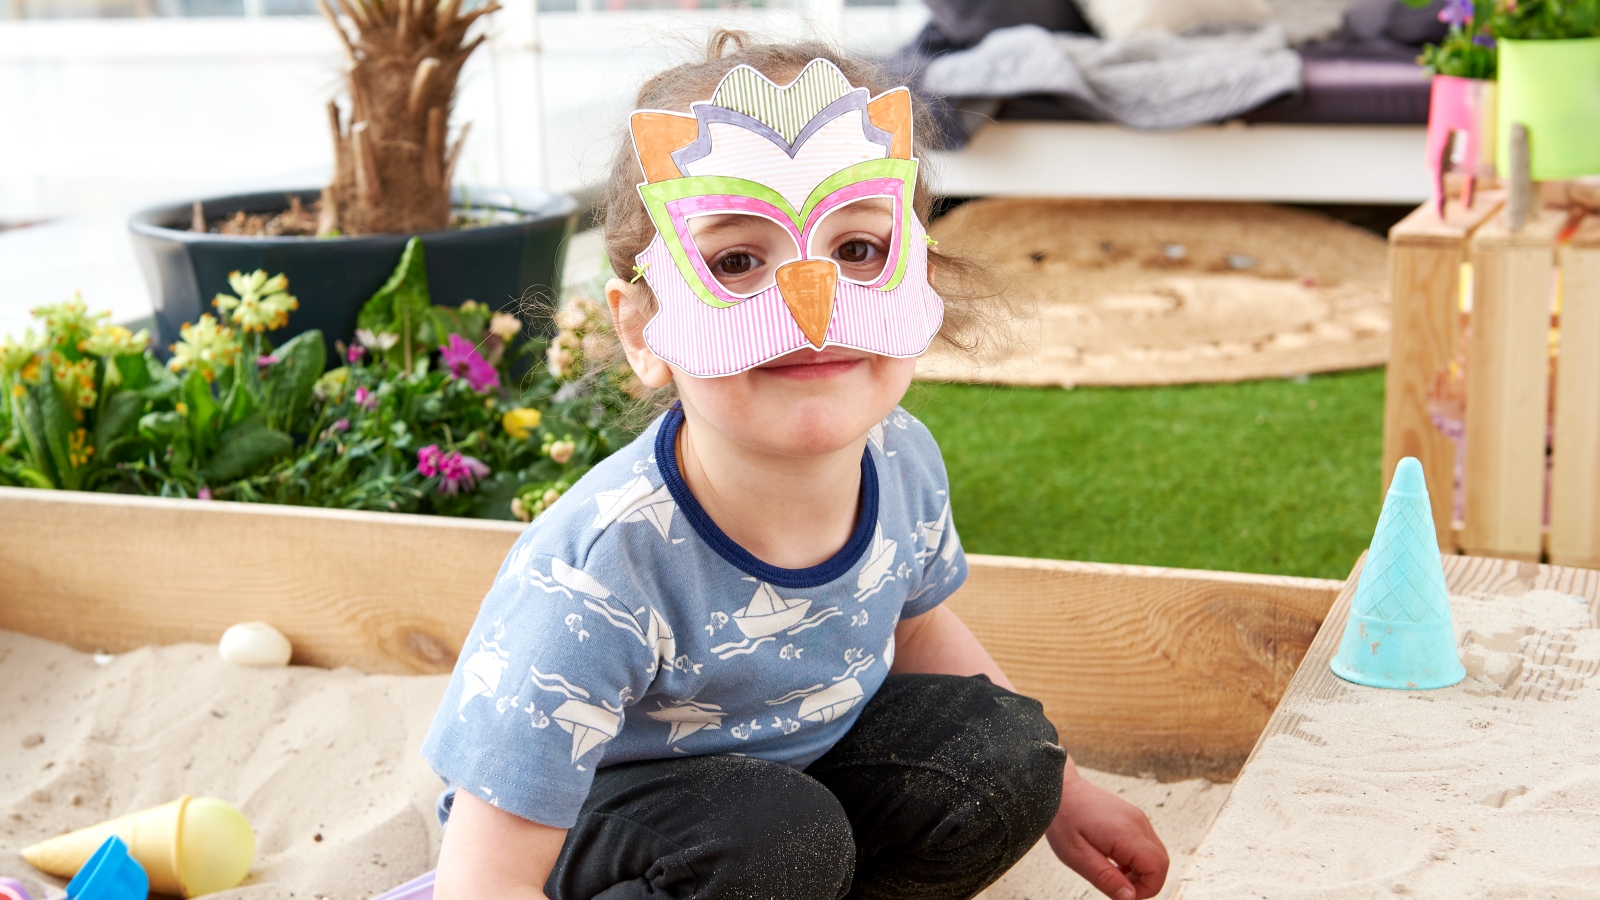
Step-by-step

Step 1
To colour in the template you'll need our edding Funtastics fibre pens for children (broad or fine nib). First of all, download the template in A4 and print it out. Next, get all your materials ready.
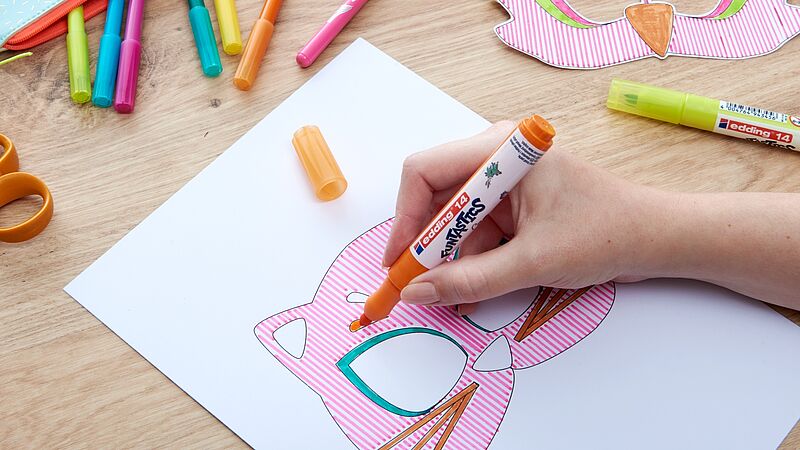
Step 2
You can colour in the mask however you like. For example, you could colour in each section with a different shade or use the ruler to draw vertical lines – whatever takes your fancy.
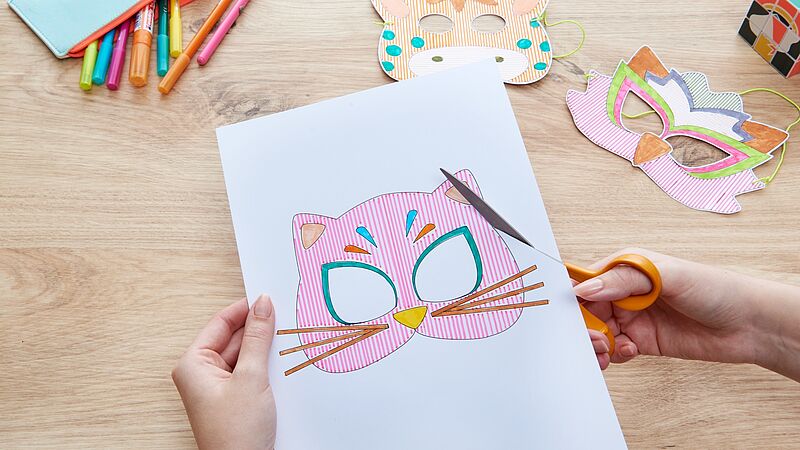
Step 3
Now cut out the mask, including the holes for the eyes. Take care when using the scissors or perhaps ask a grown-up to help you.
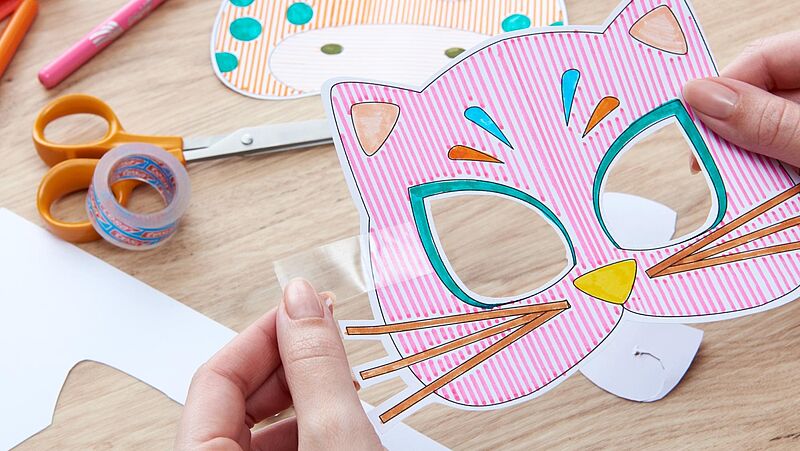
Step 4
Next, use a piece of sticky tape to strengthen the mask on each side where the elastic will go.
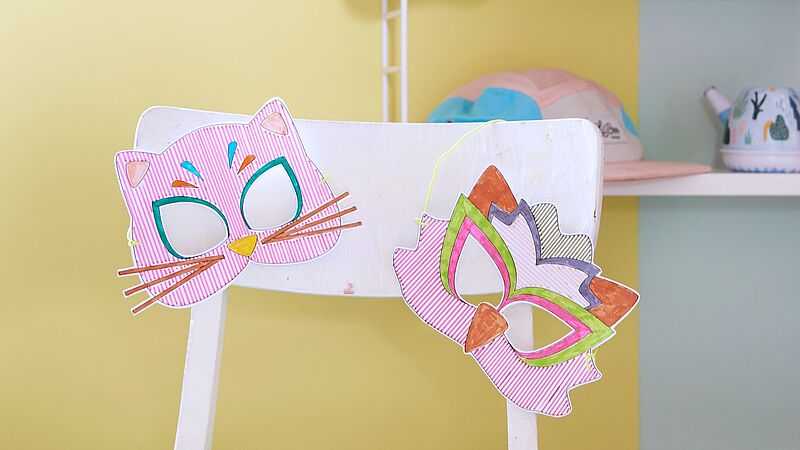
Step 5
Now punch holes to the left and right of the mask and thread the elastic through. And there you have it - your cat mask is now finished!
Products and materials


Other materials
- "Animal faces" template
- Adhesive tape (to strengthen the hole)
- A length of elastic cord
- Scissors
- Hole punch
- Ruler (optional)


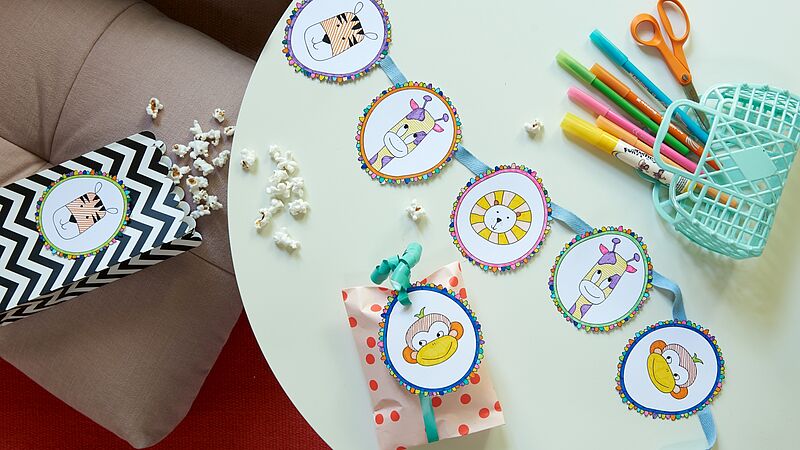
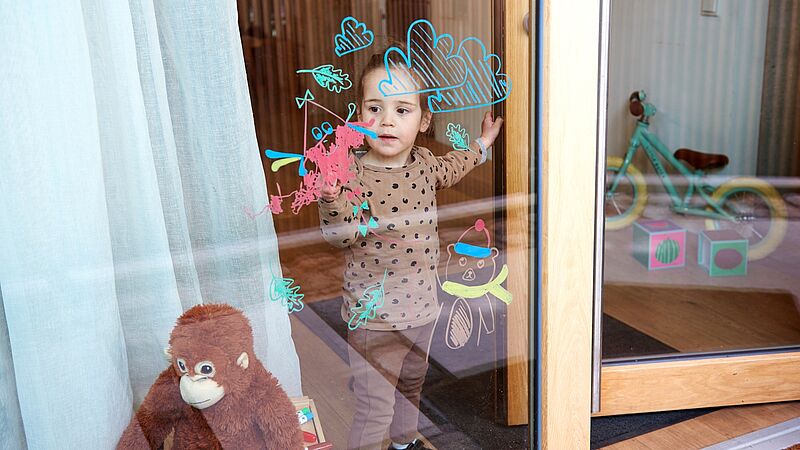
Additional images
Related ideas

Creative flower card
Floral greetings for the world’s best mum
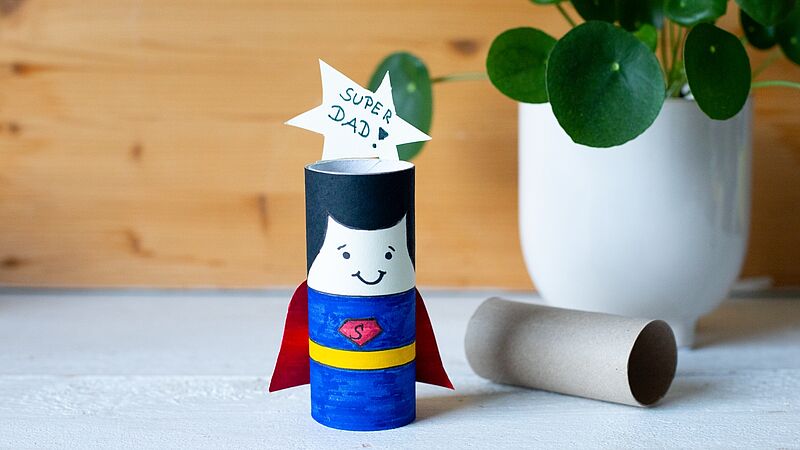
Craft idea for the best dad
Cool Father’s Day present for “Superdad”
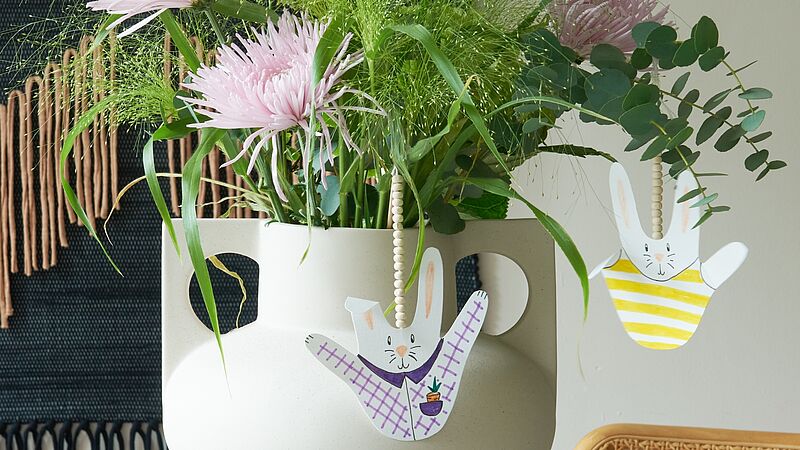
Bunnies abound!
Cute Easter idea for kids
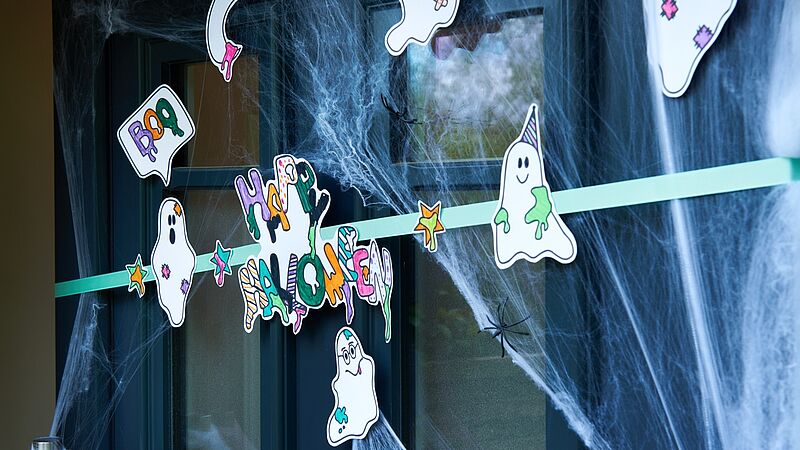
Halloween garland
Mini ghost garland
Funny animal paintings
It’s so simple – step-by-step animal drawings
Window decorations with an autumnal theme
An activity children will love!
Creative Newsletter
Subscribe to our newsletter, and we’ll send you inspirational and creative DIY ideas, along with details of our latest products and special offers.