
Step-by-step

Step 1
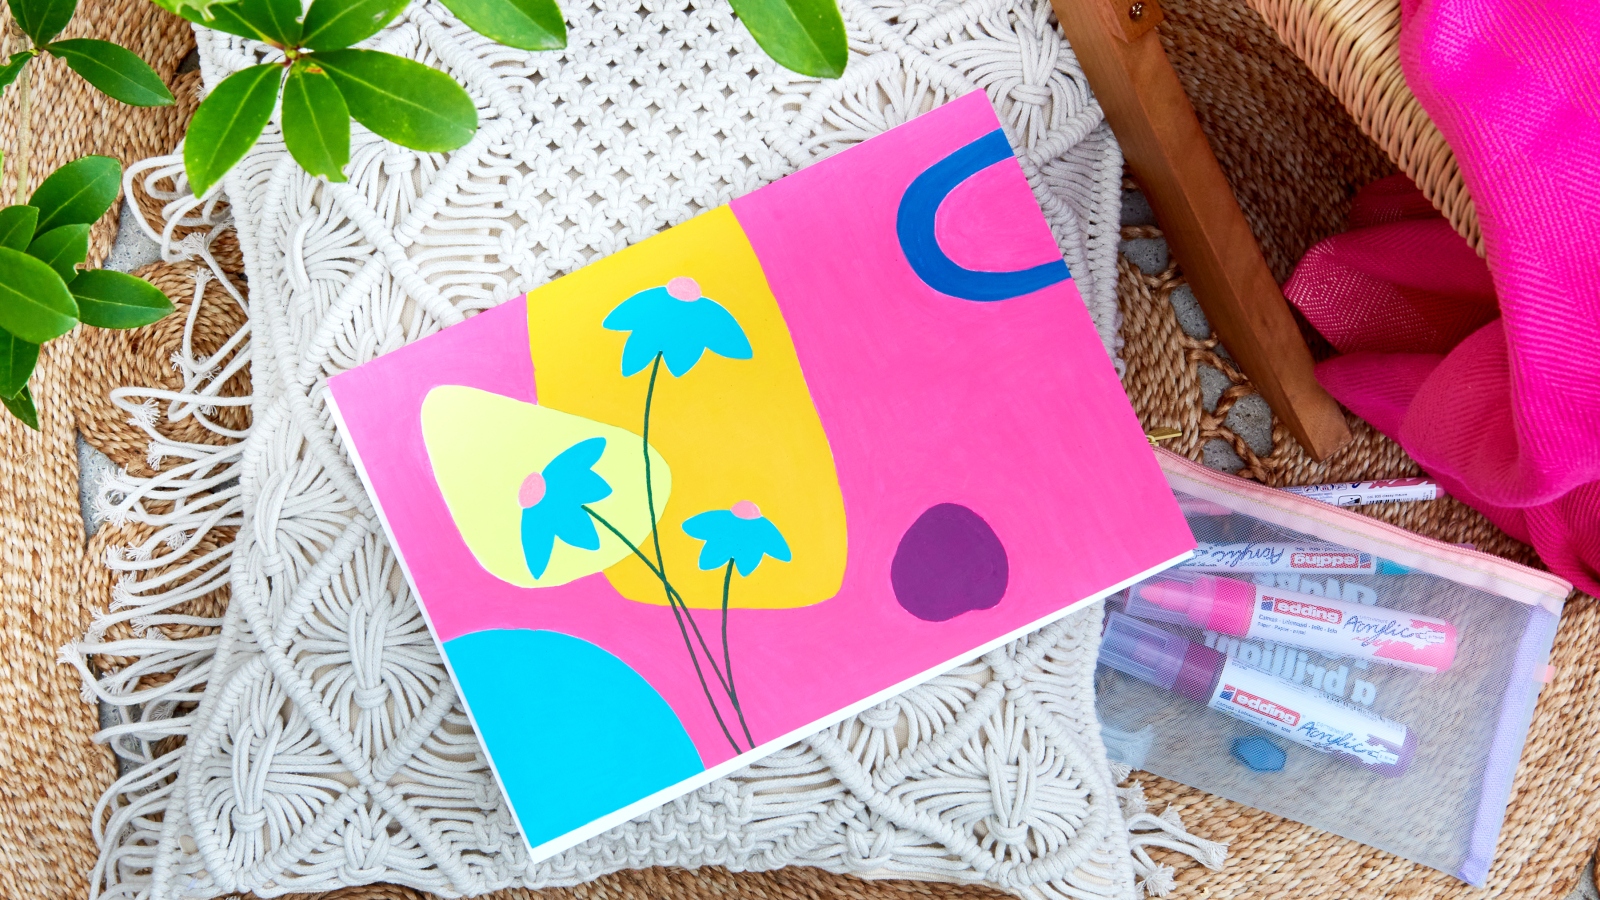
You can see everything you need at a glance in our photo. The edding acrylic and oil pad (shown here in A4) is the perfect partner for the special properties of our acrylic markers. If you wish, you can download our template and print it out.
Step 2
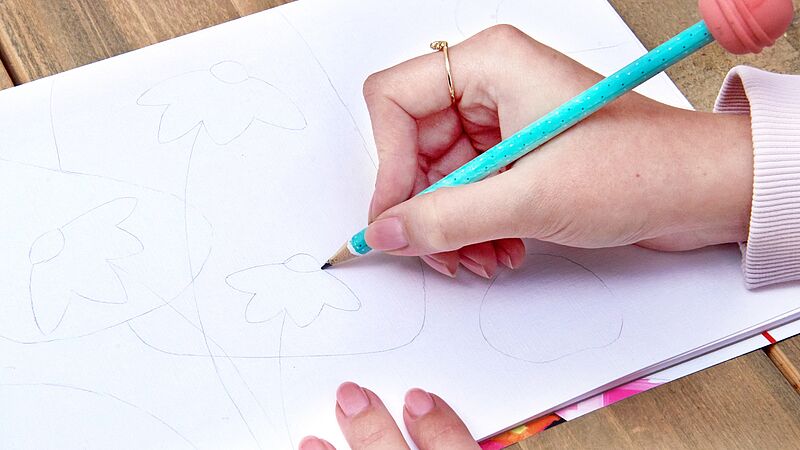
We recommend that you sketch out your motif in pencil first. This means that when you come to the next step, all you have to do is colour it in. This means you don’t have to worry about making unwanted strokes of the pen that would alter your design.
Step 3
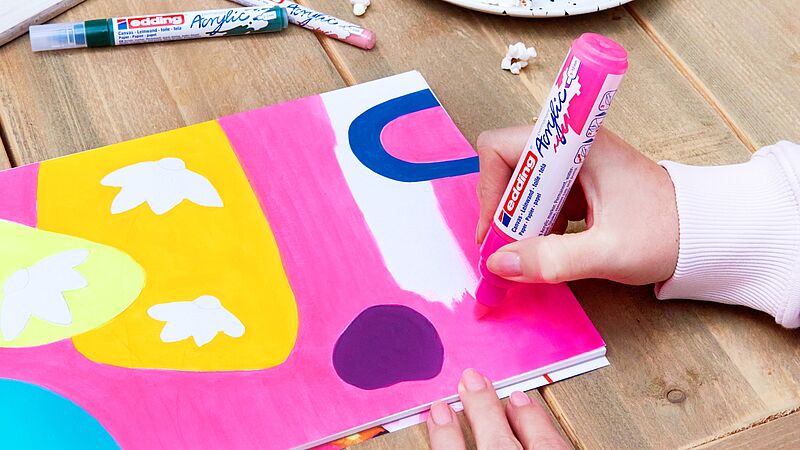
Colour in all the large areas using the broad edding 5000 acrylic marker (neon pink in our photo). Its broad chisel nib is quick and easy to use, making it perfect for large areas. Always let one colour dry before continuing with the next. That way, you can stop the colours running into each other.

Step 4
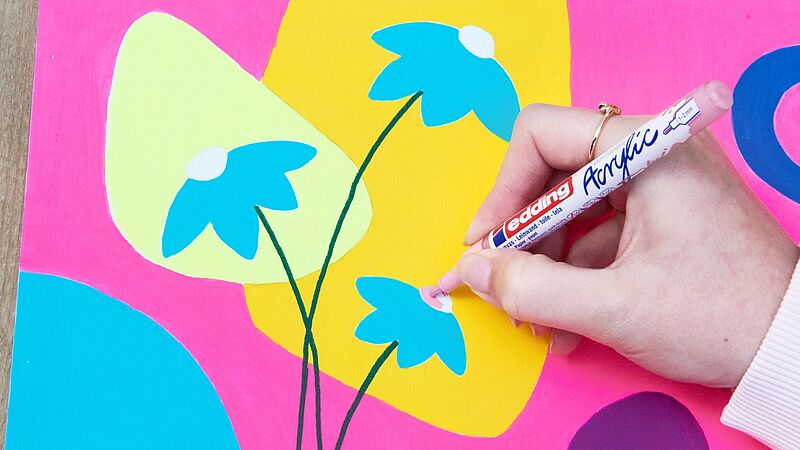
Now continue by drawing the smaller motifs (such as the petals shown in our picture). Pens with a medium nib, such as the edding 5100 medium acrylic marker in opulent turquoise, are particularly good for this.
Step 5
Once you've finished and the paint has dried, use the fine edding 5300 acrylic marker to add delicate highlights, such as classy mauve for the centres on the flowers, and use moss green for the stems.
Products and materials


Additional images
Related ideas

Shelf decorated with love
Make children’s dreams come true

Create your own concrete look
Unique upcycled bedside table

Earth Day
A little better every day

Designs in natural tones
Record baby's first milestones with these creative keepsakes

Discover the joy of manga drawing
Create impressive manga characters with ease
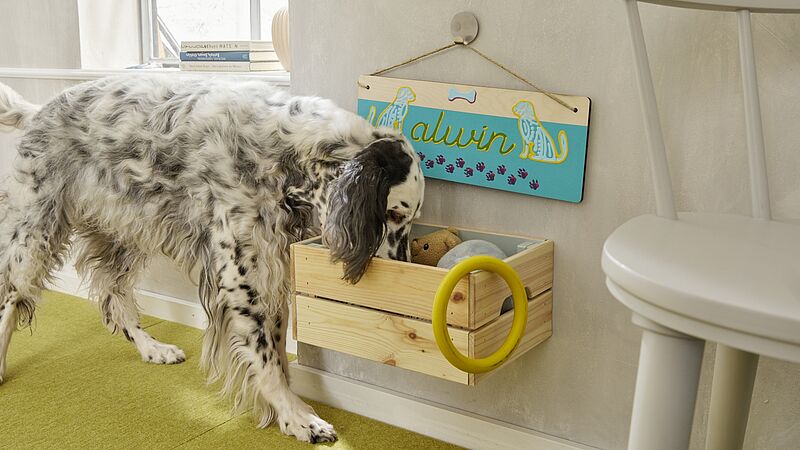
Name plaque for your best friend
DIY idea for dog lovers
Creative Newsletter
Subscribe to our newsletter, and we’ll send you inspirational and creative DIY ideas, along with details of our latest products and special offers.