
Step-by-step
Step 1
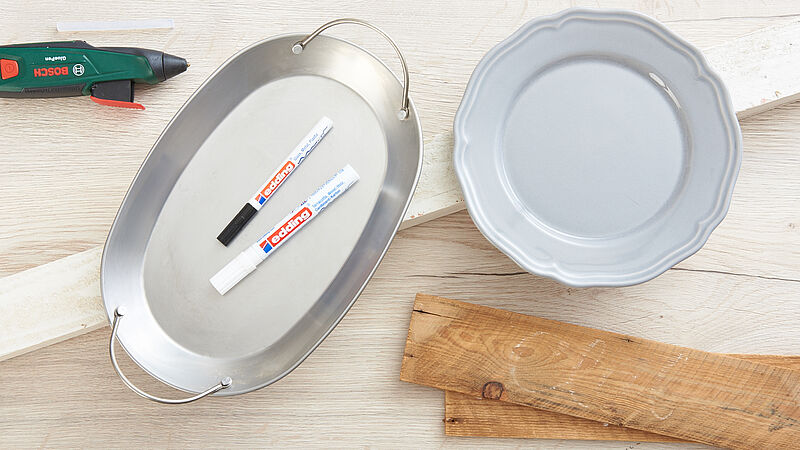
Here you can see everything you need at a glance in our photo.
Step 2
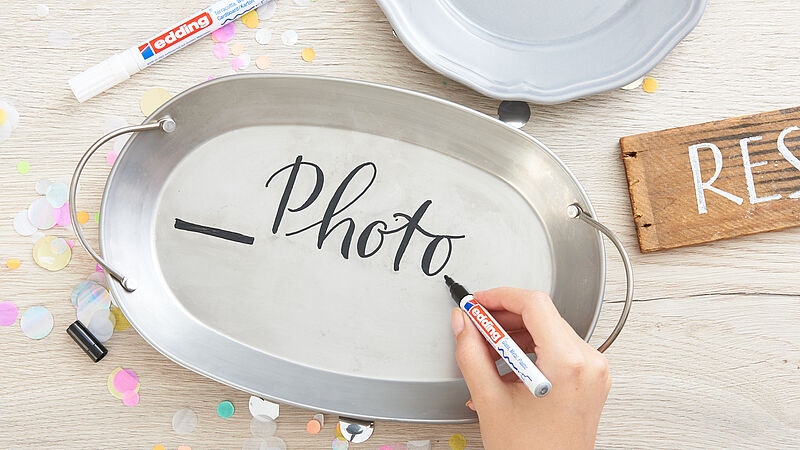
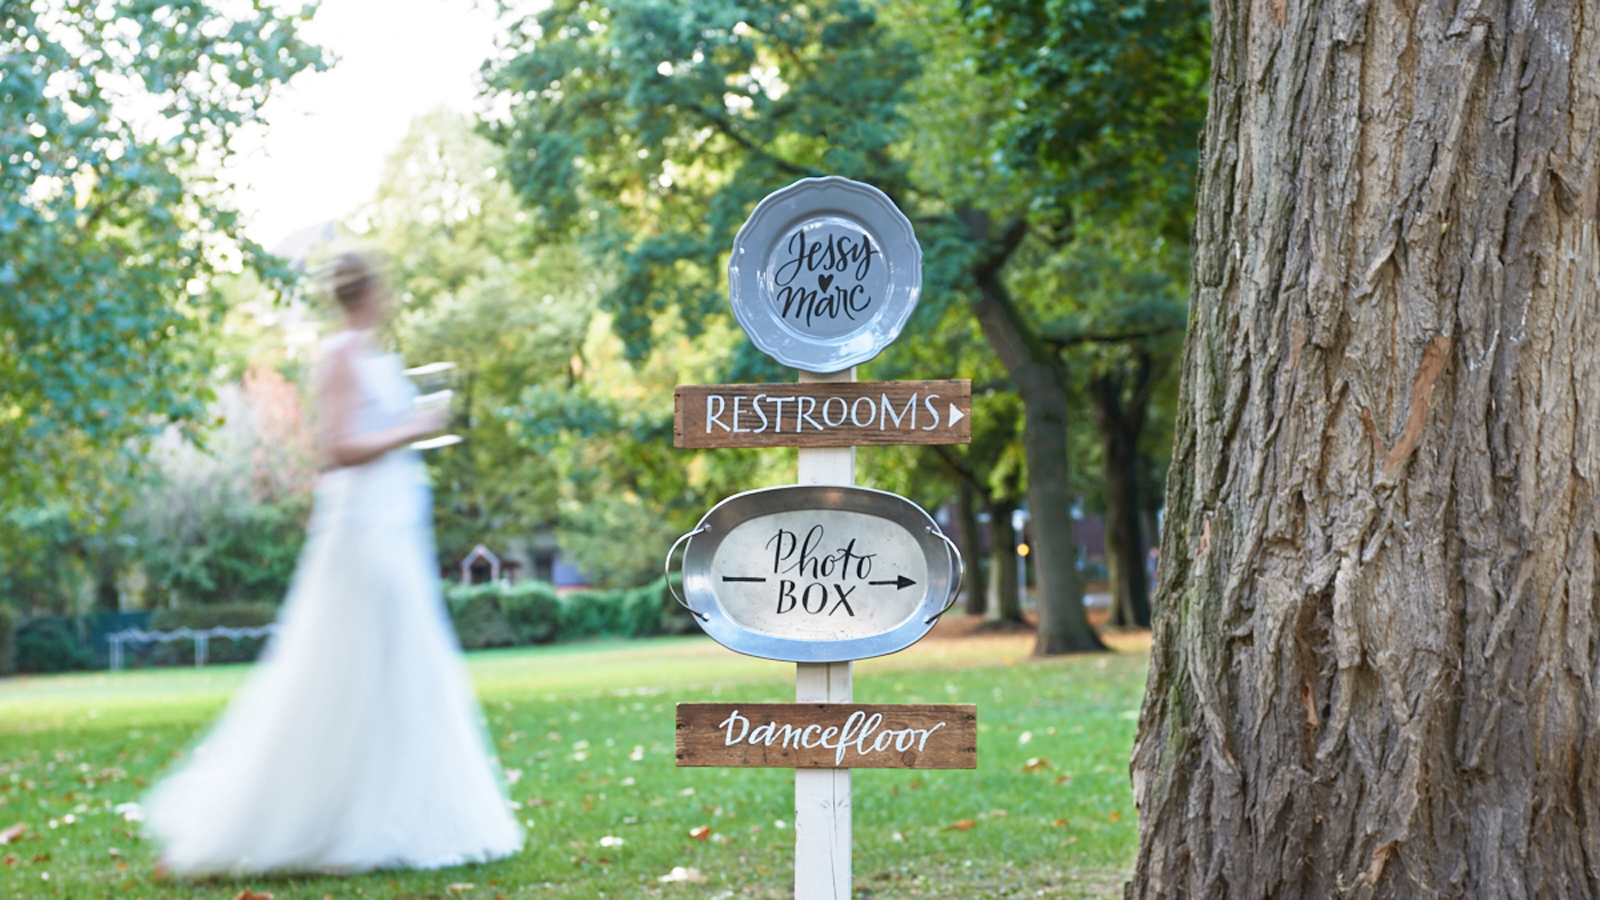
Wash the plates and trays before you start designing. Before using a gloss paint marker, you need to activate it as described here. Using the fine-nibbed edding 751 in black, start by sketching out the wording for your sign. Now take the edding 750 with the broader nib and reinforce the individual strokes to give a calligraphic effect.
Step 3
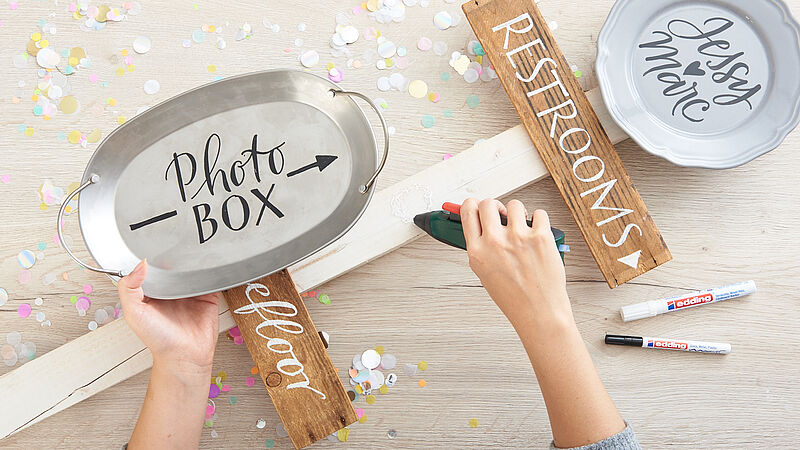
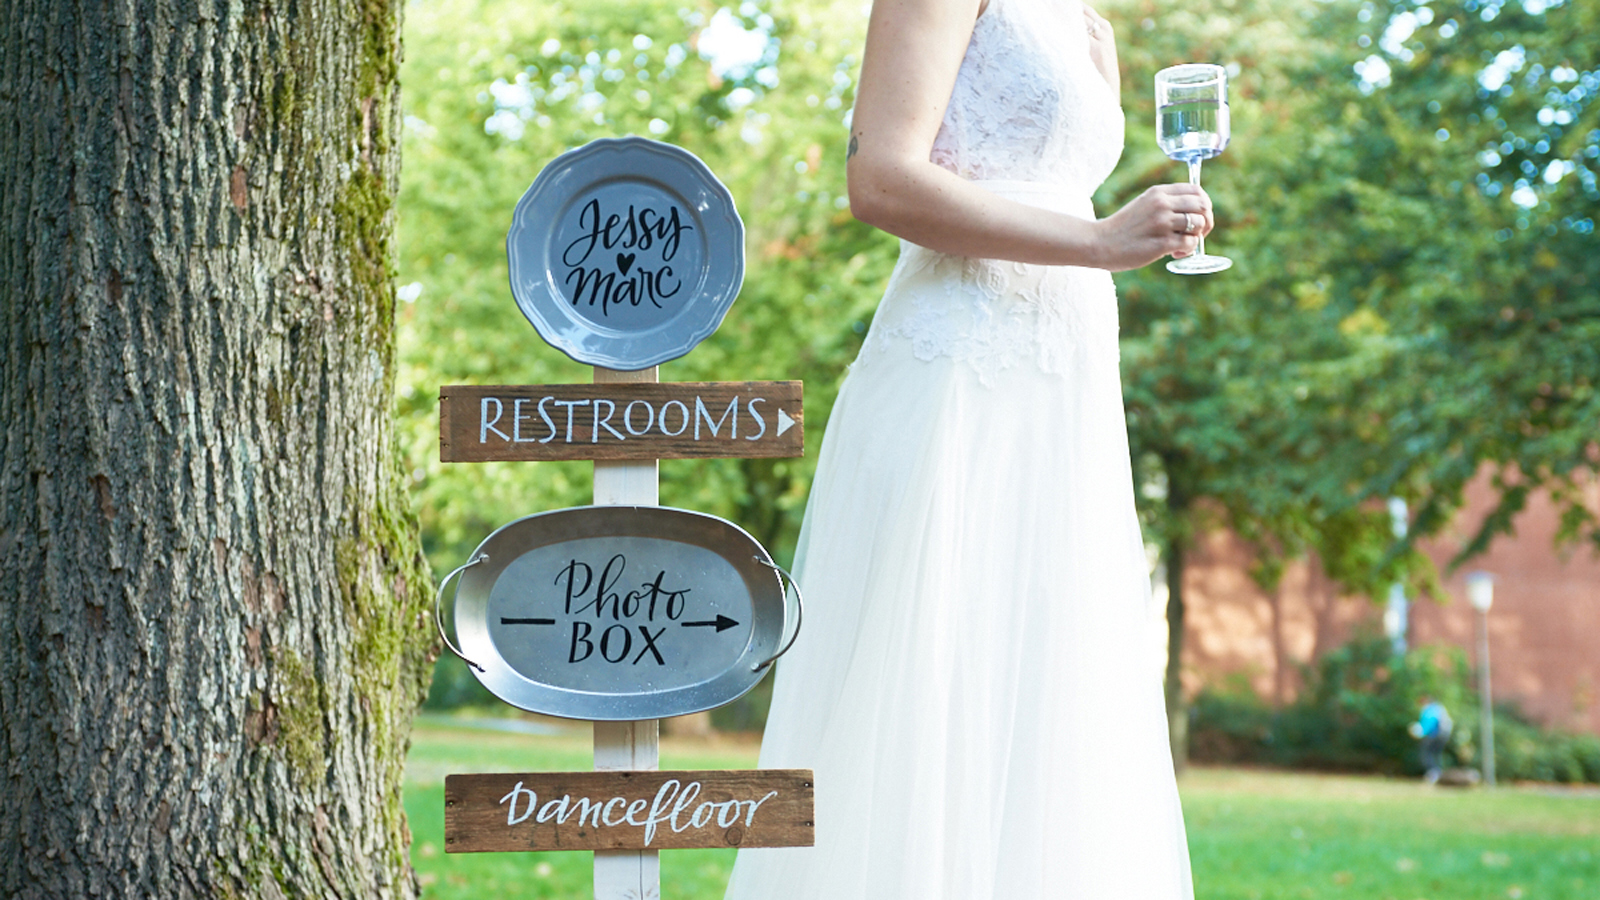
To make the wooden sign, use the white edding 4000 matt paint marker which is ideal for all porous surfaces. This marker also needs to be activated, exactly as described in step 2. And don’t forget you need to make the signs point the right way! When you’ve finished, attach your DIY wedding signs to the wooden post, using nails for the wooden boards and the hot glue gun for the metal trays.
Products and materials


Other materials
- Sections of wood
- Plates or small trays made of metal
- Hot glue gun (e.g. UHU)
- Screws or nails and a hammer
- Wooden post for mounting
Additional images
Related ideas
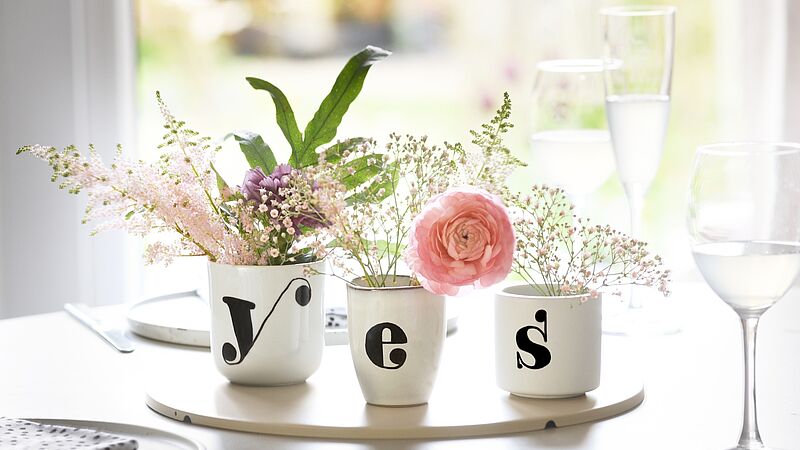
Wedding mugs
3 mugs, 3 letters – YES
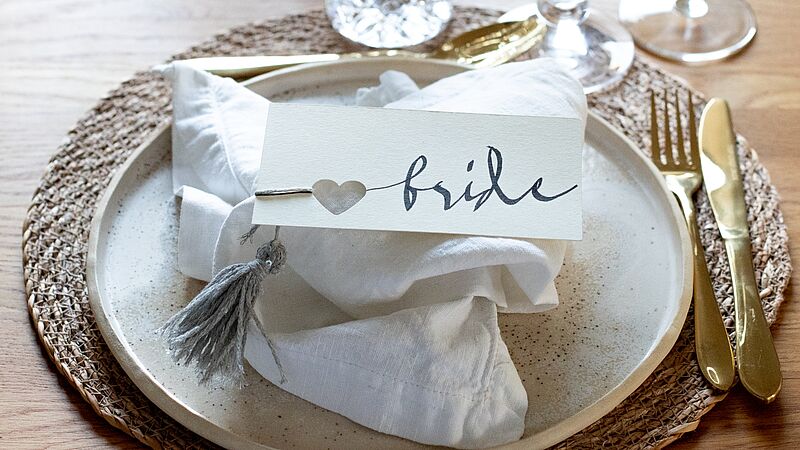
Place cards for the wedding table
Simple yet effective table decoration
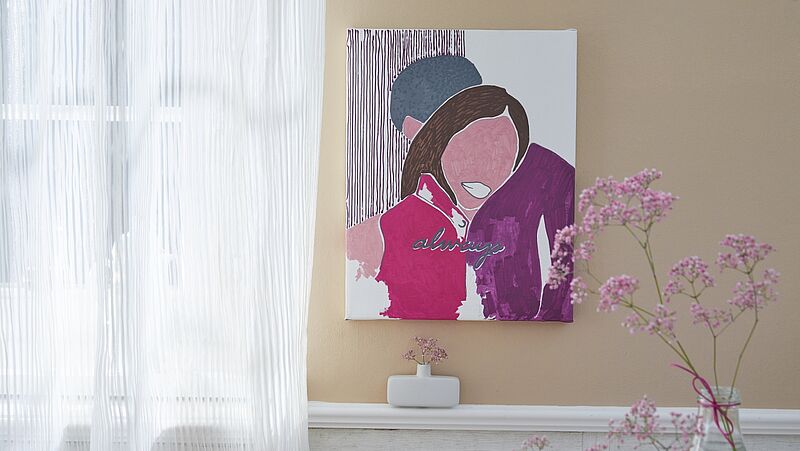
Romantic couple on canvas
A portrait of your loved ones
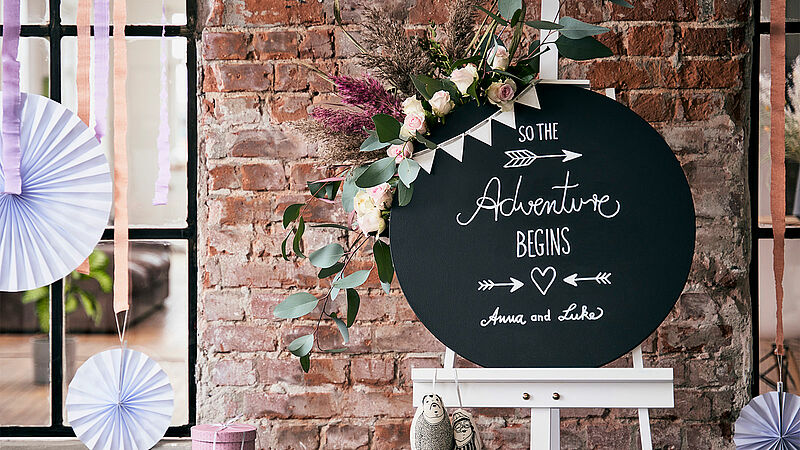
Chalkboard welcome sign for your wedding
The perfect welcome for your guests
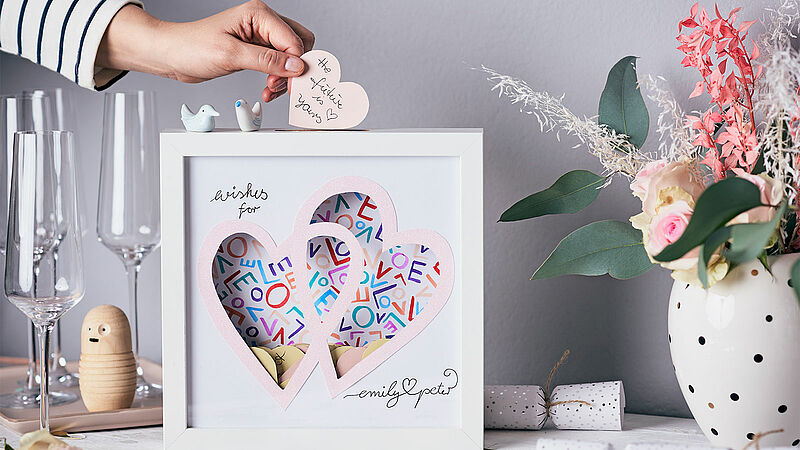
Wedding drop box
Wedding congratulations in a picture frame
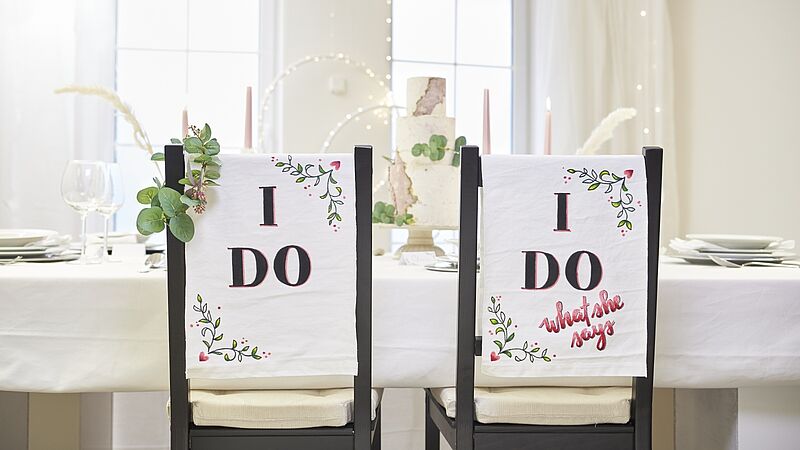
DIY wedding chair signs
Beautiful chair décor for the happy couple
Creative Newsletter
Subscribe to our newsletter, and we’ll send you inspirational and creative DIY ideas, along with details of our latest products and special offers.