
Step-by-step
Step 1
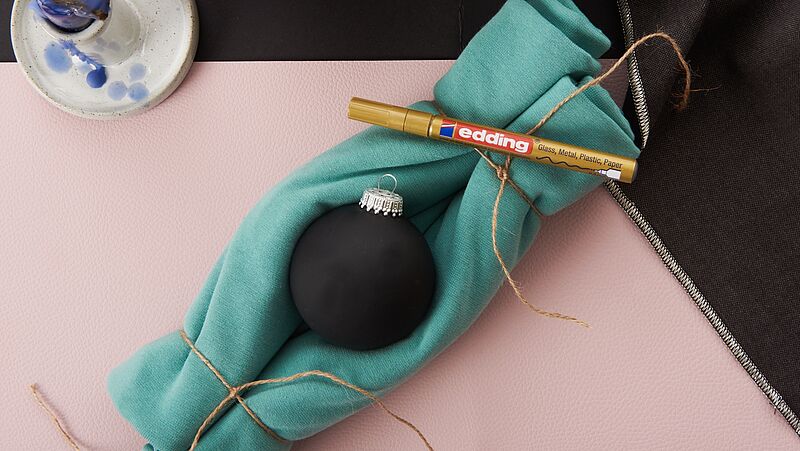
In our example, we used edding gloss paint markers in traditional Christmas colours such as gold, silver, copper and white. It's best to avoid holding the bauble when painting so, for convenience, use a small towel or cloth instead and form a "nest" to hold the bauble in place.
Step 2
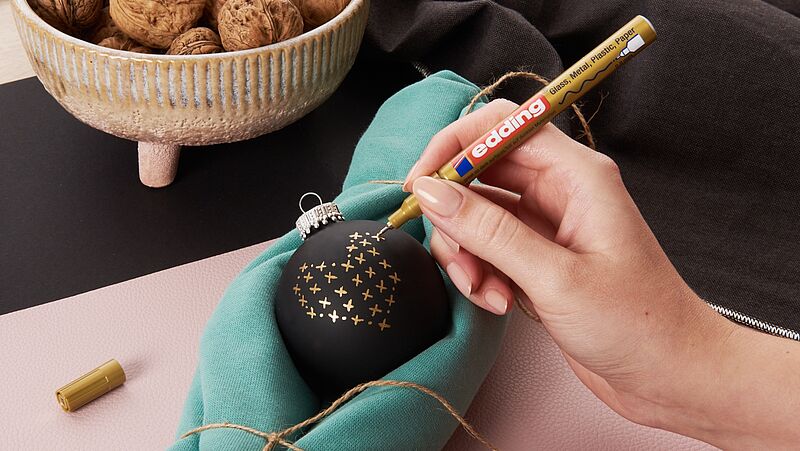
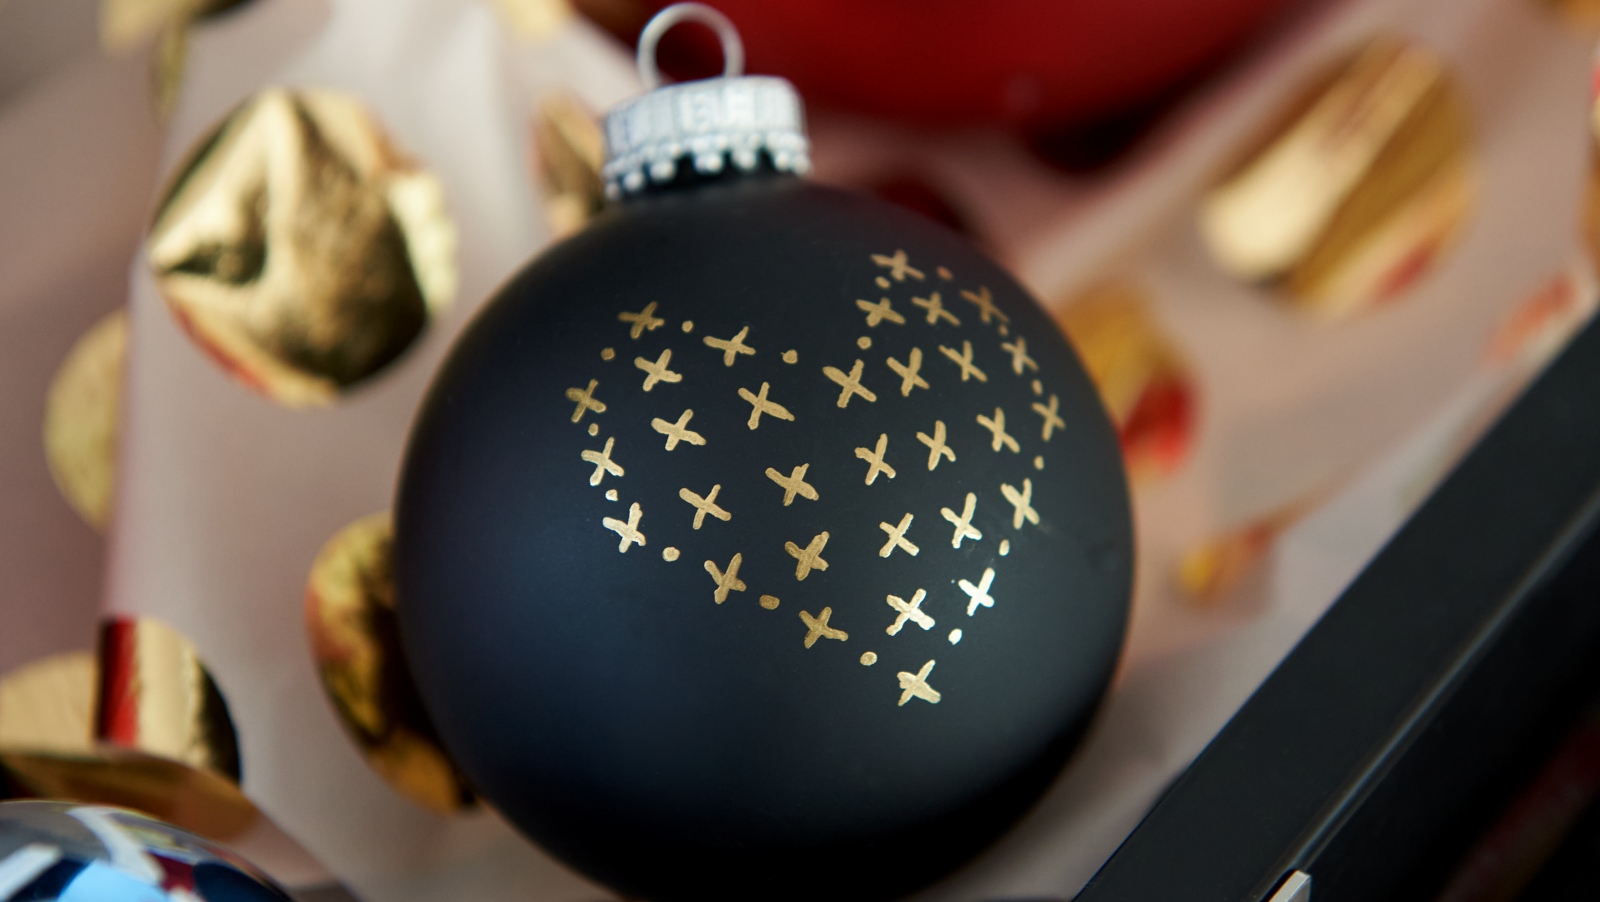
Before you start decorating, you need to activate the gloss paint marker as follows: shake the marker vigorously with the cap on, then remove the cap and pump the marker a few times on a piece of absorbent paper until ink appears in the nib. Now you’re ready to get started. The fine edding 780 gloss paint marker makes light work of drawing delicate patterns. Draw lots of tiny crosses close together to make a heart shape, or just go with whatever takes your fancy. After use, always replace the cap securely and store the marker horizontally.
Step 3
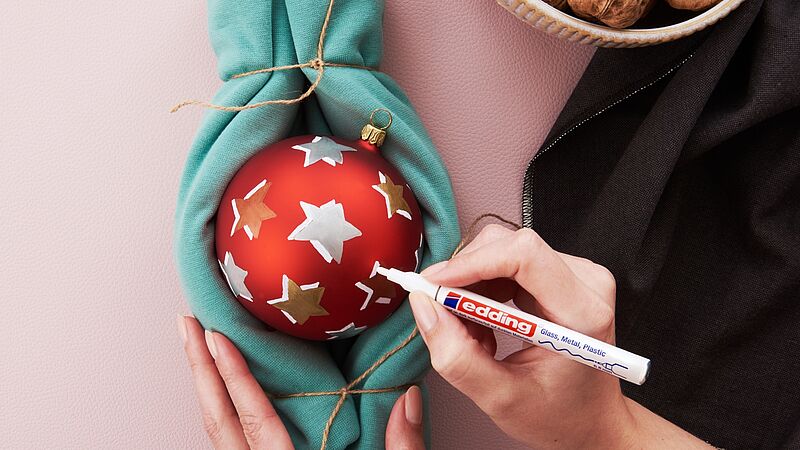
The medium edding 751 gloss paint marker is brilliant for designing slightly larger motifs. If you want to use several colours on the same bauble, wait until one colour is dry before continuing with the next. To create artistic 3D effects, draw large stars and, once they're dry, add white contours on one side.

Step 4
Baubles can be personalised with words or decorative lettering to give them a unique charm. Just let your imagination run wild!
Products and materials

Other materials
- Christmas baubles made of glass or plastic
- Piece of scrap paper to test
Additional images

Related ideas
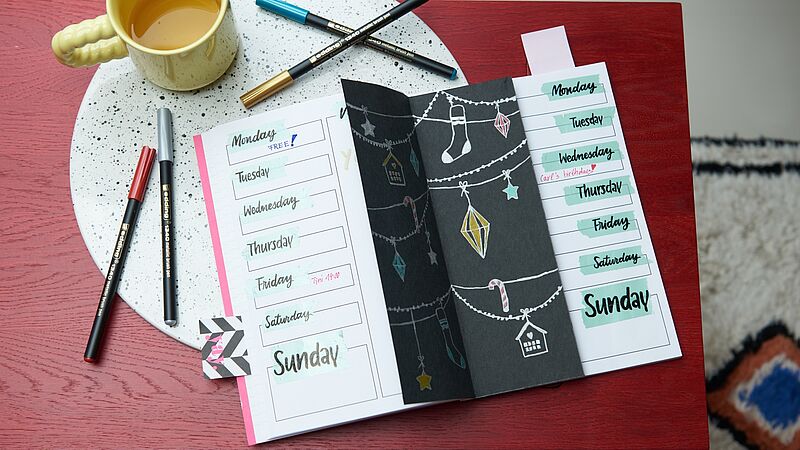
A festive look for your journal
Decorate your weekly planner with this stylish insert
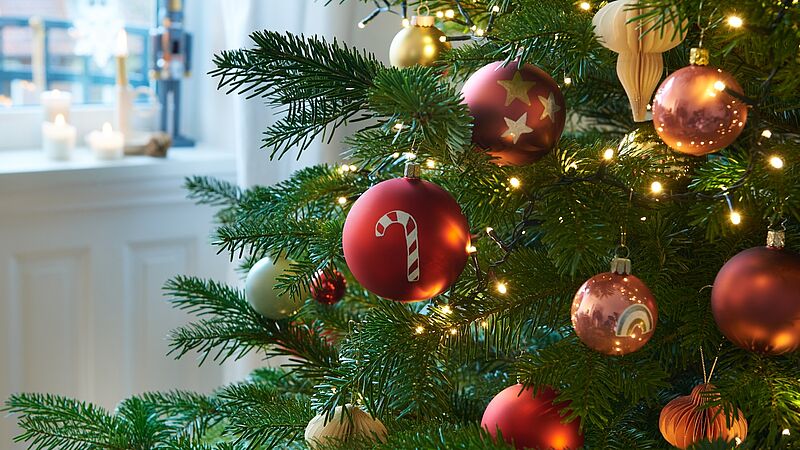
Festive glass baubles
Hand-decorated baubles for the Christmas tree
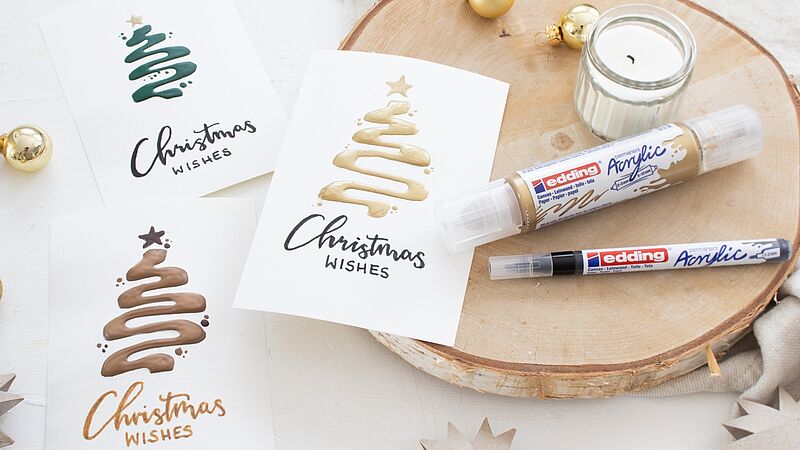
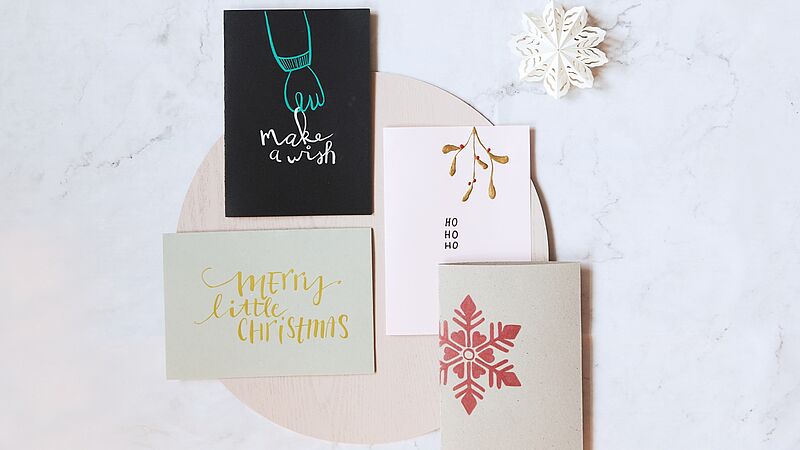
Easy-peasy season’s greetings
Creatively designed Christmas cards

Individual gift jar
Small gifts, beautifully packaged
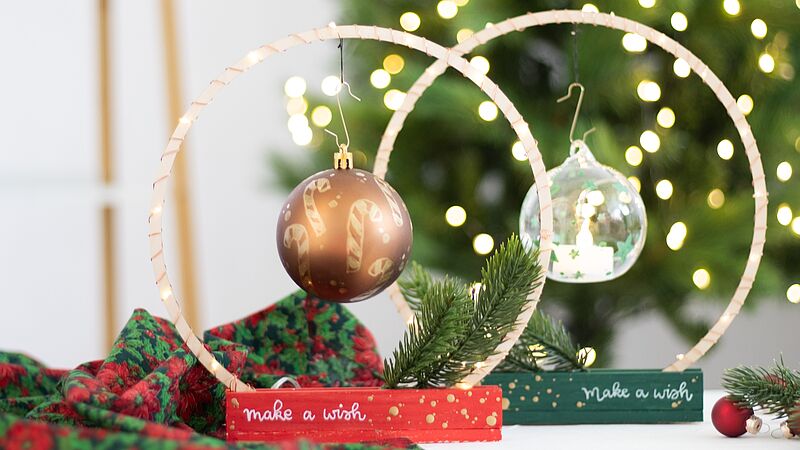
Design your own circle of light
Create a festive atmosphere
Christmas post with added sparkle
Eye-catching cards for your nearest and dearest
Creative Newsletter
Subscribe to our newsletter, and we’ll send you inspirational and creative DIY ideas, along with details of our latest products and special offers.