
Step-by-step
Step 1
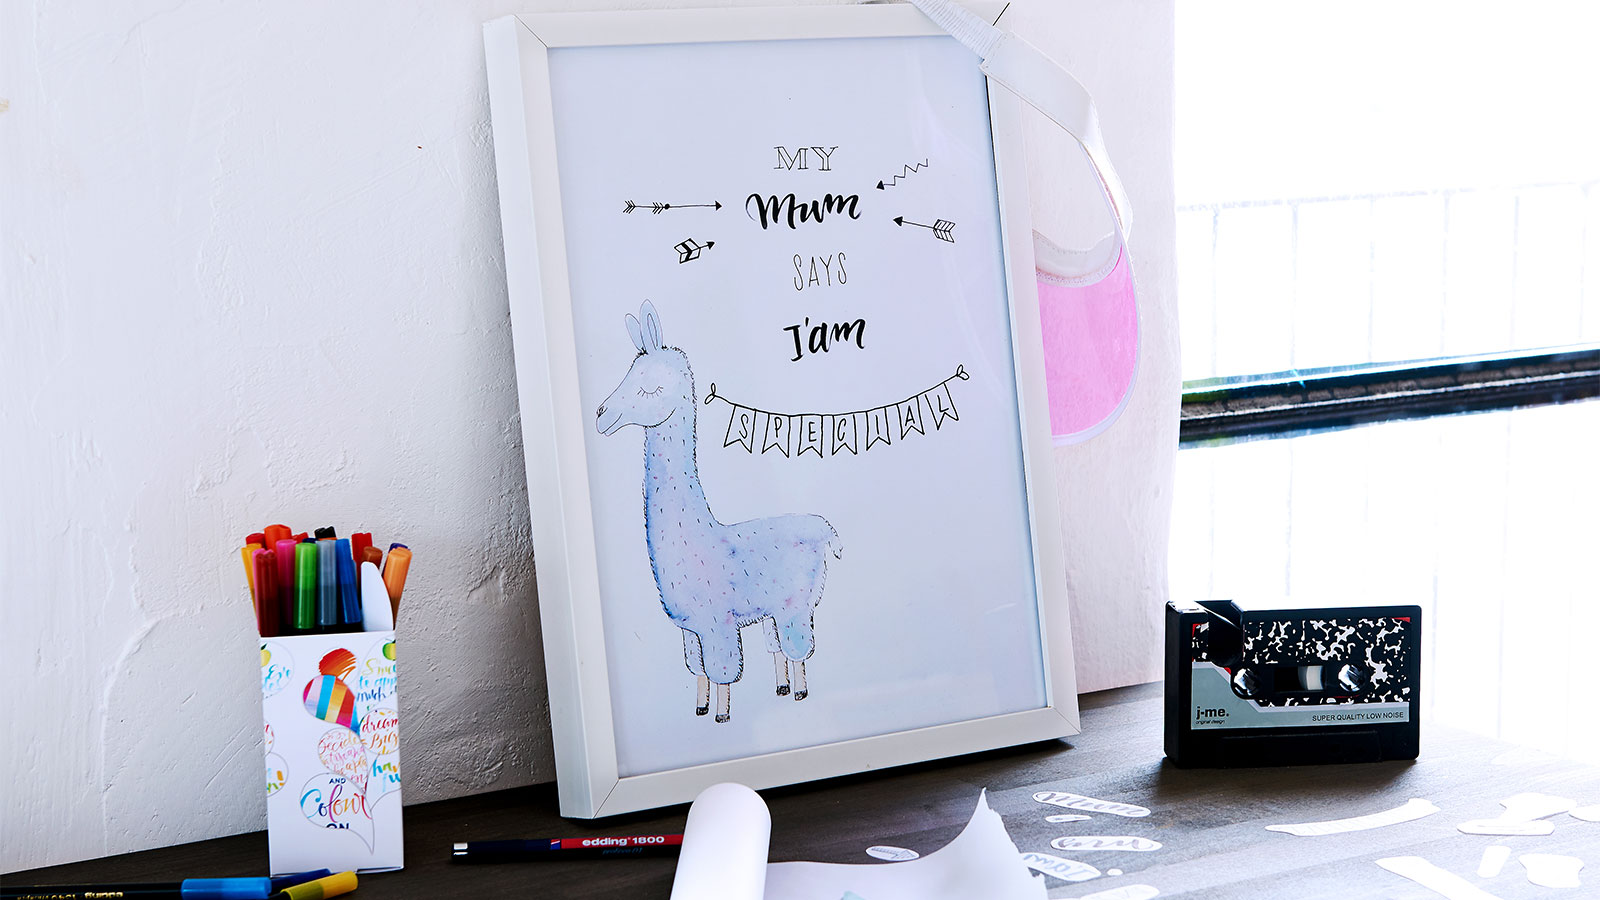
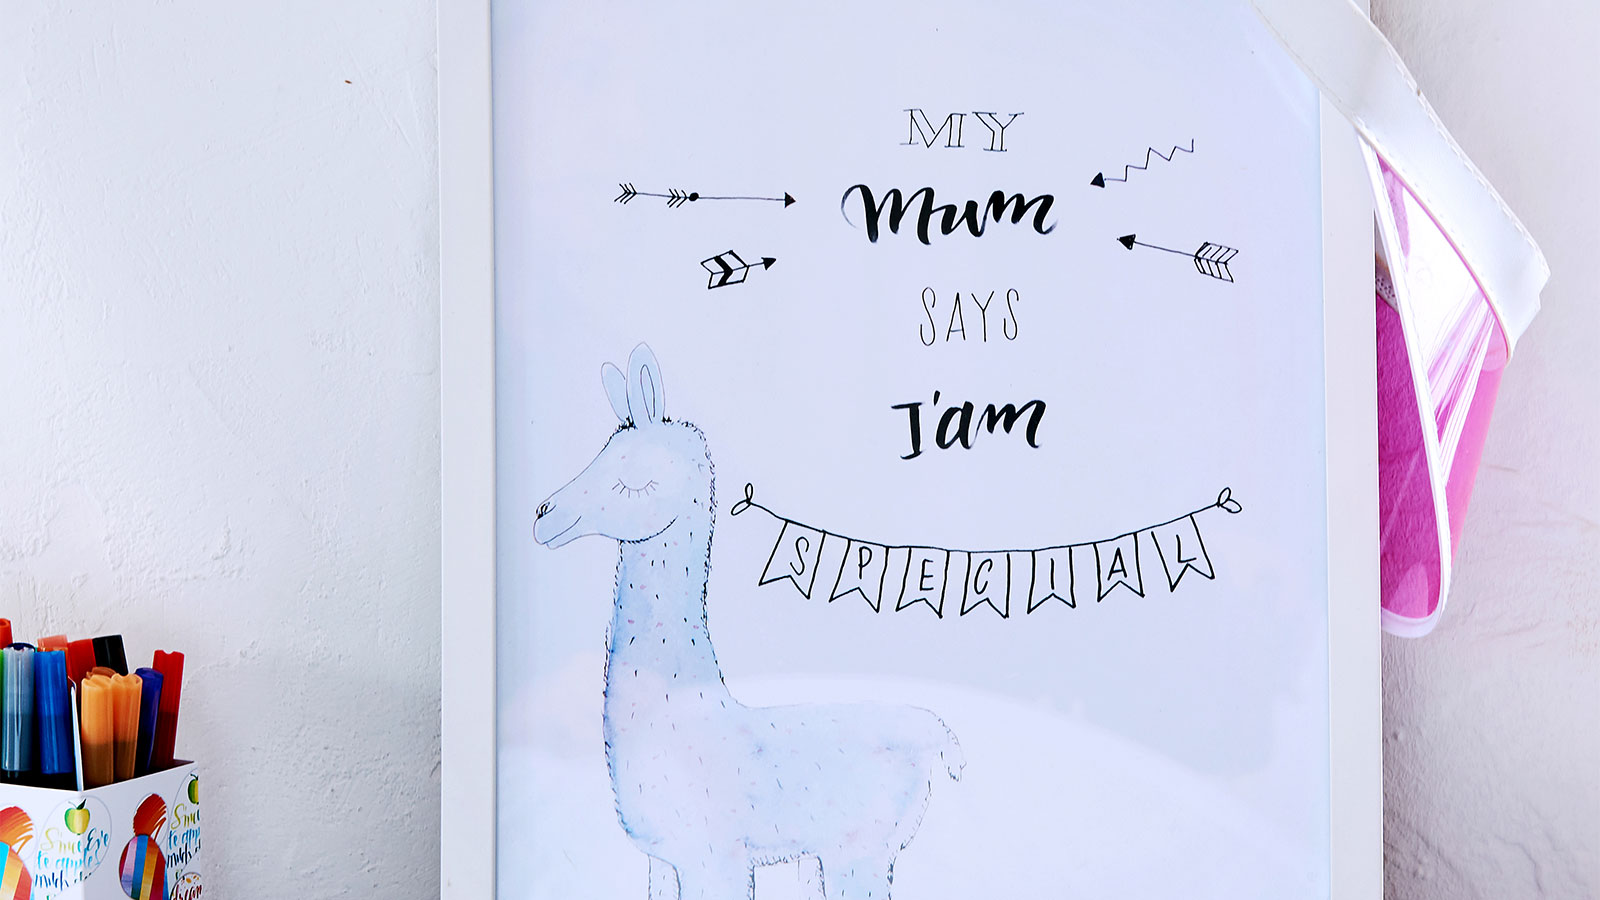
There are no strict rules when it comes to lettering – simply do what you like! You could use different writing styles, for instance, whether cursive or block capitals, narrow or broad letters. Try experimenting with different techniques.

Step 2
A serious writing style can provide a playful contrast to a cheeky slogan. Varying the spacing between letters can also offer interesting design options.
Step 3
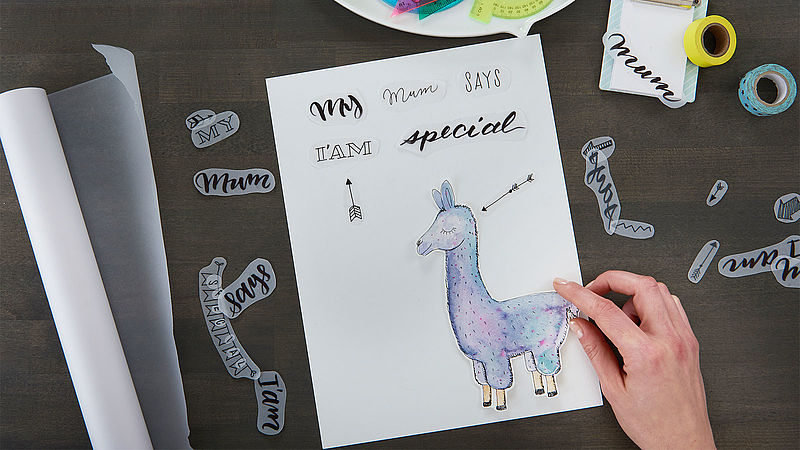
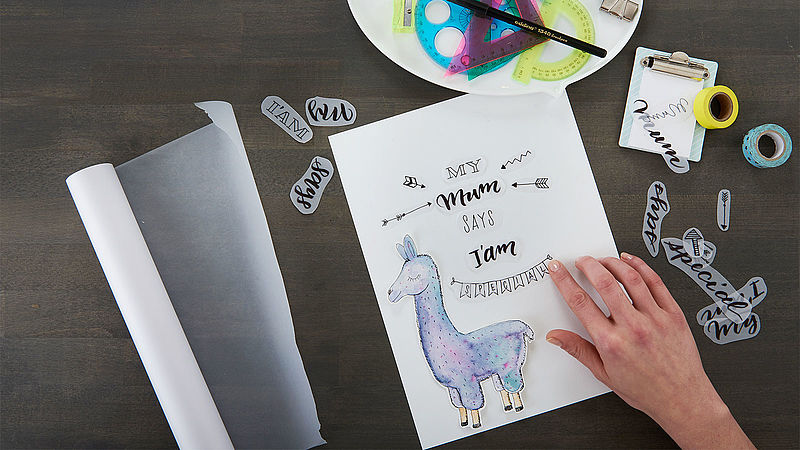
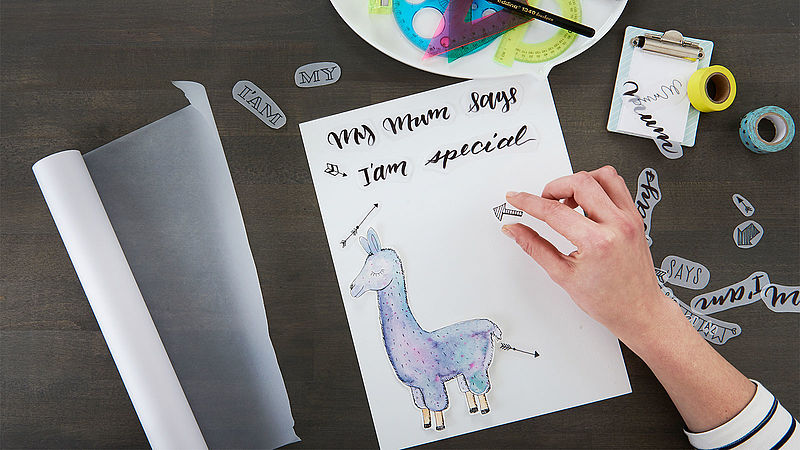
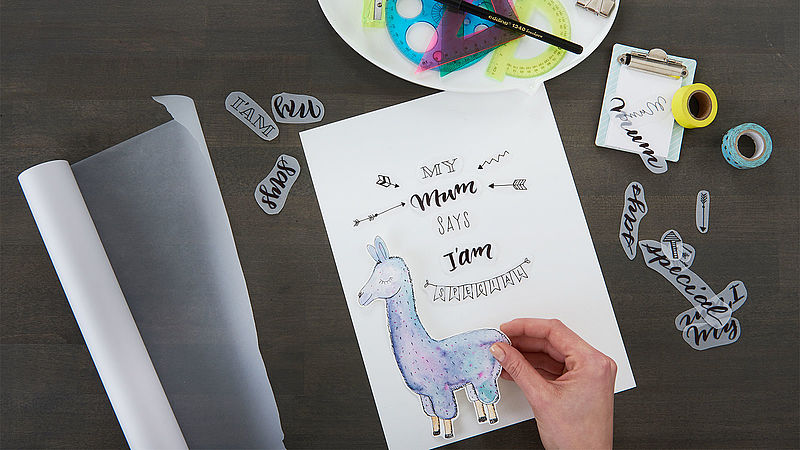
You can add an artistic flair using shading and decorative elements like frames, banners, arrows or stars.
Step 4
Once you’ve finished the different elements of your artwork, play around with them until you find the combination and layout that you like best.
Step 5
Each step is explained in more detail in our video. Have fun watching!
Products and materials
Other materials
- Vellum translucent paper from an art shop
- Scissors
- White paper for the background


Video
Additional images
Related ideas

Picnic time!
Plan ahead for the perfect day out
For magical moments
A glittery look for your party
Save-the-date card
Highly effective decoration

Happy Birthday!!
Shiny metallic shades for eye-catching birthday cards

Cards with a watercolour effect
Beautiful hand lettered motifs and sentiments
Chalkboard design statement
A beautiful focal point for your home
Creative Newsletter
Subscribe to our newsletter, and we’ll send you inspirational and creative DIY ideas, along with details of our latest products and special offers.