
Step-by-step
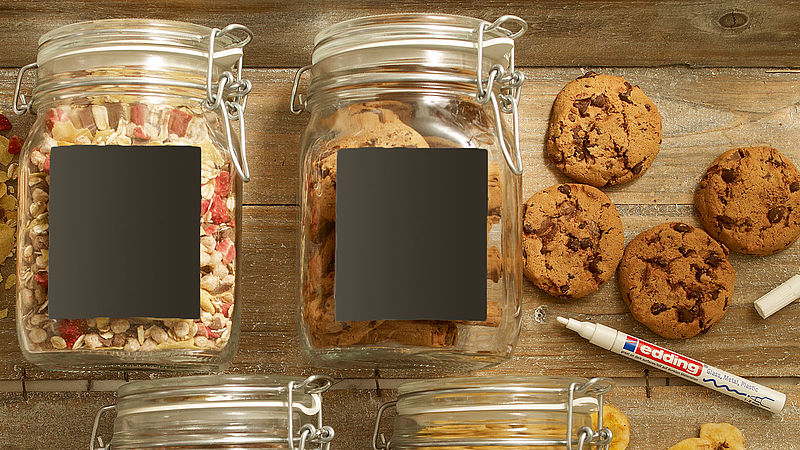
Step 1
Cut out squares of vinyl chalkboard to the required size, or use ready-made blank labels. Before you begin, try out a few letters first to see which style of writing you prefer.
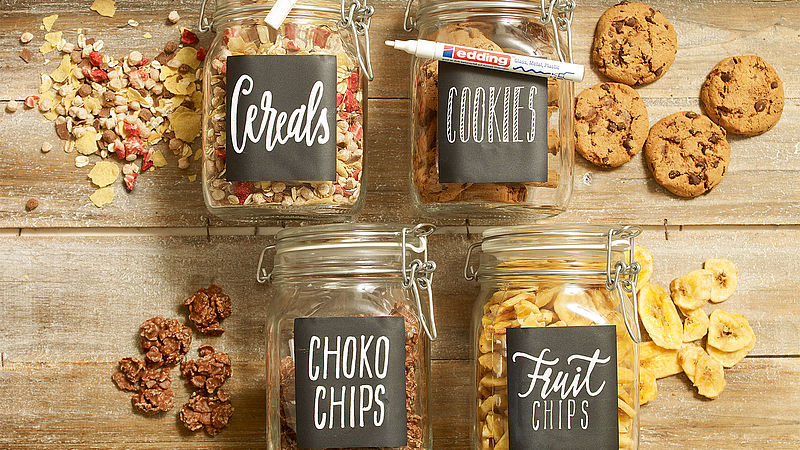
Step 2
Use the edding 751 gloss paint marker to write the contents of the jars on the labels and allow the ink to dry before sticking onto the jars, and there you are - job done!
Products and materials

Other materials
- Storage jars with a decorative lid
- A sheet of vinyl chalkboard or ready-made blank labels
- Glue, scissors
- Food to store in the jars
Related ideas

Utensil holders in concrete grey
Upcycling idea for your kitchen accessories

Freshen up your grouting
Add sparkle to bathroom and kitchen grouting

Handmade wine labels
Beautifully designed wine labels - idea for Father's Day
A new look for vintage crockery
Upcycle granny’s porcelain plates
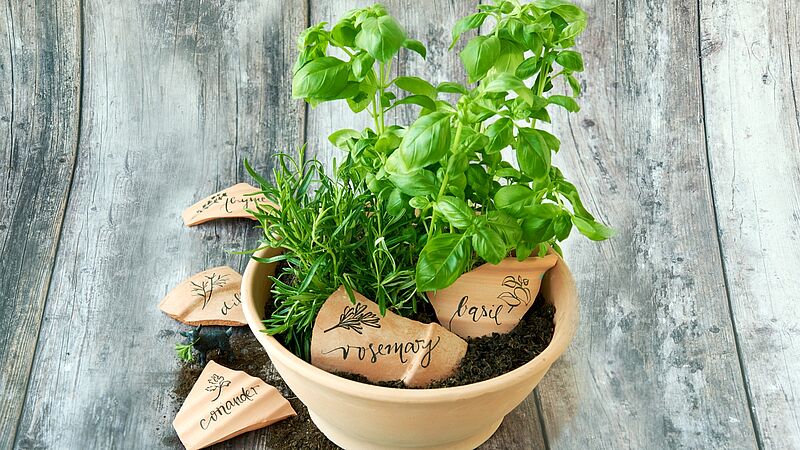
Decorative kitchen herbs
Stylish terracotta plant labels
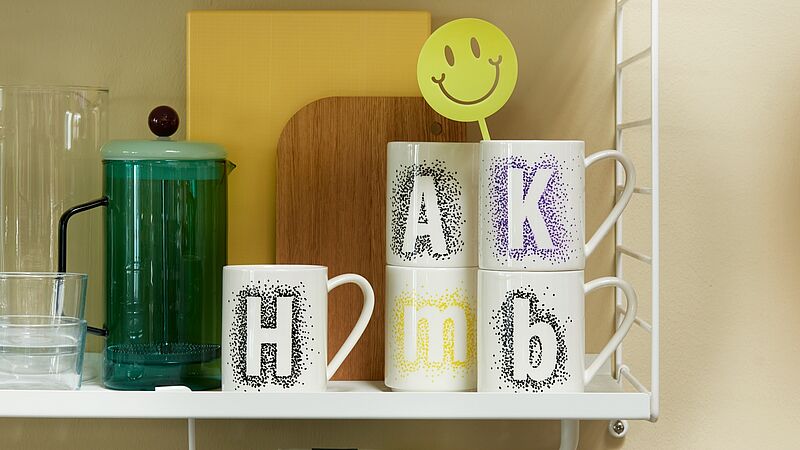
Favourite mugs with a DIY design
Set the tone with patterns of dots
Creative Newsletter
Subscribe to our newsletter, and we’ll send you inspirational and creative DIY ideas, along with details of our latest products and special offers.