
Step-by-step
Step 1
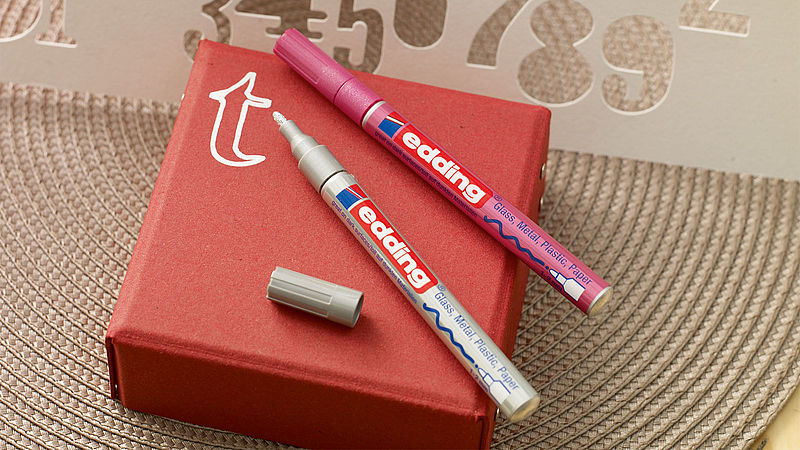
Activate the gloss paint marker as follows: Shake the marker well with the cap firmly on. Place the marker on a piece of paper, pump a few times by gently pressing down until the ink appears in the nib. Test the marker by drawing a few test lines on a piece of scrap paper. And don't forget that it's important to always replace the cap after use.
Step 2
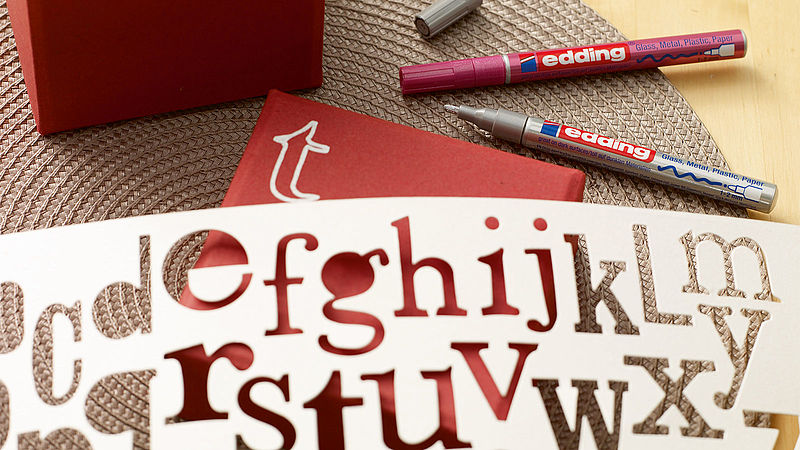
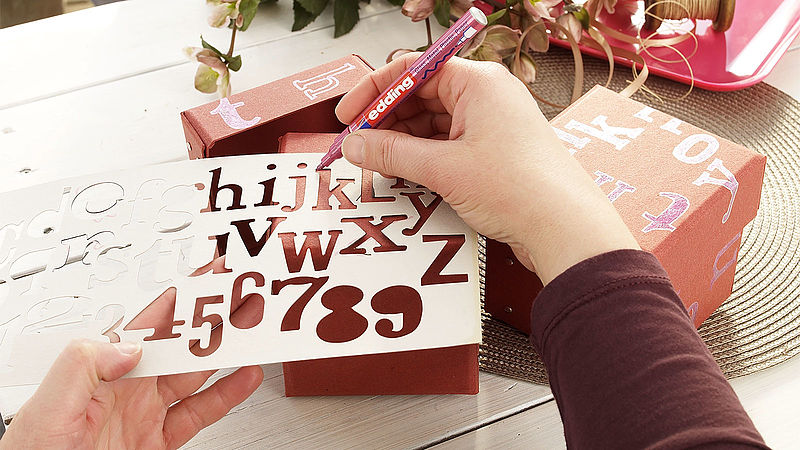
Think of a greeting or a few words you want to write on the box. Use the template to trace the letter outlines and colour them in afterwards.
Step 3
Using two colours can create a spectacular effect . For example, colour the outline of the letter in gold and the inside in pink. Always allow one colour to dry before applying the next one – it won’t take long.
Step 4
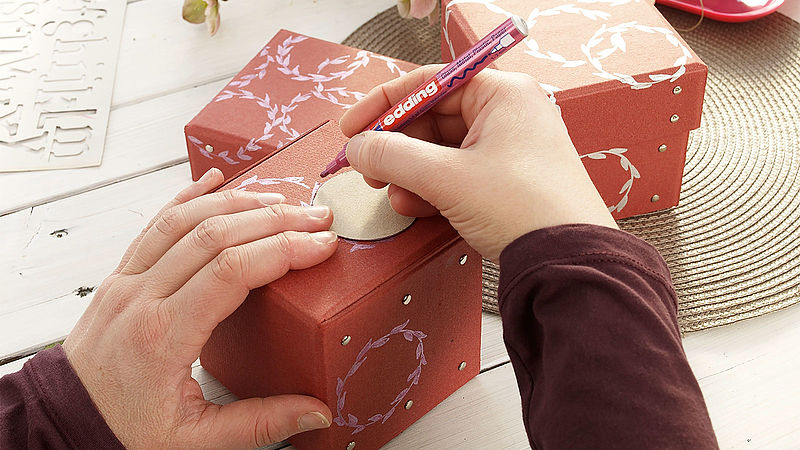
You may then wish to add little embellishments without the templates. Voilà, your gift box is completed!
Products and materials


Other materials
- Gift box with a lid, made from card
- Letter templates from an art and crafts shop. Alternatively, use the "Sizzix Big Shot" shape-cutting and embossing machine.
Related ideas

Individual gift jar
Small gifts, beautifully packaged
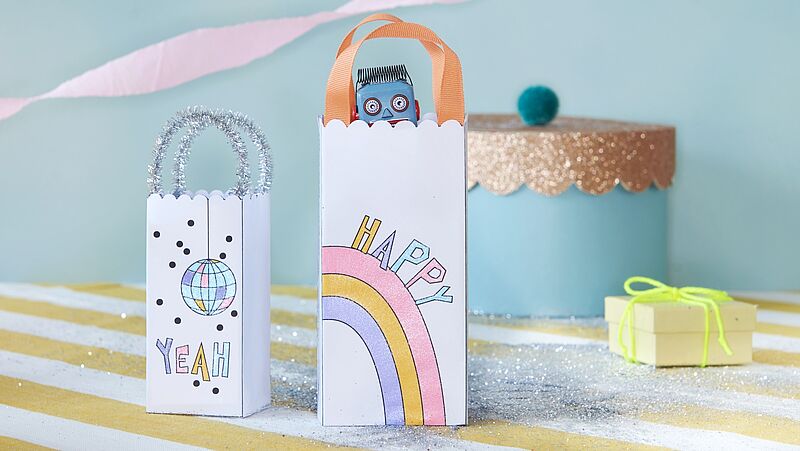
Glittery gift bags
Cool pens for gifts with a glittery look
Gift wrap with the wow factor
Design decorative wrapping paper and gift tags

Summer gift tags
Ice cream that’s guaranteed not to melt!
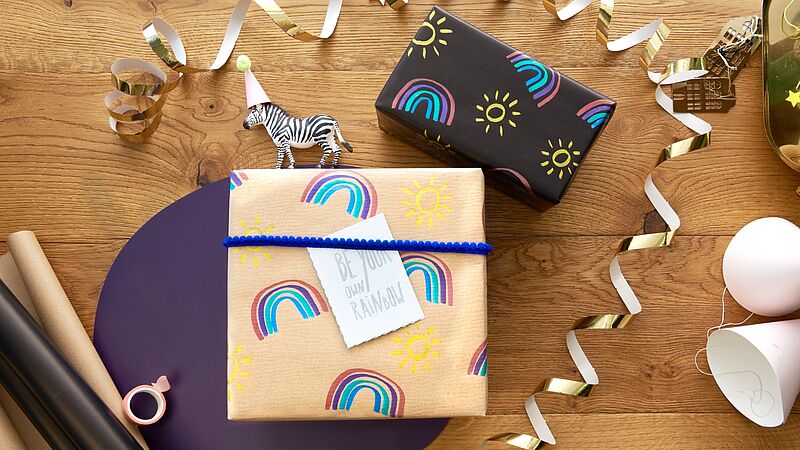
Gift wrap in brilliant colours
Gleaming creations on dark and light-coloured paper

Inspired by nature
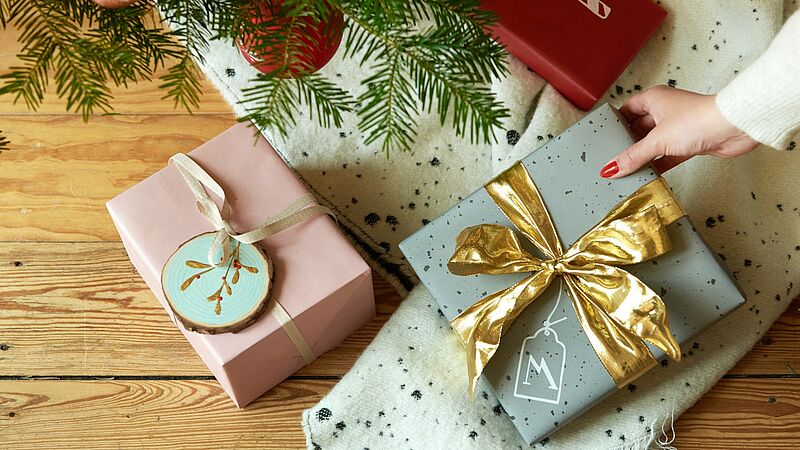
Gift-wrap idea using wood slices
Creative Newsletter
Subscribe to our newsletter, and we’ll send you inspirational and creative DIY ideas, along with details of our latest products and special offers.